[Ht:T] Extreme Ghetorix (Part 2)
After assembly comes the task of gap-filling and working the converted pieces into the base model.
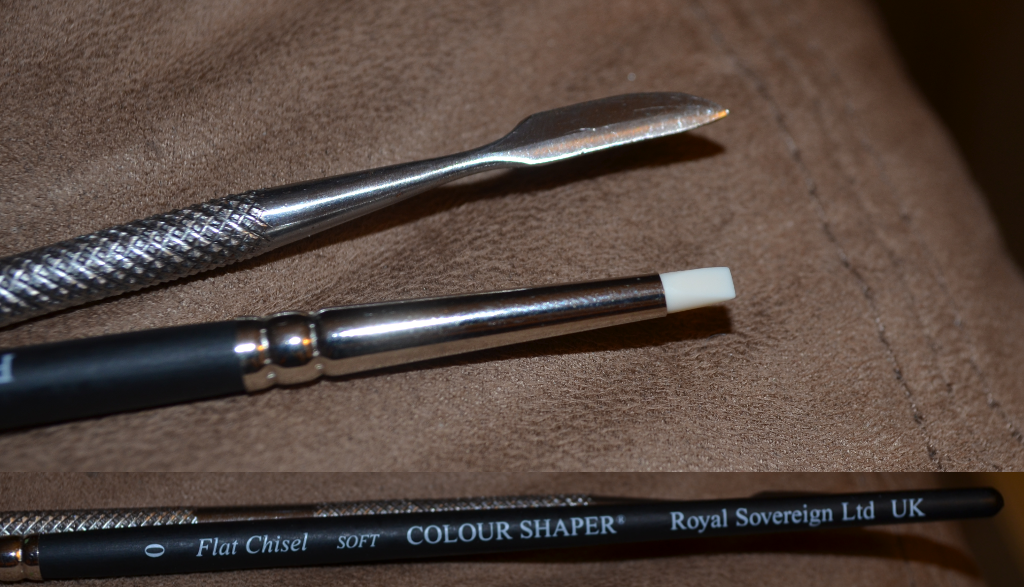
Here’s the two tools I’m using for 99% of this. The silver tool is from the P3 sculpting set. The other tool is a Colour Shaper, and it’s actually made for painting, but the silicone tip doesn’t stick to Green Stuff, so it’s perfect for smoothing out the finger prints and wrinkles.
The colour shapers come in several tip shapes (flat chisel, pointed chisel, rounded tip, etc) and sizes (same sizes as brushes, 0, 2, 4, 6, etc), and stiffnesses of the the silicone. As you can see in the picture, I’m using a size 0, soft flat chisel. This works for me. Much like brushes, it’s all about what feels right and what works best for you. If your local art store doesn’t carry them, there’s always Amazon: Color Shapers.
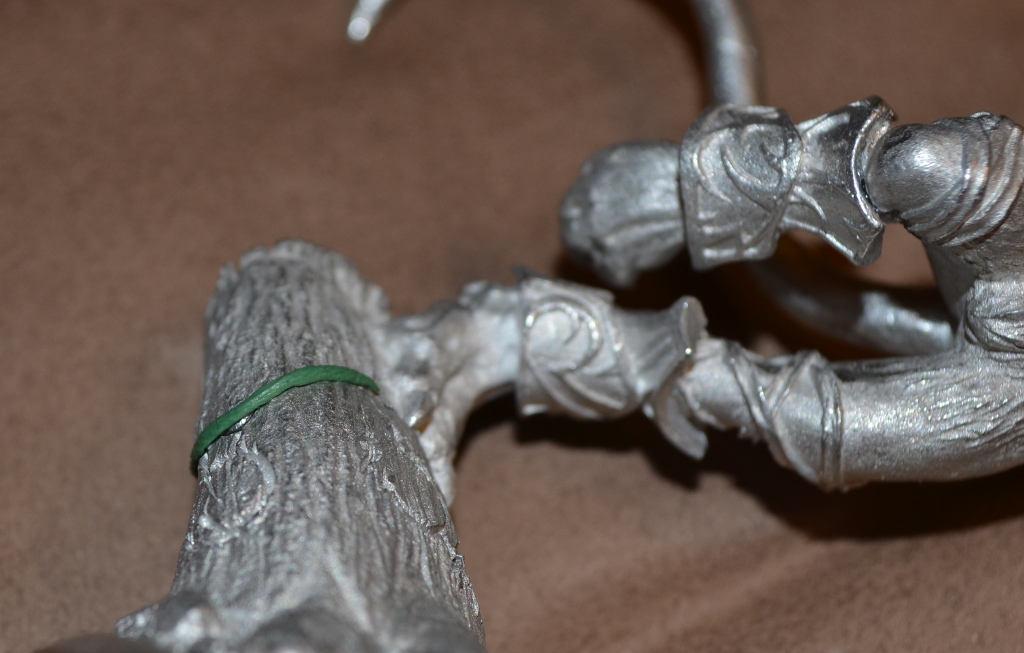
To start, I use a small snake of green stuff. Smaller is better, because it’s easier to add more later. Even if you put on too much, if you don’t remove it while it’s malleable, you’ll just have to cut it out and put fresh down to fix it, so this is truly a case of “less is more”.
I use the color shaper to “blend” the putty into the metal. What I’m looking for is a fairly seamless transition from metal to green stuff and back.
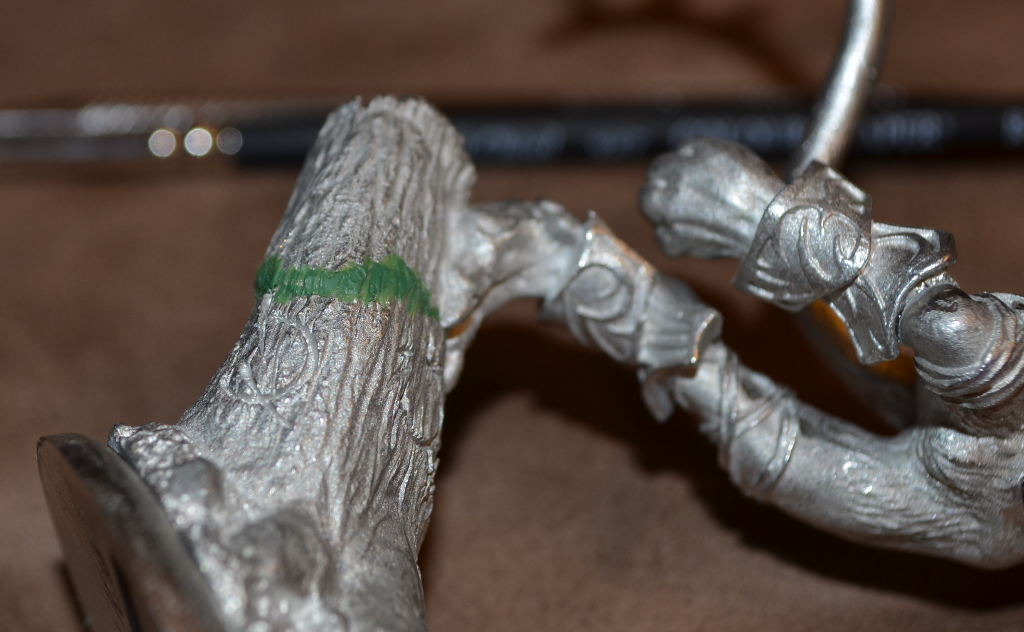
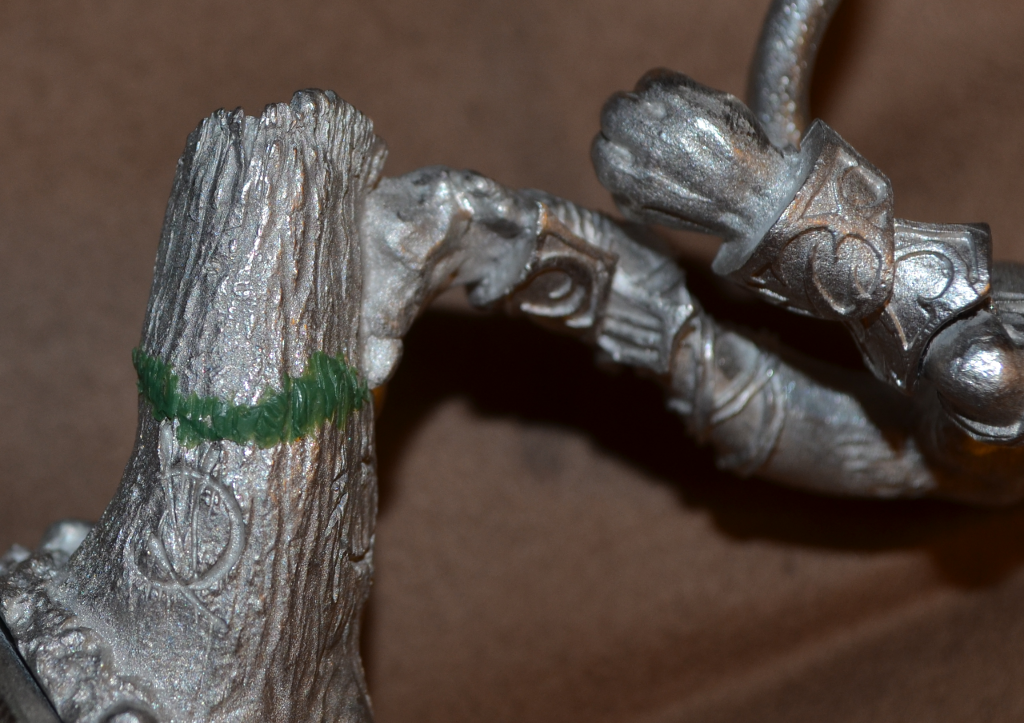
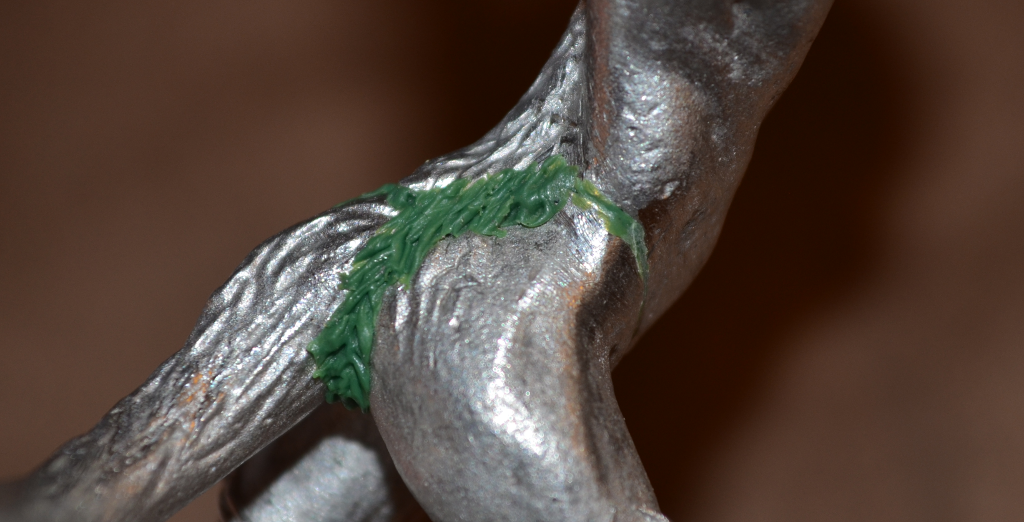
From there, I use the metal tool to add texture. I started with adding the general bark texture, just tapping the flat tip against the putty to give it a rough, knobbly texture. Then, I used the edge to draw the breaks and striations in the cracked bark. Remember, this is tree bark, so random and rough is perfect.
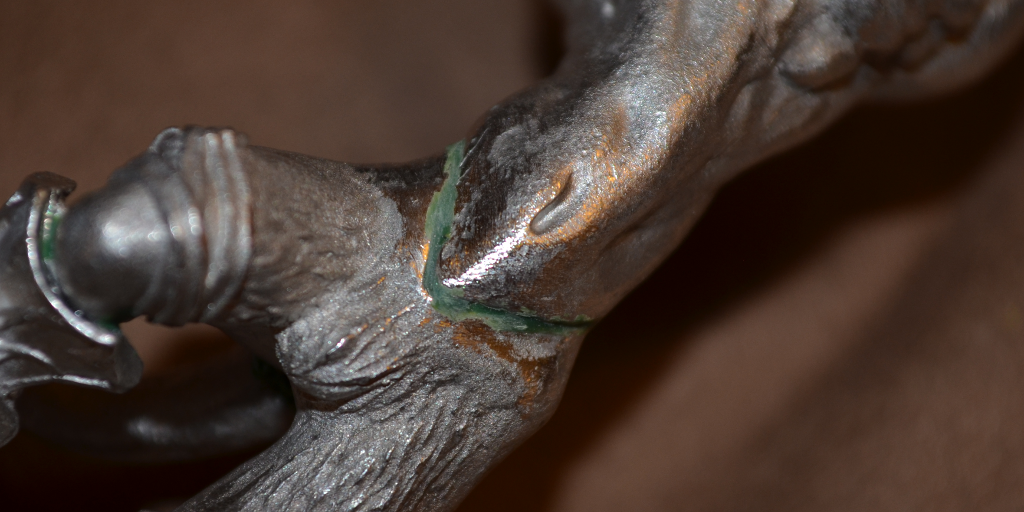
By contrast, for the smooth bits on the cat itself, I just skip the texture parts, and spend more time getting the transitions as smooth as I can get it. Then, once dry, I use my usual files to clean up the transition between metal and green stuff. Don’t do this when there’s texture, because you’ll end up filing some of the texture off!
It doesn’t look that great as-is, but once paint hits it, you won’t be able to see the seam, it will look like a normal crease in the model’s muscles.
Rinse, repeat for all the smooth, muscly bits.
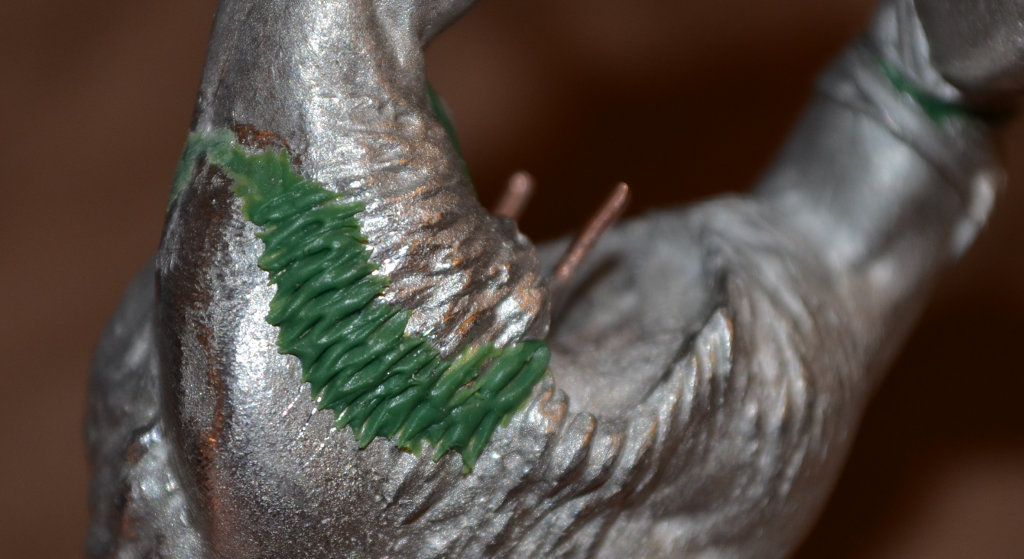
The fur, I find, is easier than doing the smooth gap filling parts. I drop a decent sized snake down, and use the clay shaper to roughly blend it into the sides. Then, use the metal tool to cut the snake into hair strands. Start in the middle, with the tip of the tool, and draw it out. Real hair overlaps and intersects itself, so messy is good.
The shoulder hair works the same way, just pull it out in both directions. You’ll end up with lots of smooth area in the middle, and what I did was push the curved blade edge into the … humps that are created by the edges. This gives you the decent looking hair texture above. Once it’s dry, I’ll go in and cut out the little tails left by the tool, and turn each W shape into a V.
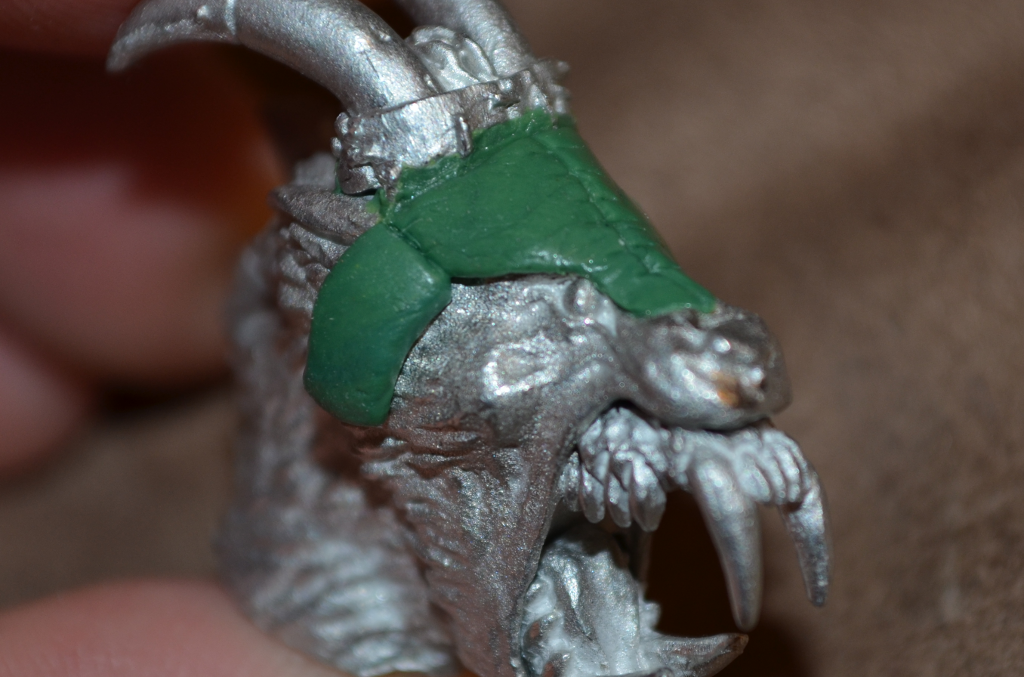
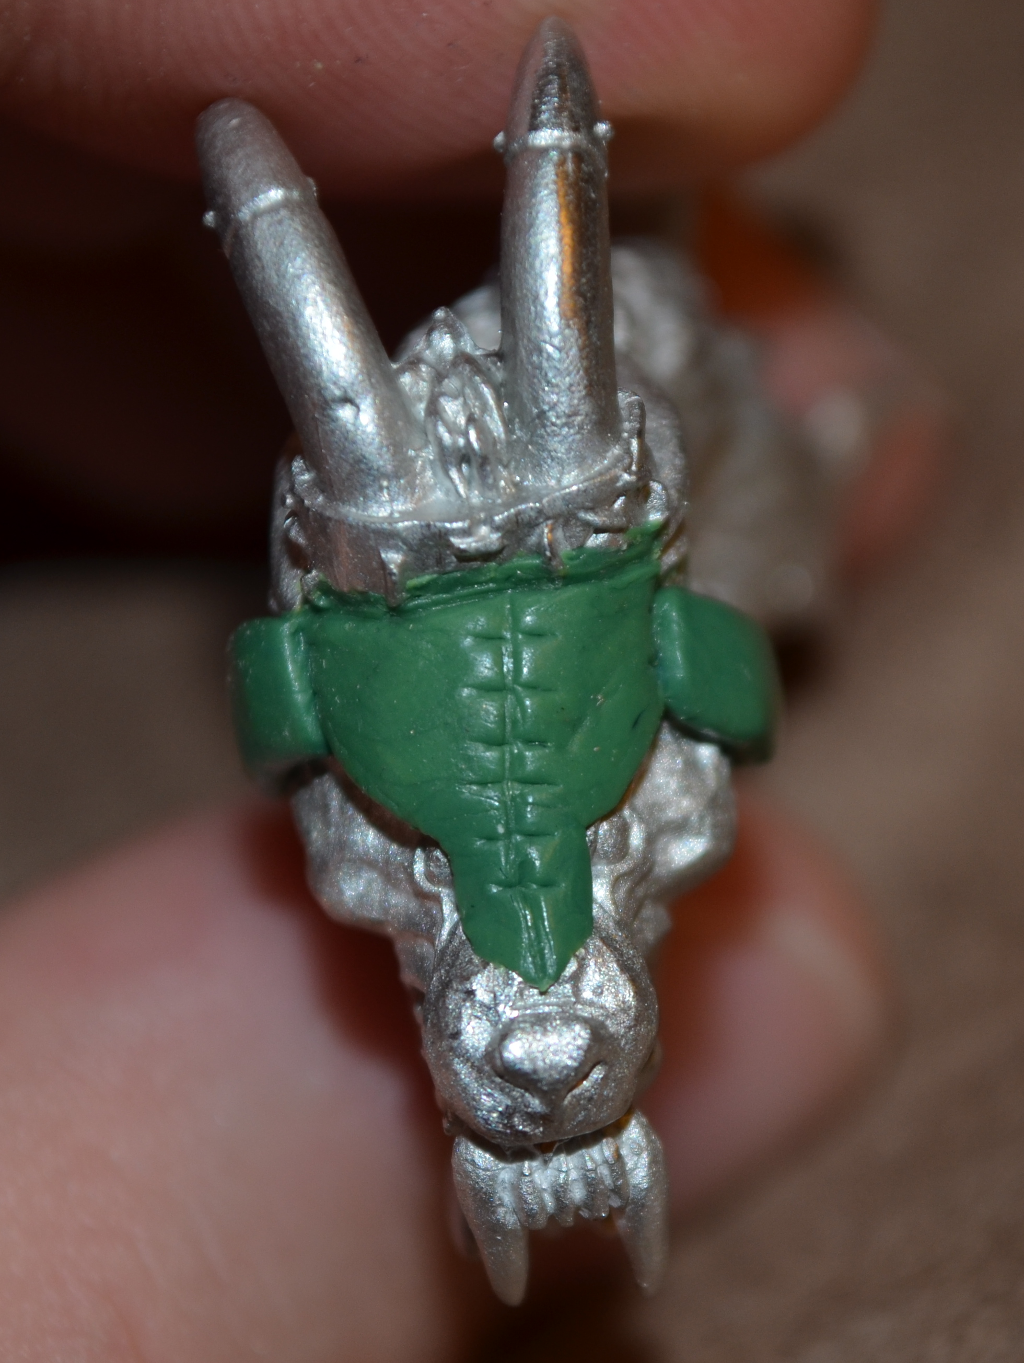
Here’s how the headdress sits now. The top part is meant to emulate the headdress of the original Ghetorix model. I’m planning to add a rolled border around the outer edge. This and the stitching down the center will help imply a leather material, will help it seem thicker than it actually is, and keep me from having to make the edges tattered or worn, or something. I don’t think I could pull that off, so we’ll make the headdress look relatively new.
The side panel will be a stone/bronze armor plate (depending on how it’s painted), and will have the usual circle armor texture. As is, it’s about the thickness I want it to be with the texture, so I’m going to have to cut this down and build the texture on top. That’s Part 3!
While the mask was still workable, I added a seam down the center, and made some spaces for stitching to be added later. This is a crude decoration by a crude being, so haphazard stitching equals character, not sloppiness. I’m not terribly happy with the joint between the headdress and the metal horns piece, so I may work on that some more, too.
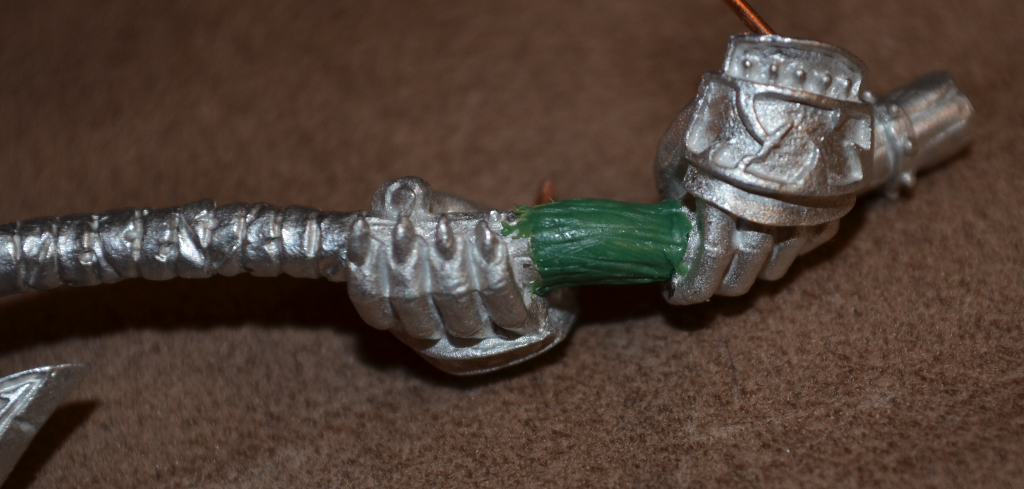
I just pushed a big ball of green stuff around the copper wire that was used as the spine of the axe, and kept adding and removing putty until the diameter felt right. Once the general shape was there, the wooden axe shaft texture was done the same way as the bark on the log: lots of shallow, subtle texture first, then the big striations. In this case, shallow is better, because we’re just conveying wood grain, not cracked bark.
One of the hardest lessons I’ve learned with working with green stuff is to know when you’re done for the day. Not that it’s hard work or painful or anything, but eventually you just can’t hold the model without accidentally screwing something up, so you just have to leave it be for the next day. I got thumb prints all over the fur on the hind quarters and the log bark, and eventually I just had to stop.
And, that’s all I have for this week.
Next week, I need to…
- Finish the headdress and side armor pieces
- Glue the head down.
- GS the seam around the head
- Glue in the hands and axe
- GS the seam between the hands and the arms

