Beyond basic basing – Part 1
Howdy! While I’m off galavanting, I’ve threatened Chris at sporkpoint again, and he’s worked on a doozy of a walkthrough. My bases tend to be under-enthusiastic. They’re there to keep the model propped up, and tie it to the scenery. Chris attacks bases from the other viewpoint – they’re just as much a part of the models as the weapon or cloak, or armor. This is the story about how he goes about making these masterpieces.

Hello again Happy Gamers! What? Not happy? You’re tired of your bases being boring green flock? What’s that you said? Yes, you in the corner. You never base!?! Oh…well, let’s see if I can let you guys & gals know what I do and maybe that will help get your miniatures based in something besides dust and superglue. In my last article I wrote about making time to paint your miniatures so that you can get them painted and on the table. For me that goes hand in hand with basing your miniatures. Even though I joked in the above paragraph about basing only in flock,
I think its better to have an all flocked base than nothing at all, it just looks better. With just a little more effort you can add some ballast. Ballast is small rocks that range from pebble sized to very fine sand sized. A note about flock and ballast, one container will last you quite some time. You can save yourself a bit of money by buying the larger containers that are usually carried at model train shops, though some other hobby or model stores carry the larger containers as well. But even if you buy one of the smaller (say Games Workshop) brand flock or ballast, it will last you at least a few dozen miniatures worth of material. Back to ballast, I buy a few different sizes and mix them together in a ziplock bag as shown below.
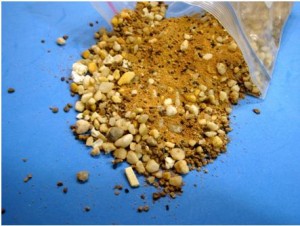
I use regular Elmers brand (white) glue to glue my ballast to the base that I’m working on. But I’m starting to get a little ahead of myself. But my point is that for basic basing ballast and flock work just fine and look much better than having nothing on your base at all.
Before I get into the rest of the article I want to say a few things – I almost always paint my miniatures and bases separately and then figure out how to get the miniatures onto the base, this probably goes against what you’ve been told in the past or on other sites and that’s fine, its just the way I prefer to do it. The other thing is just please be safe with any tools that you use when creating your bases.
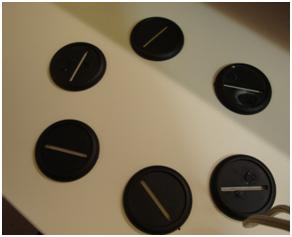
For this article I’m going to base my unit of six bloodgorgers (which unfortunately are still not painted) that I started painting during our recently completed slow-grow league (which I’m going to write up in another article to come). Below are the shamefully empty bases that we’re going to work from.
Thankfully they’re medium sized bases which will give me a decent amount of room to work with. There are things you can do to give yourself a bit more room, some of which I’ll use in this article.
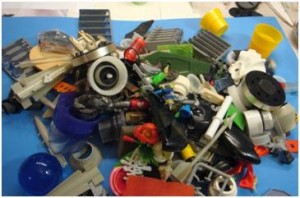
As far as things that can be used for basing, the sky and your patience are pretty much the limit. I’ve been keeping bits for years and so I have an advantage.
A word on what I’ll loosely refer to as “collecting” bits. Obviously leftover parts (otherwise known as bits/bitz) from models from your armies (we all have more than one, right? :P), but ask your friends for leftover bits they might have or even for old models they might want any longer.
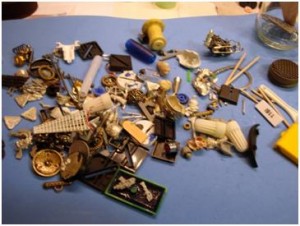
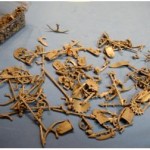
As a last resort you can go out and buy model kits (such as plastic skeletons) to save for later use as kits, which is fine if you have the money, but I like to try to make my gaming dollars stretch as far as I can. If you have access to old electrical equipment that you can safely tear apart, that can yield some interesting gears and bits as well.
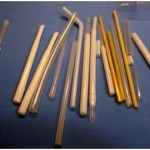
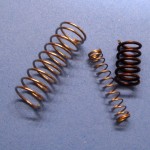
I recently acquired some gears and springs from an old plastic date stamp that was going to go in the trash at work. Do you recall I mentioned model train stores earlier, well they (and other model stores ) sometimes have parts from models left over that you can get for free or very cheap and sometimes if they have a bulletin board you can post a sign asking for free/leftover parts. Drinking straws from juice boxes and the like will net you good sized “pipes” after being washed (always wash used straws). Toys from yard/garage sales or children’s toys may yield you some gears, interesting parts, and whatnot. Last but not least, a walk around your yard or neighborhood may yield some small sticks that are sometimes useable.
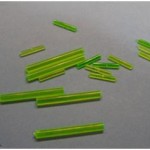
Light green plastic rod from GW’s Necron range, though you can sometimes find this in long rods at hobby shops, these are just leftover bits.
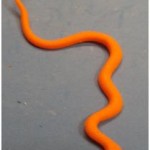
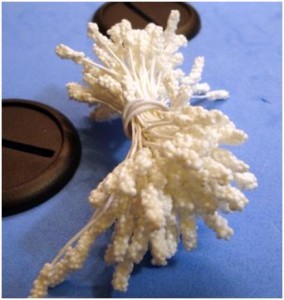
Speaking of hobby shops (such as Michaels), take a look around them and you can sometimes find hand inexpensive things to use such as these cake decoration things that I use as cattails:
I can tell you that I doubt I’ll ever use them all. An example of how I used them is below:
So, nice to have, easy to use, and they were easy to paint.

These plaster cobblestone bases are nice to have and break easily. They can also be sanded down with a file to make angled parts as well. These were made using a mold from www.Hirstarts.com , mold #210.
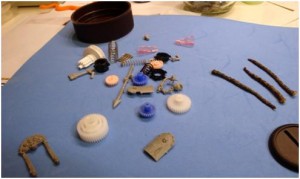
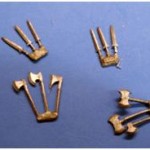
These are the bits I’m thinking about using. I may or may not use them all and may add something later.
I’m just going to show you the tools that I normally use and go over them briefly.
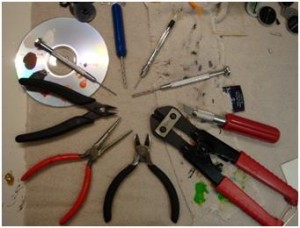
As you can see, nothing special: various hand drills, hobby knife, regular snips, heavy snips, pliers, and small bolt cutters. Okay, the bolt cutters are a little unusual, but I find them handy for cutting thick or hard metal wire or rod – basically, anything that’s too hard for the heavy snips to cut.
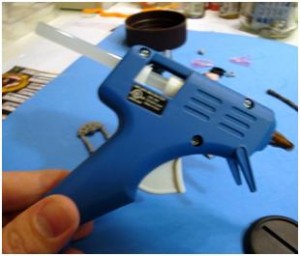
The next tool that I use almost every time I do any basing is the handy dandy hot glue gun.

I use a mini-glue gun as it has a finer tip and just generally takes up less space. I’m on my third one as they only seem to last me about a year or so before the mechanism that feeds the glue sticks into the glue gun gives out. Or maybe I should just stop buying them at Michaels?
And that’s it for this installment – stay tuned to your Plarzoid station for the next exciting installment of Mugu’s Madness!

Nothing to see here, move along. 🙂 Promise the next installment will be more interesting.