Nova Open 2017, Day 3 and 4
Day 3
Day 3 was another long class with Roman – Building a Display Base. It was the only seminar I had all day and it started at 10am, so I went and worked out in the morning before grabbing some breakfast and finally getting to the hotel for the class.
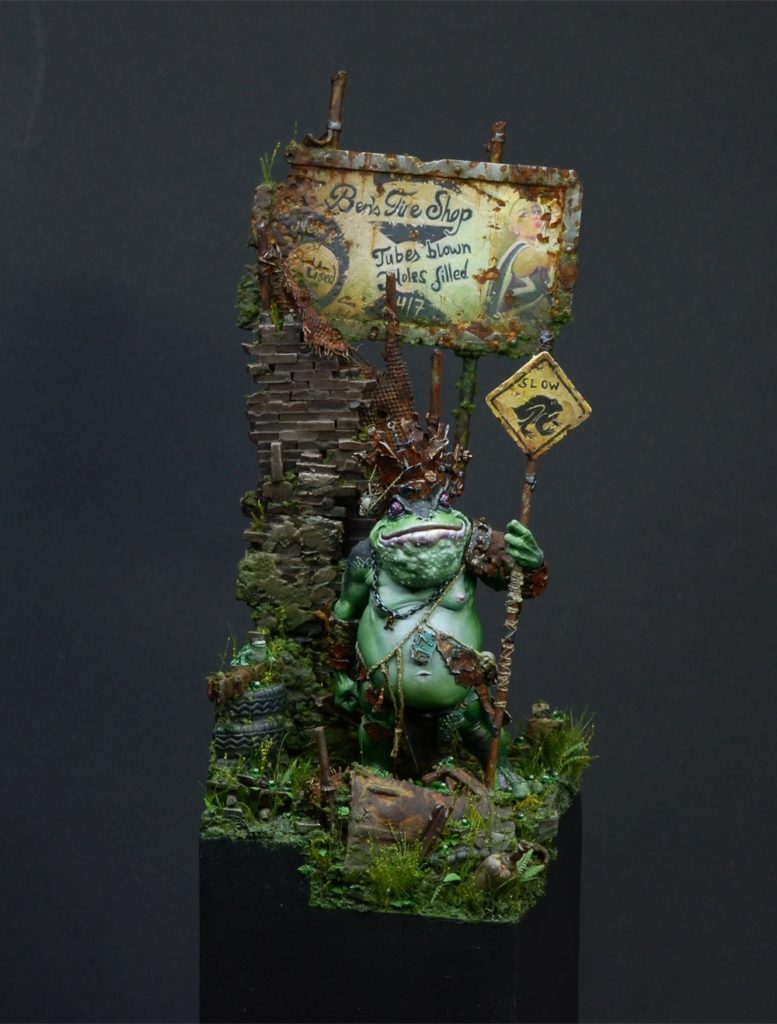
Roman started us off with a discussion on this piece, Frog X-ing.
Roman shared sketches, work-in-progress pictures, and spoke to his thought process as the piece went from concept to completion. After running us through it, he taught us about the golden ratio, and then showed us how it was used in the piece. Then, he showed us some more pictures and tested our understanding of what had been covered thus far.
Once he was comfortable that we’d grasped the concepts, he carefully selected models for us. (He actually walks around and looks at each of us for a moment and then paws through his collection making thoughtful noises before picking one. Rarely you get asked a question and have input. Somehow, he always picks the right model to inspire you.)
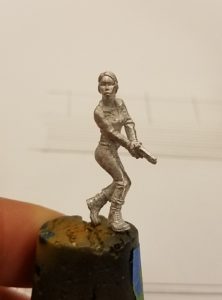
We all received a model by Hasslefree – I got Taylor.
After some cleanup, I mounted her to a painting cork and went to work thinking up what scene I wanted to portray with the display base I would be building in the class. Roman had decided on our genre ahead of time (it was in the class description), post-apocalypse, and he had even found several works of art to show us as inspiration. We had wooden plinths and access to his cornucopia of at-scale odds-and-ends (chairs, bathtubs, wheels, street signs, nearly anything you could imagine…).
As I considered my options, I noticed that she was wielding the pistol fairly expertly, but she was otherwise poorly equipped for the apocalypse. She had no pack, no other weaponry, and her pose looked like she was wary of a nearby threat, or investigating something. To me, she appeared skilled but out of her element – she’s had training, but perhaps is inexperienced or has been caught off-guard? Either way, I wanted to play up how small she was, and make it feel like she was lost in the environment.
As I sketched out ideas, I definitely wanted her to be in an urban setting. That would give me a huge swath of options when it came to adding debris and flavor to the piece, and it firmly solidifies the idea of “apocalypse” rather than “jungle” or “arctic”. With that in mind, I decided that maybe the part of her story we’re seeing is when she’s found herself out alone or separated from her group while on a scouting / scavenging run.
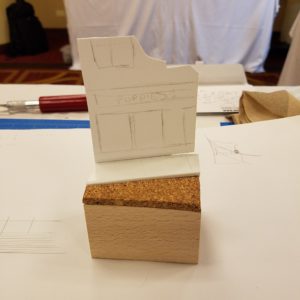
So, I sketched out a sidewalk and storefront, using the golden ratio as a guide for how things should be proportioned.

After the sketches, it was time to mock things up using the provided 5cm x 5cm x 7cm wooden plinth, some cork for my asphalt, and plasticard.
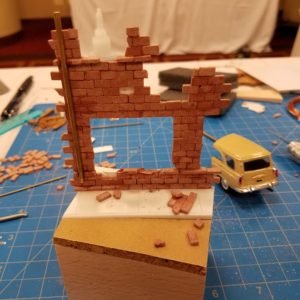
After lunch, we got to work building our brick walls. Roman walked us through the process, showed us how to distress and rough up the bricks, and then set us loose. Roman was worried about having enough bricks for everyone, so we all carefully made sure no bricks were lost and all of our bricks were used efficiently. “Add another window, use less bricks!”, Roman was suggesting often. At one point, I dropped a brick onto the floor and upon recovering it (and thus saving a brick), was awarded for my efforts with half of a toy car. In fact, it was the rear half of the car he had used in his Fallout 4 inspired piece, Welcome to Sanctuary.
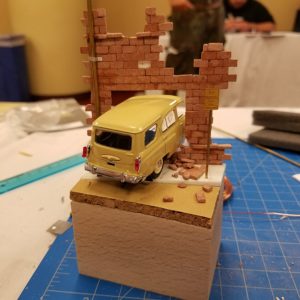
No matter what I tried, the car didn’t fit well onto the street. I tried having it up on the curb, and I tried allowing it to hang over the edge of the plinth. Neither worked for me. Additionally, the car was the perfect object for Taylor to be hiding behind, leaning up against, or peering around. And, it fit perfectly with my scene. I was beginning to get frustrated when I finally found a solution.
I crashed it into the building.
This required tearing down some of the wall I had built, but it was worth it in the end. Of course, the “No Parking” sign pointing at the car was an obvious choice.
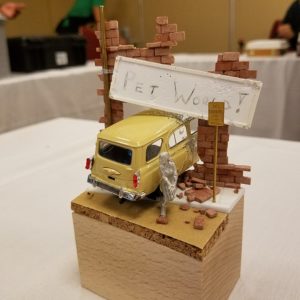
The last part of the class was about how to build a sign out of plasticard, and how to weather it using files, drills and other destructive methods. Yet again, the scene just kept evolving and getting better and better. Naturally, the sign hanging over this store front had fallen down upon the car when it impacted the building. Not only did this further cause interaction between the building and the car, it also formed a nice line pointing at the subject of the scene, Taylor, who would be peering around the back side of the car.
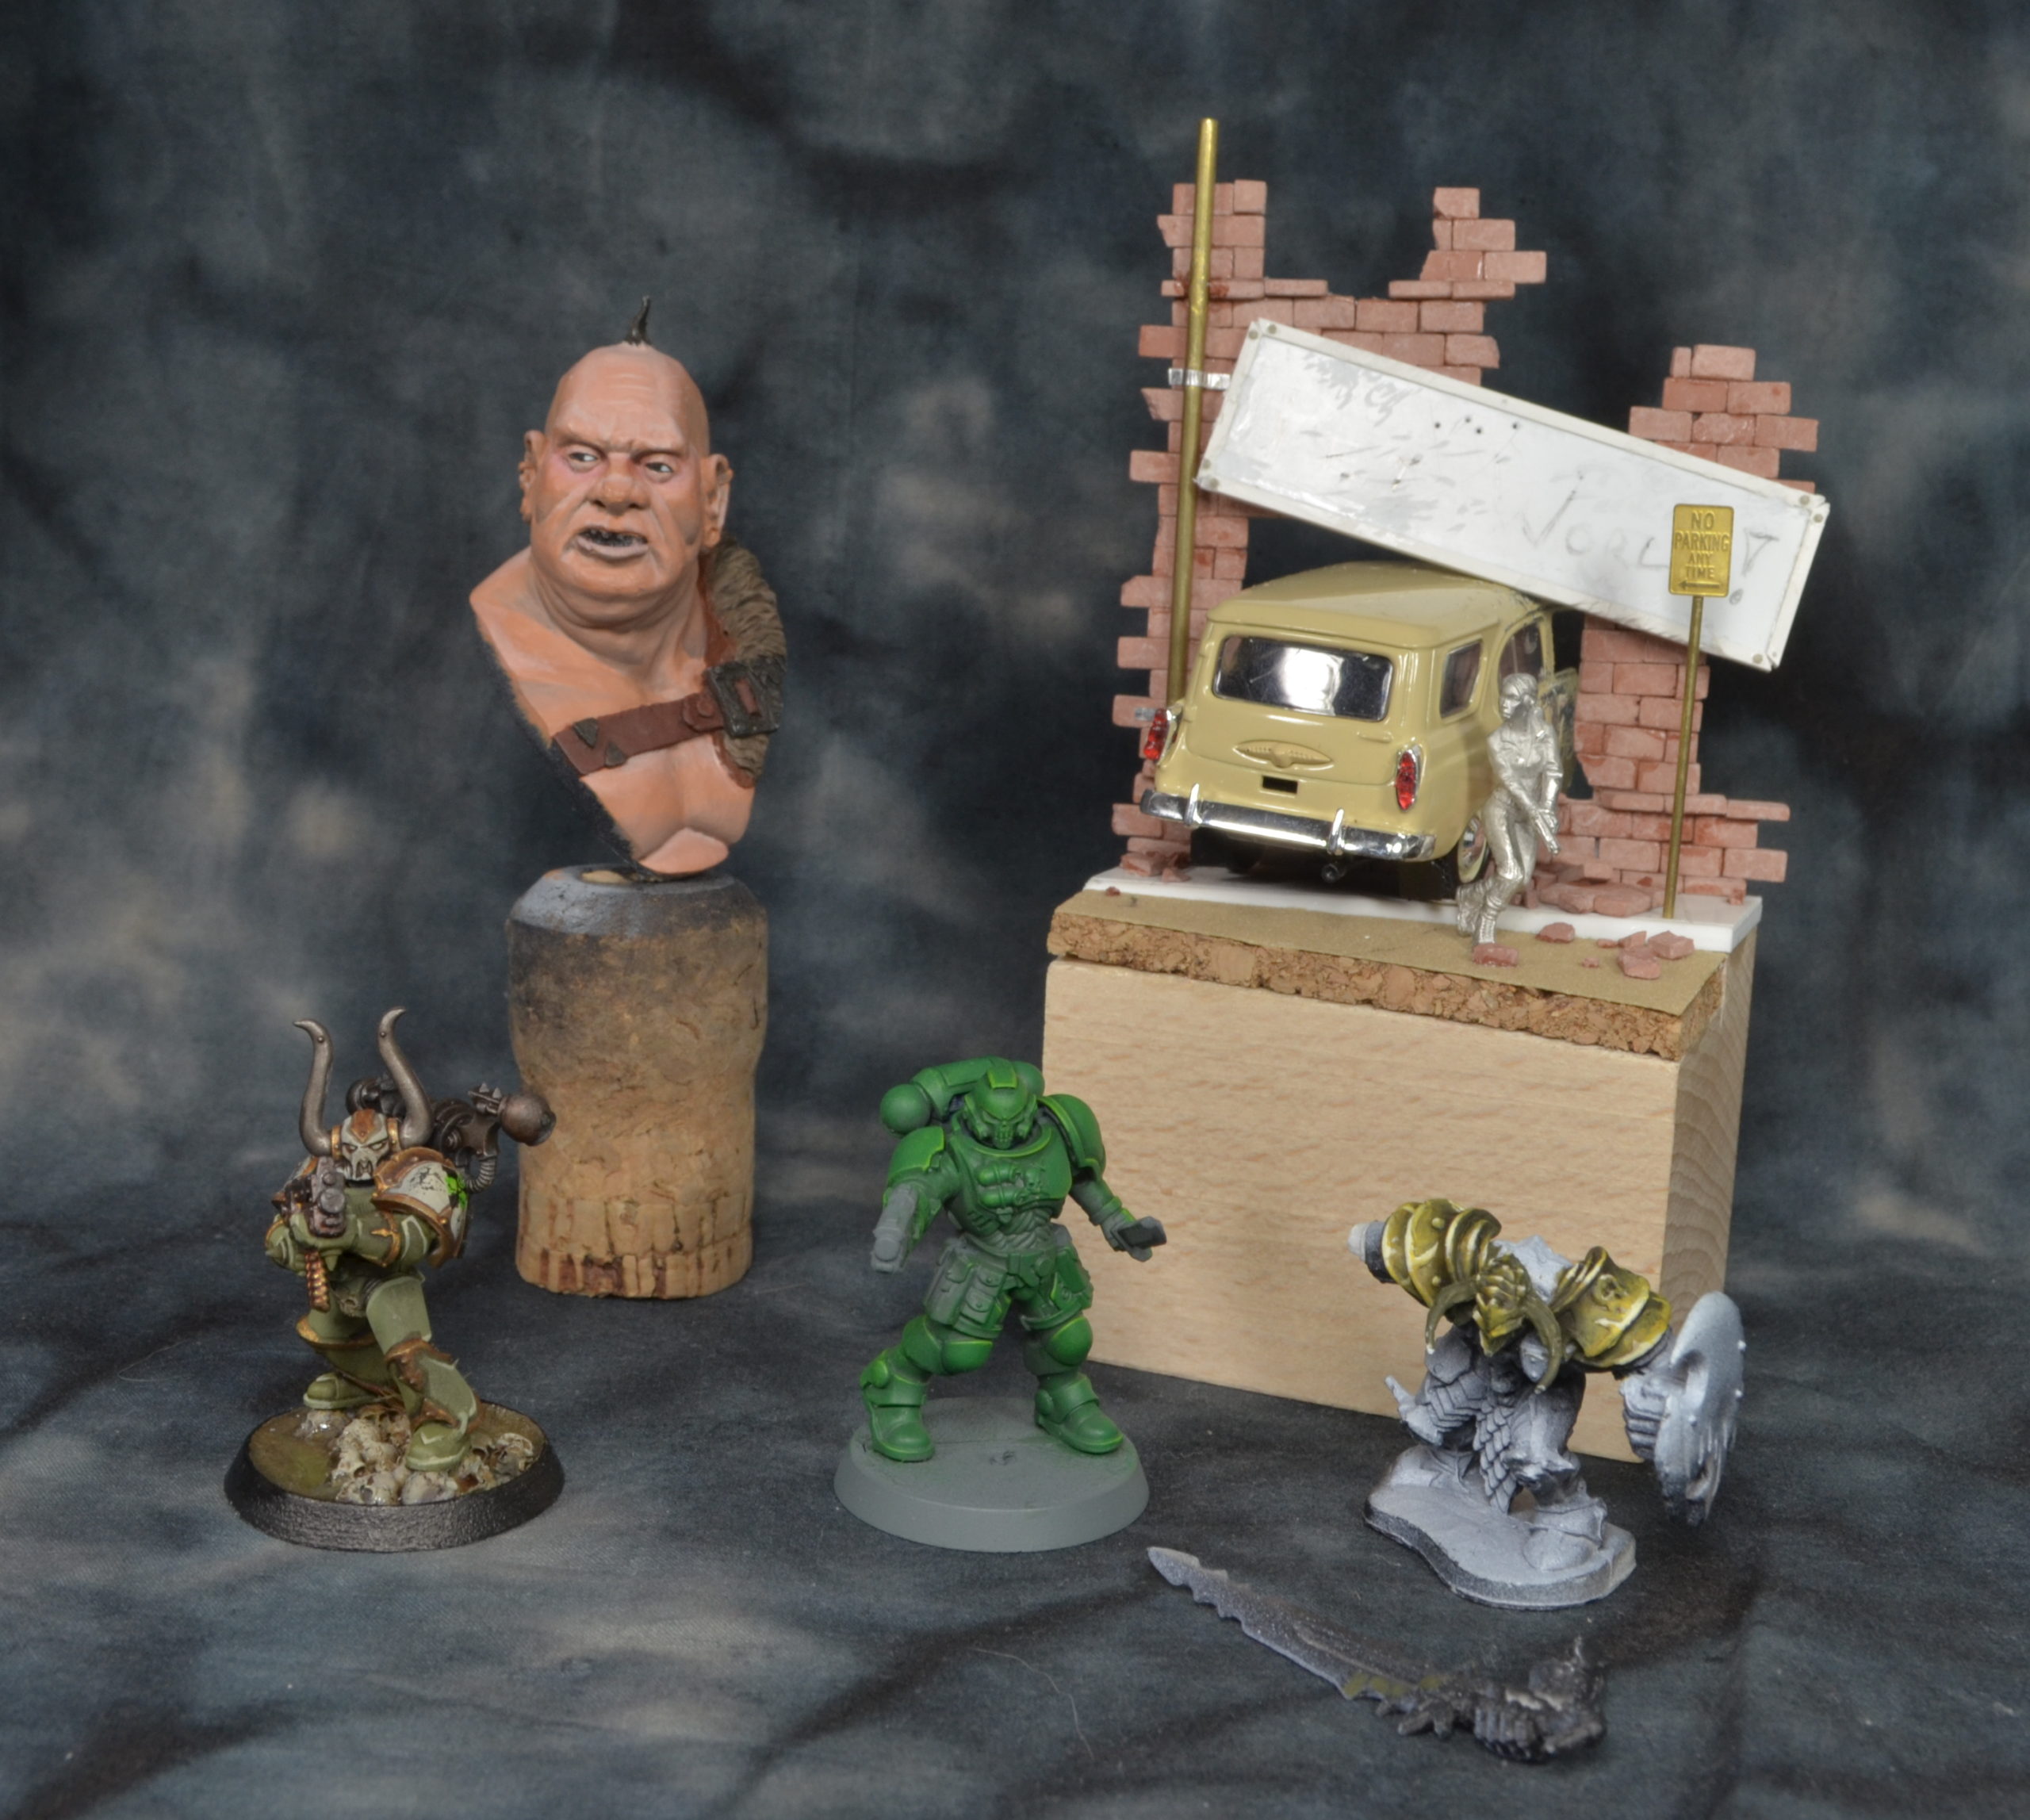
Here’s the (nearly) finished piece. I have more minutiae and details to add, but the essence of the piece has been captured, I think.
You will definitely see more of this piece in the future.
Day 4
Day four, Sunday, was a smattering of classes I purchased at the last minute. All one or two hours, I saw these as a chance to learn from painters I haven’t worked with before, and try out some new things.
I started the day off early with a class by Stiff Neck Studios, Speed Painting to Above Tabletop Standard. These guys are army soldiers stationed in Texas who paint in their freetime. Their specialty is speed painting armies at reasonable prices, and every year for the past several they have sponsored a charity army for the Nova Open Charitable Foundation. Good guys, all around.
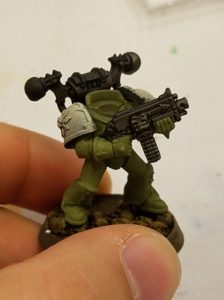
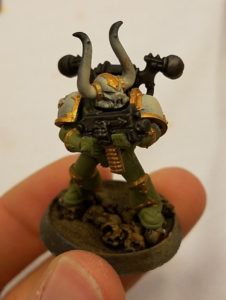
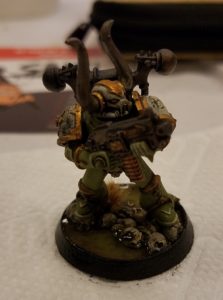
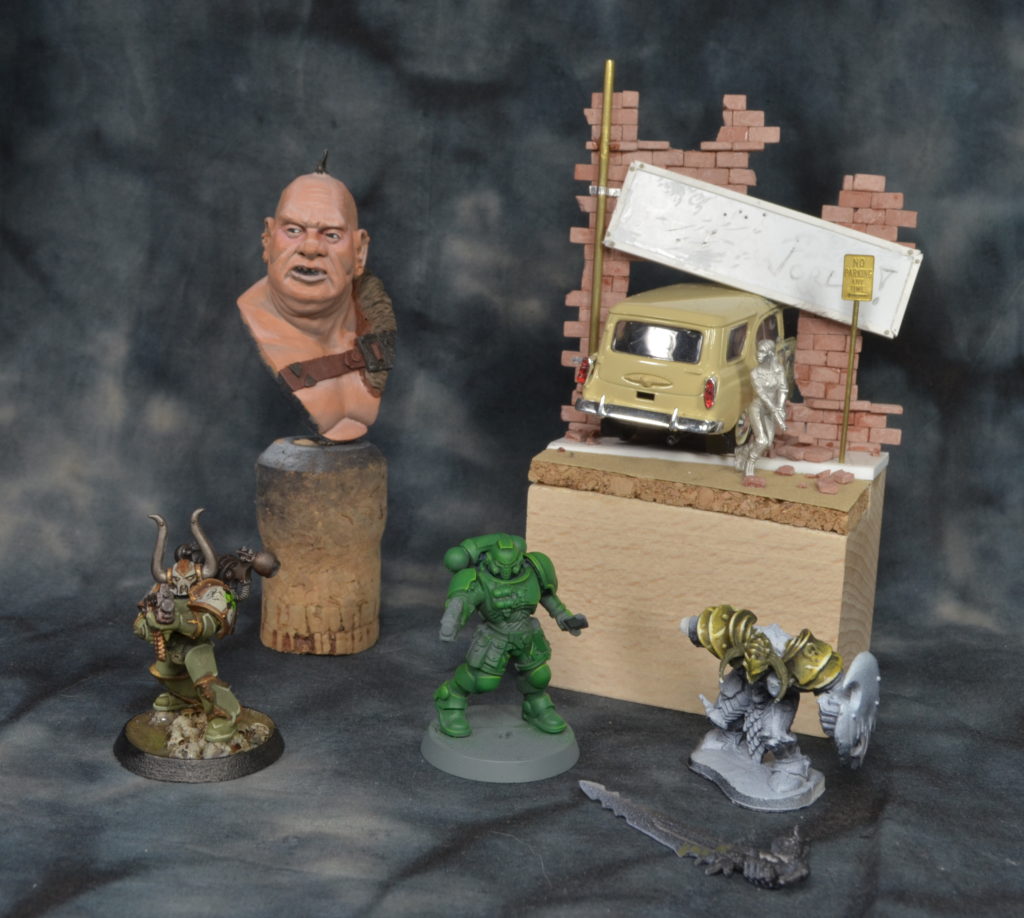
We were each given parts for a nurgle marine that had already been primed and airbrushed various colors and told to assemble them. As we did so, they explained their general philosophy on efficiency. They use rattle-cans, and large brushes to do bulk work on individual pieces, especially when you don’t need to be super careful. For instance, the backpacks and guns had been airbrushed with a metallic paint and then all of them were already given a black wash. This was done with all the parts stuck to a paint stick with masking tape (to hold the parts),using a huge brush. 20 backpacks and guns done in a few strokes.
We were then given very strict timelines for painting each step of their process – gold trim, metals (helmet details), washes (green, brown and black), etc.
As a surprise, they had done something special with the shoulderpads, and we got to do some weathering on them. They had sprayed them with a rust brown, and then a chipping medium before putting down the off-white color. At the end of class, they also showed us how to do some quick water effects after we’d painted our bases. I was really happy with the quality level of the model after only two hours.
Speed painting is something I really want to focus on, because I feel I am very slow (and I have evidence to back it up). I think the SNS methods (washes, airbrushing parts separate colors before assembly) are great, and I plan on using them moving forward.
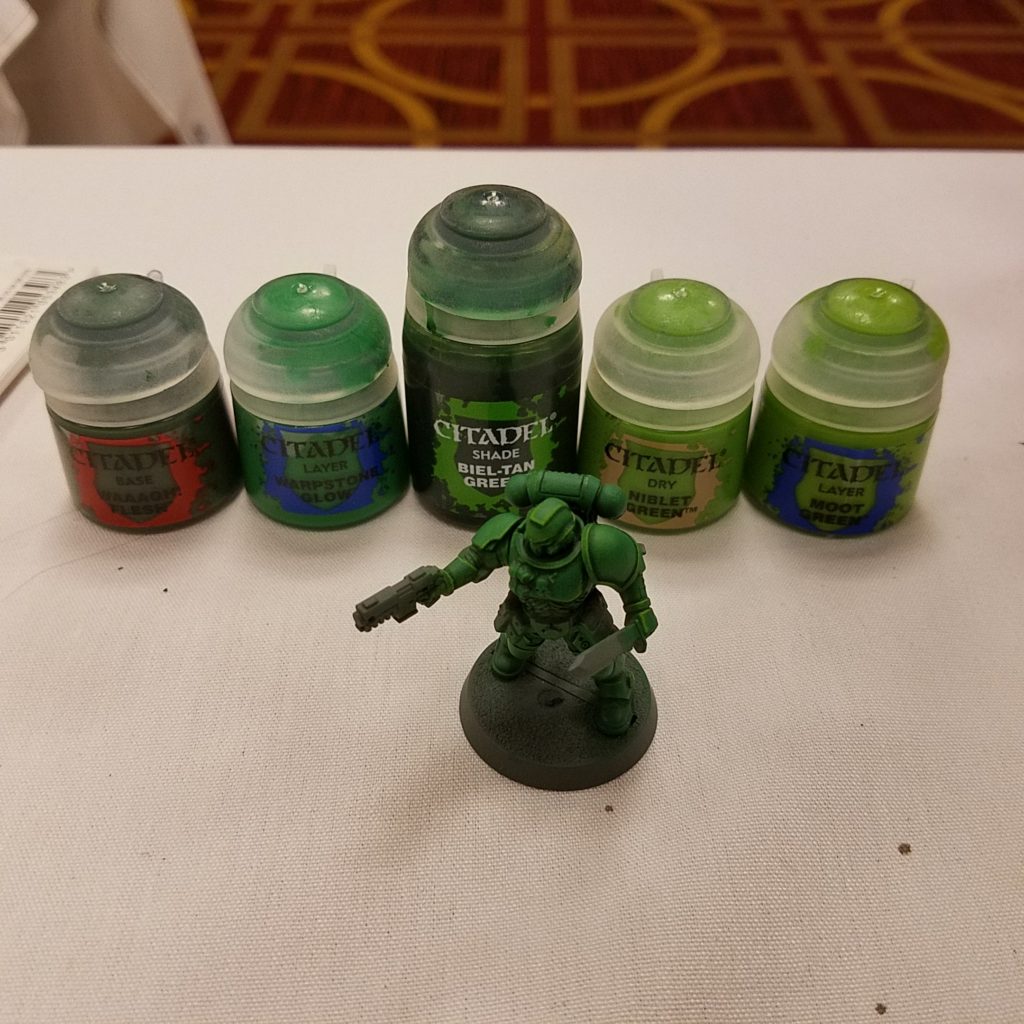
The next seminar was Games Workshop: The Citadel Painting System (Warhammer 40,000), taught by Duncan Rhodes. Yeah, the guy from the official GW YouTube videos. We each got a Primaris Marine Reaver that had been assembled and primed, and we set to work. Duncan walked us through base-coating, wet-drybrushing, dry-brushing and edge highlighting.
All of these are things that Duncan has covered over and over again in his videos, but it was fun to hang out with him for two hours, poke fun at ourselves and hear fun stories about working at GW. Several times, Duncan got up and walked around to check out our models and offer advice or encouragement. By the end of class, I had the decent start to a Salamander Primaris Space Marine!
The last class of the day (and, sadly, last of the convention,) was with Caleb Wissenback of CK Studios, Art of Non-Metallic Metals.
Caleb had a nice presentation using concept art and paintings about how metal objects are depicted through color. He spoke to the general ideas (light, shadow) and then he walked us through how to apply them to an object. While co covered many rules about how light behaves and how our eye reads that information to mean “metal”, he also spoke about how it’s important to break them in specific ways in order to make sure the effect lands successfully.
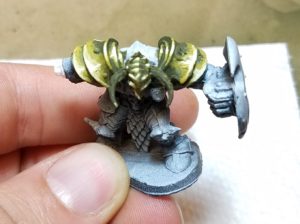
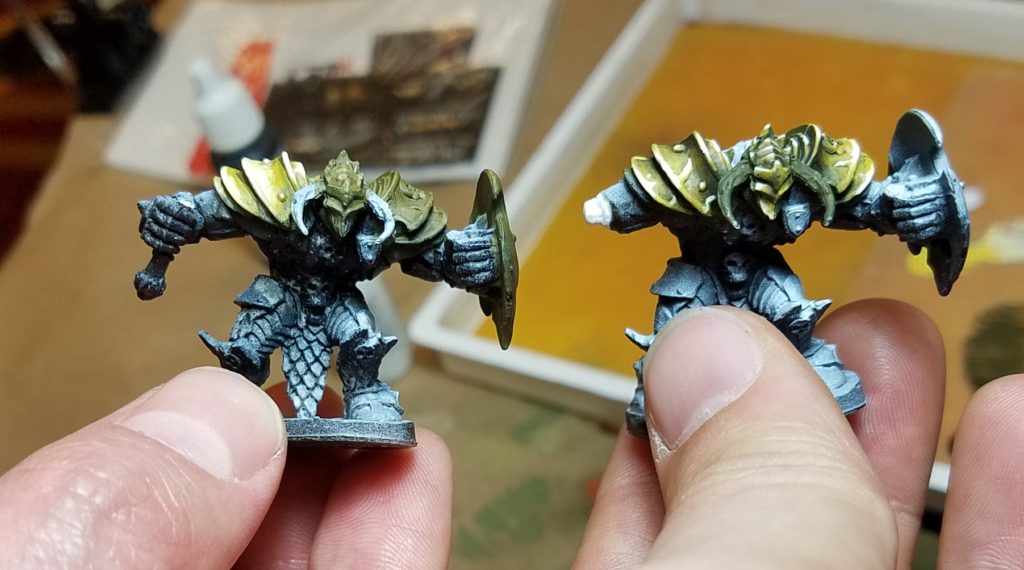
After the talk, we put these into practice using Reaper’s new Gold NMM paint line (which he then gave us after class, for free!). We started out with a rough placing of paint to get the general idea down. It didn’t need to be clean, it just needed to capture the effect quickly before we lost our concept of where the light was and how the armor we were painting would react to it.
Once that was achieved, he walked us through how to strengthen the shadows, and pull in the highlights. As we did this, he talked about how to make the metal look polished vs worn, just by how the light reacts to it (without weathering or nicks / scratches). Check out these two, and ask yourself – which is polished, and which is worn down (think brushed aluminum).
All in all, a great class that gave me a new confidence in painting NMM when I want to.
Conclusion
The con was a blast, and I learned so much from all of the classes I took, friends I talked with, and art I enjoyed. I’m very happy with all of the hand-on experience I get at these classes, and I took pages and pages of notes throughout all of them.
If you ever get a chance to come and take these classes, I highly recommend it.

