Guild Ball Morticians (Showcase)
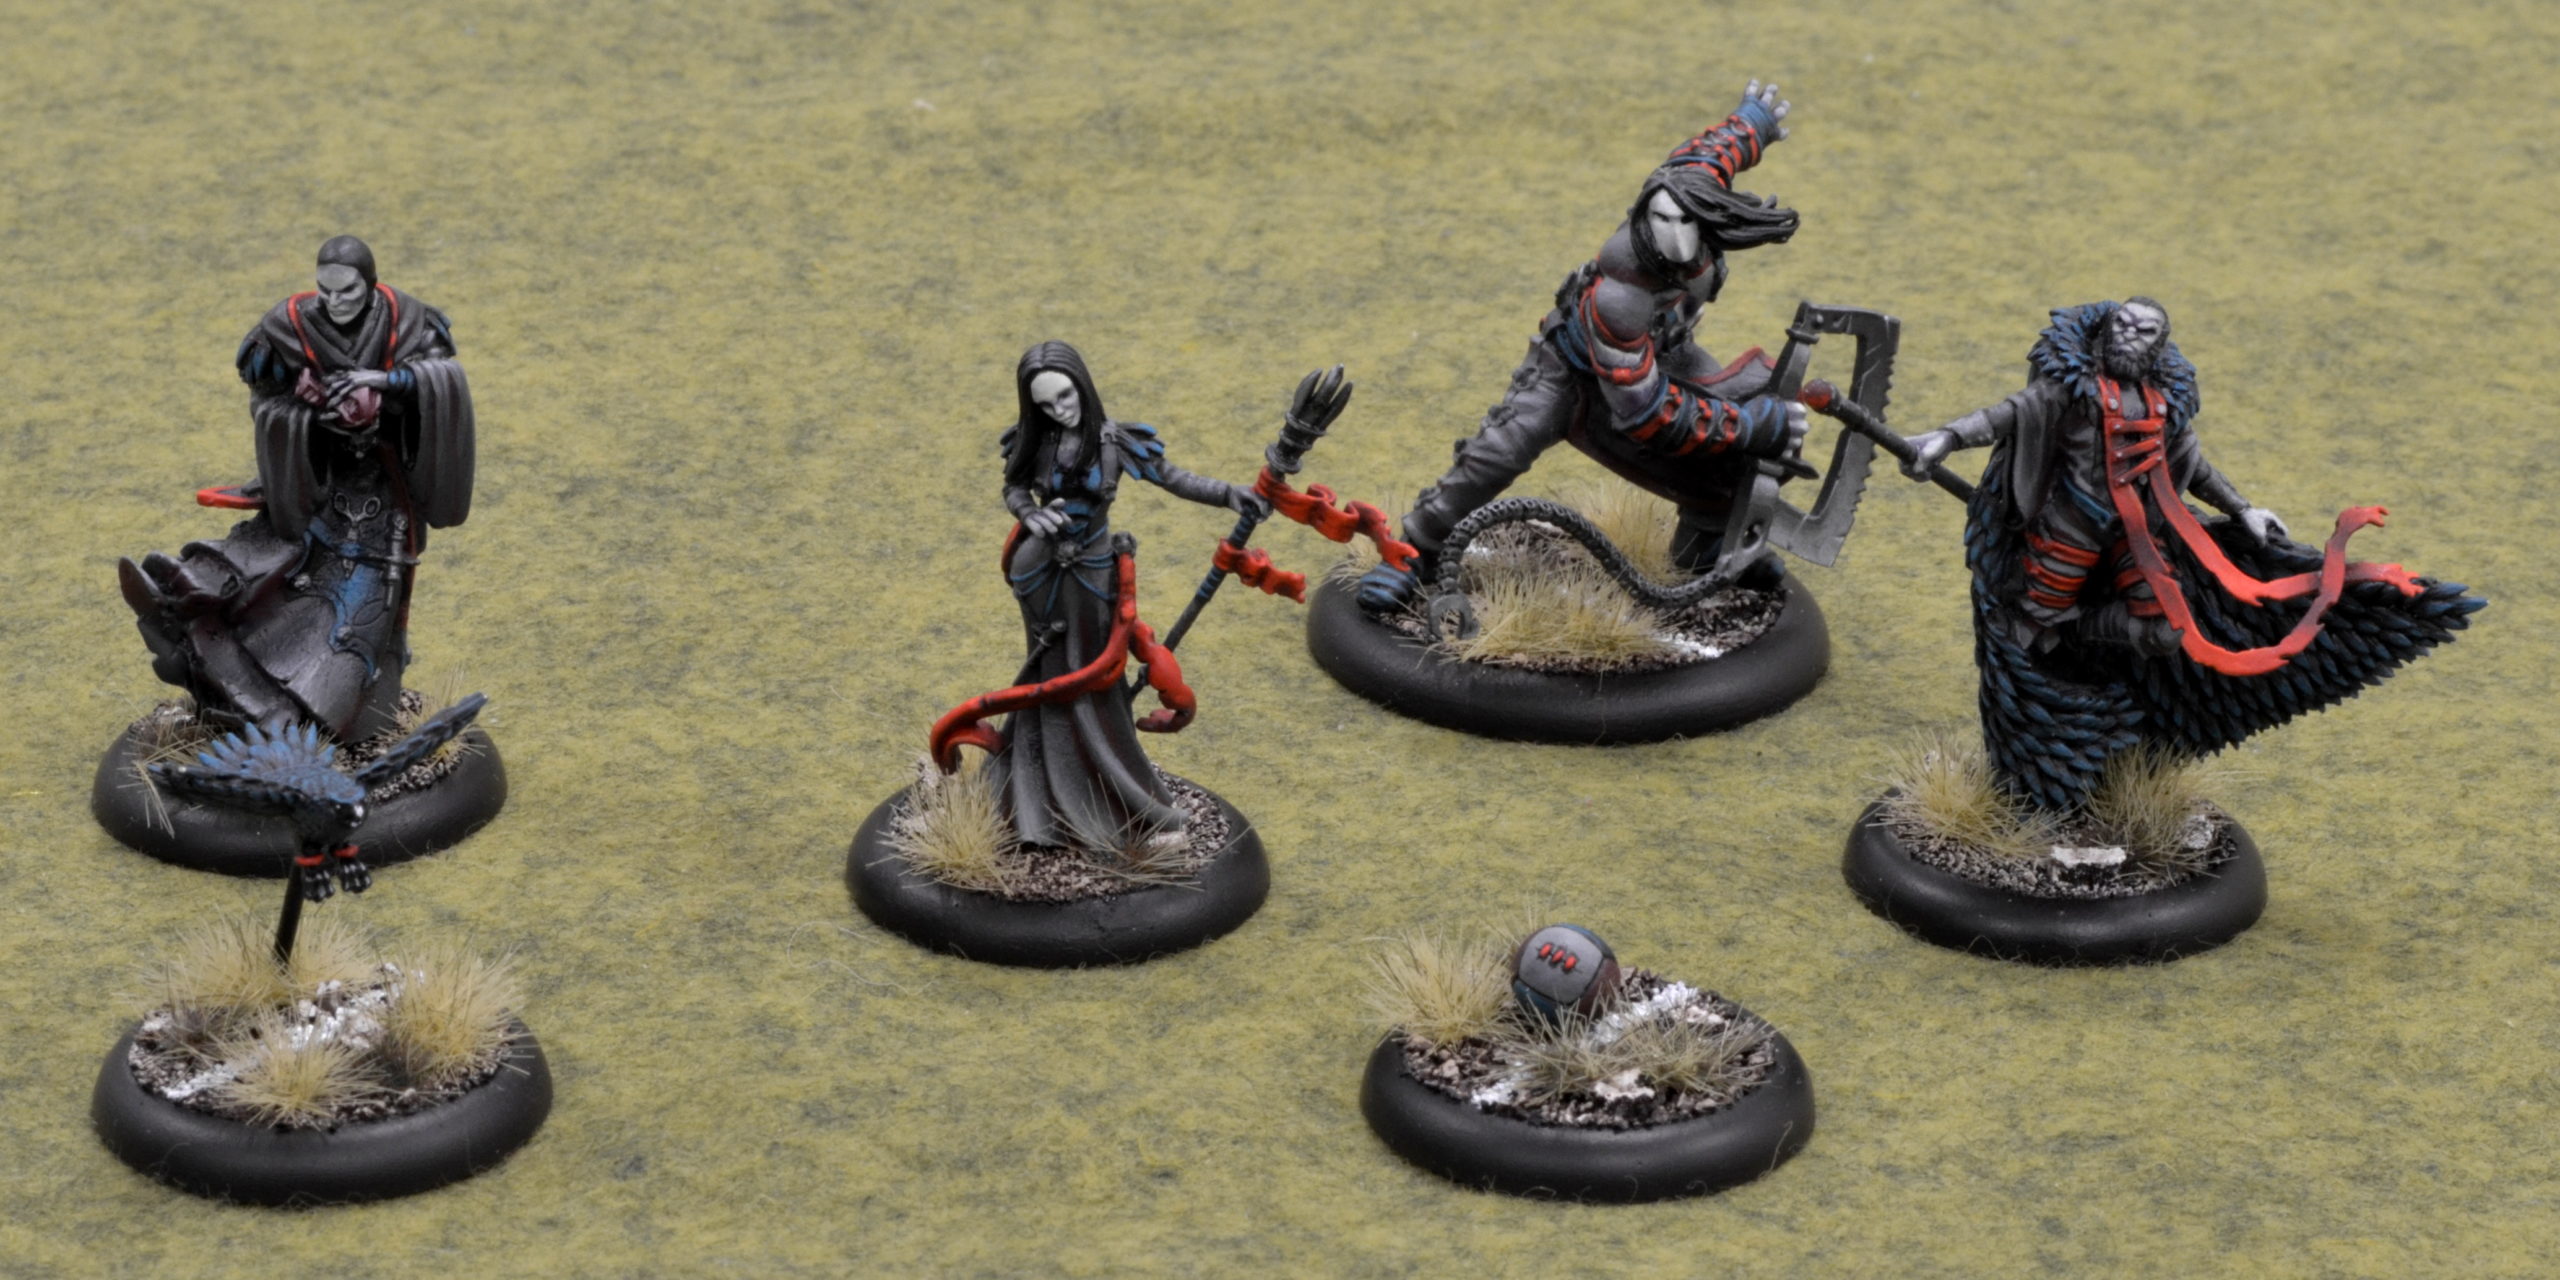
Guild Ball’s becoming a pretty big deal locally, and I wasn’tg surprised when one of my local players who hates painting contacted me about painting up one of his teams. He gave me full control over the scheme and let me loose. I did some research online and picked a few schemes I liked. If you look around, you’ll see that I stole some color placement ideas, and I flat out copied an idea for the color I finally set on for the robes.
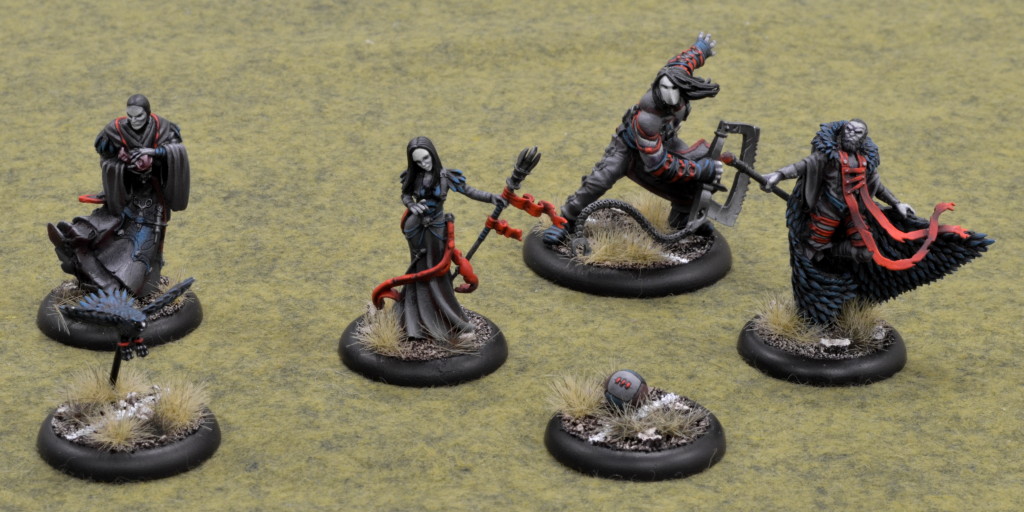
I’m painting the entire faction for him, but we broke it up into the models he really wanted to play with first, and then the rest. This batch of five allows him to add in one of his Union models for a full sized 6-man team.
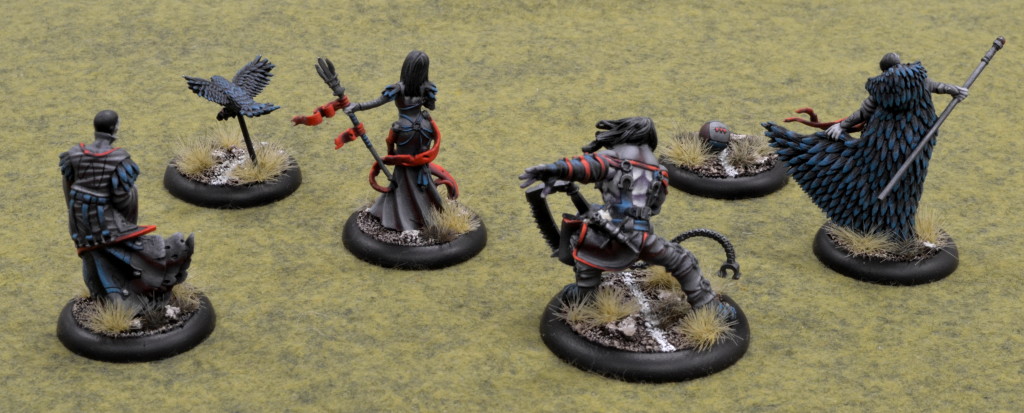
This post is more of a showcase and explanation of the paint scheme. I will use the three remaining models as a vehicle for a proper tutorial on this scheme and the techniques I’m using to achieve it. If possible, I may even film / broadcast it … If that something you’d be interested in, let me know in a comment.
Silence
This guy was the first model I worked on, and a proof of concept for the scheme. I painted him completely start to finish and showed him to my client for approval to continue. I had a lot of fun working on him, and my client loved it (apparently Silence was his favorite model, so I’d picked a good one for the test model).
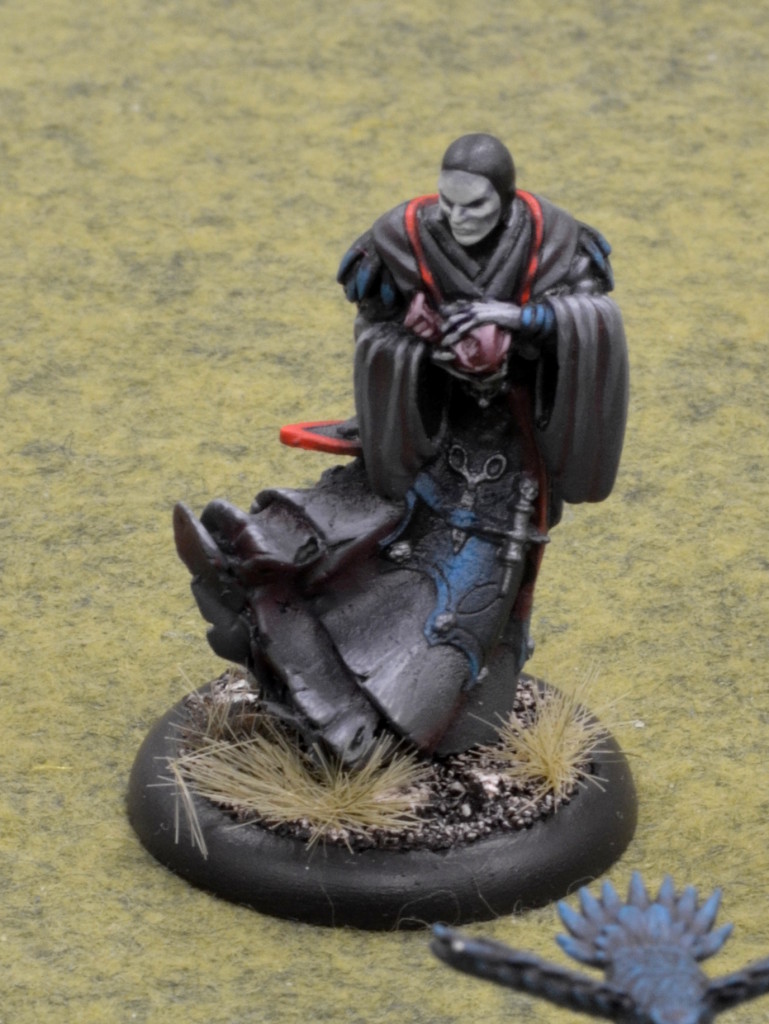
I outright stole the idea of shading the grey with red from someone else’s models, and I really think the look helps convey the dark, bloody nature of these Morticians. I just loved that idea, and ran with it. I also knew I wanted a splash of bright red, so that was the obvious choice for the trim on Silence’s robes.
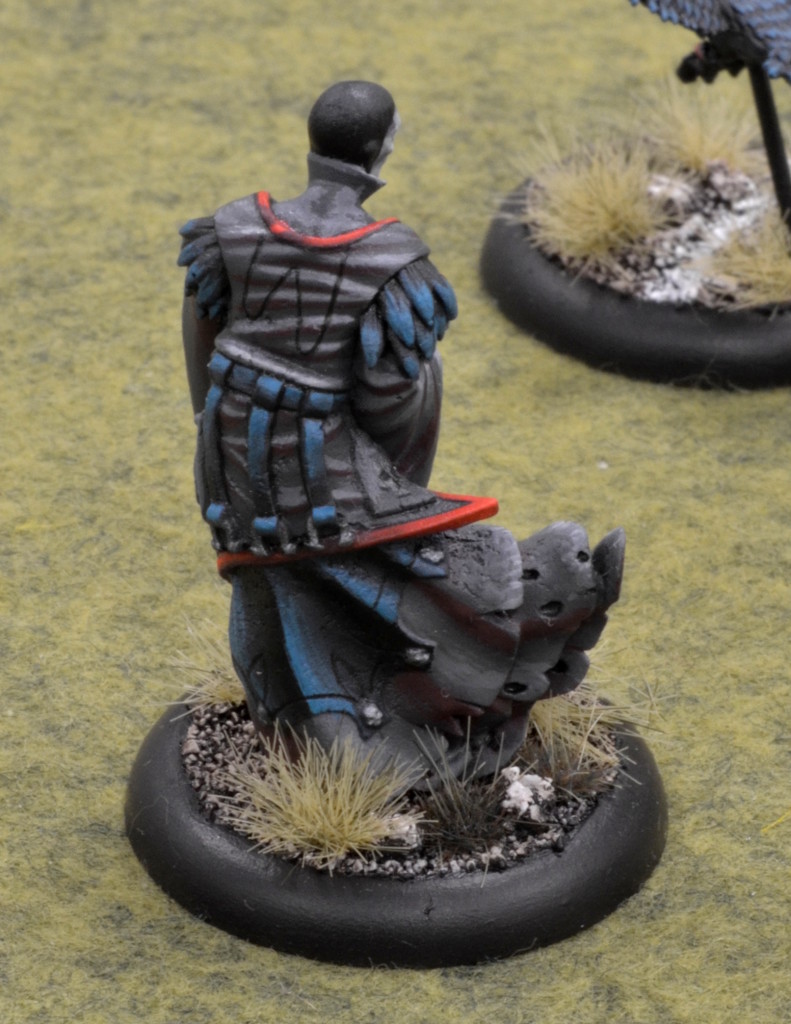
With all of the warmth in those two parts of the scheme, I need to balance with some cool colors. Thus, the dark teal and purplish tint to the skin. I was also using predominantly dark colors thus far and decided that bright, pale skin was not only fitting for Morticians but would help lighten up the model a bit and keep it from being too dark.
Cloth recipe: Black prime, basecoat of Vallejo German Grey (airbrush). Shade with P3 Sanguine Base, and highlight up with 50/50 Vallejo German Grey and Vallejo London Grey. Final highlight with pure Vallejo London Grey. I eventually needed to punch up the highlights just a tad more, and mixed in some P3 Menoth White Highlight into the Vallejo London Grey to lighten and warm it up just a bit.
Cosset
Cosset’s a great mini. The rag-doll-esque pose with the slack arms and head tilt is creepy and I love it. Females tend to have lighter skin tones than men, which meant I had to make her skin very bright. She’s also got these straps all over which are her only real touch of the teal color.
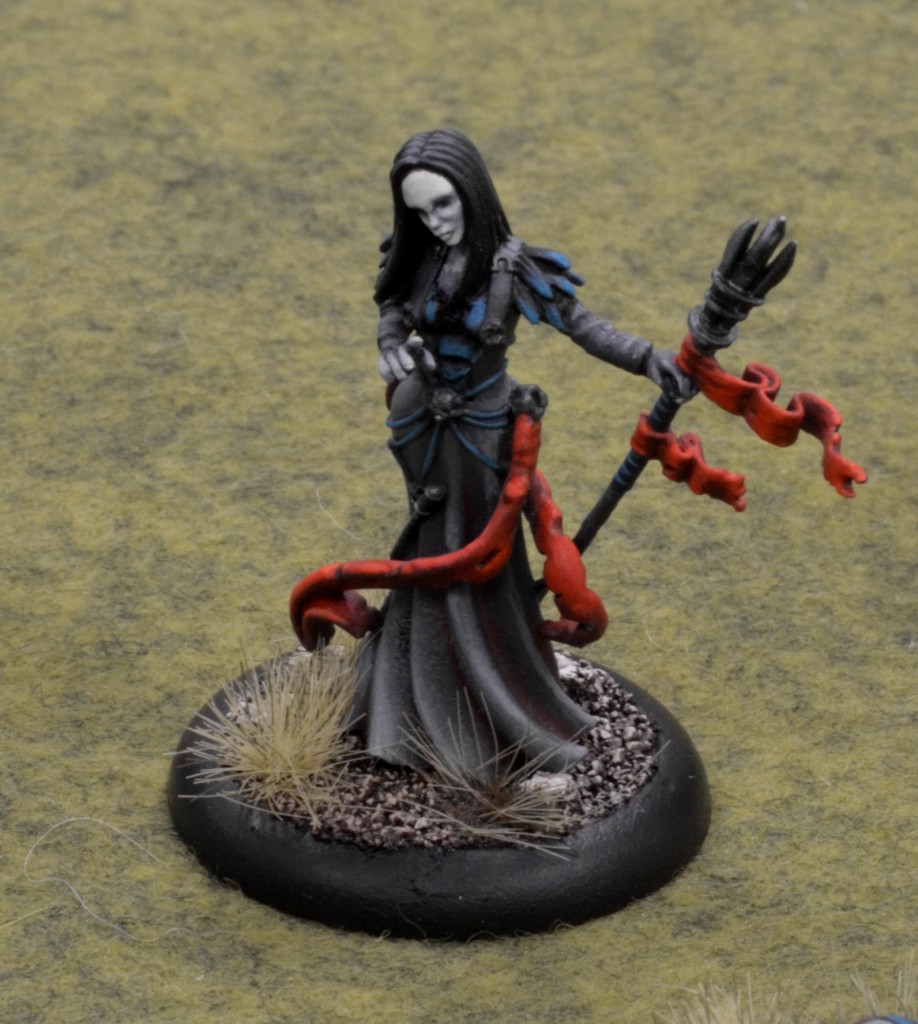
She also has no trim on her dress, but she has lots of ribbons, so that’s where I put the red accent color. As a result, she has a much warmer composition than some of the others. She was also the first model with hair, which was an easy decision: black. Black hair’s pretty simple: leave most of it black, and just paint the spots where the hair’s natural sheen reflects the light. Use reference photos if you need to.
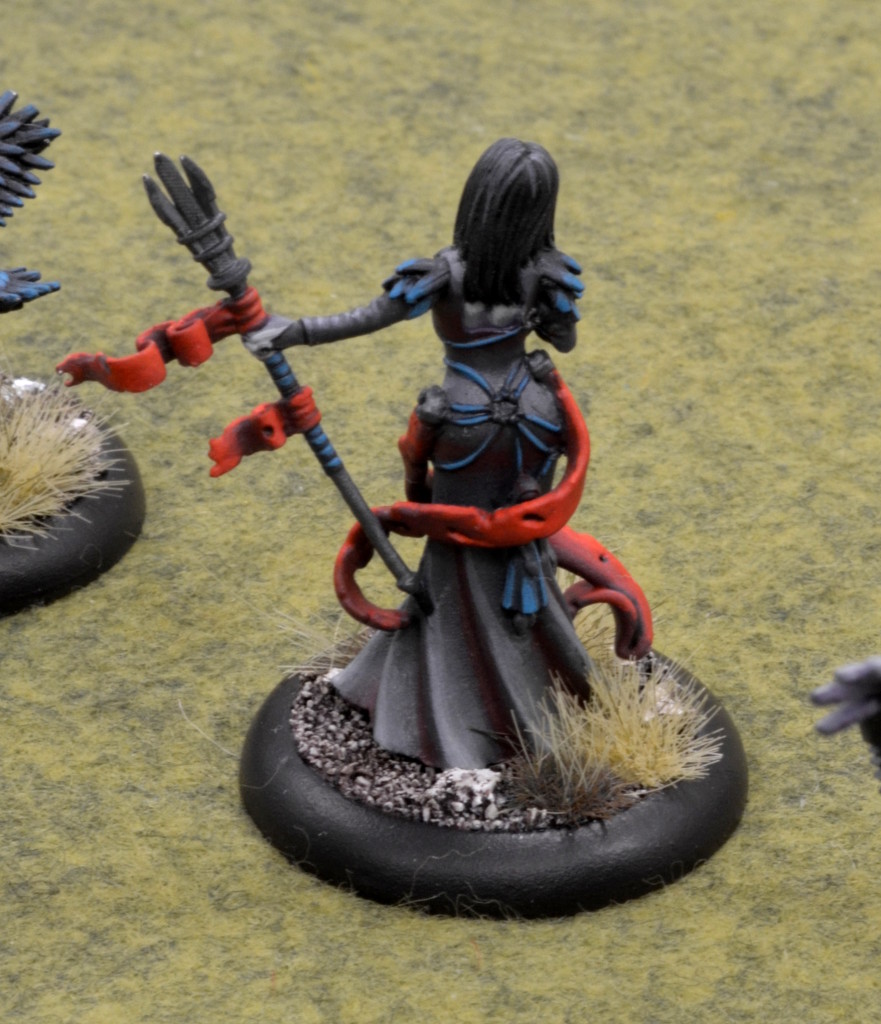
Red Cloth Recipe: I really prefer to build reds up from their darkest color, so I start with a black primer and then basecoat with P3 Sanguine Base. From there, I add in P3 Khador Red Base into the P3 Sanguine Base, layering in more and more red until I’m working with pure P3 Khador Red Base. From there, I mix in a little P3 Khador Red Highlight (orange) and add in the brightest highlights. Then, I hit the entire surface with watered down Red Ink. This is effectively the same recipe that’s in PP’s Forces of Khador book.
Obulus & Dirge
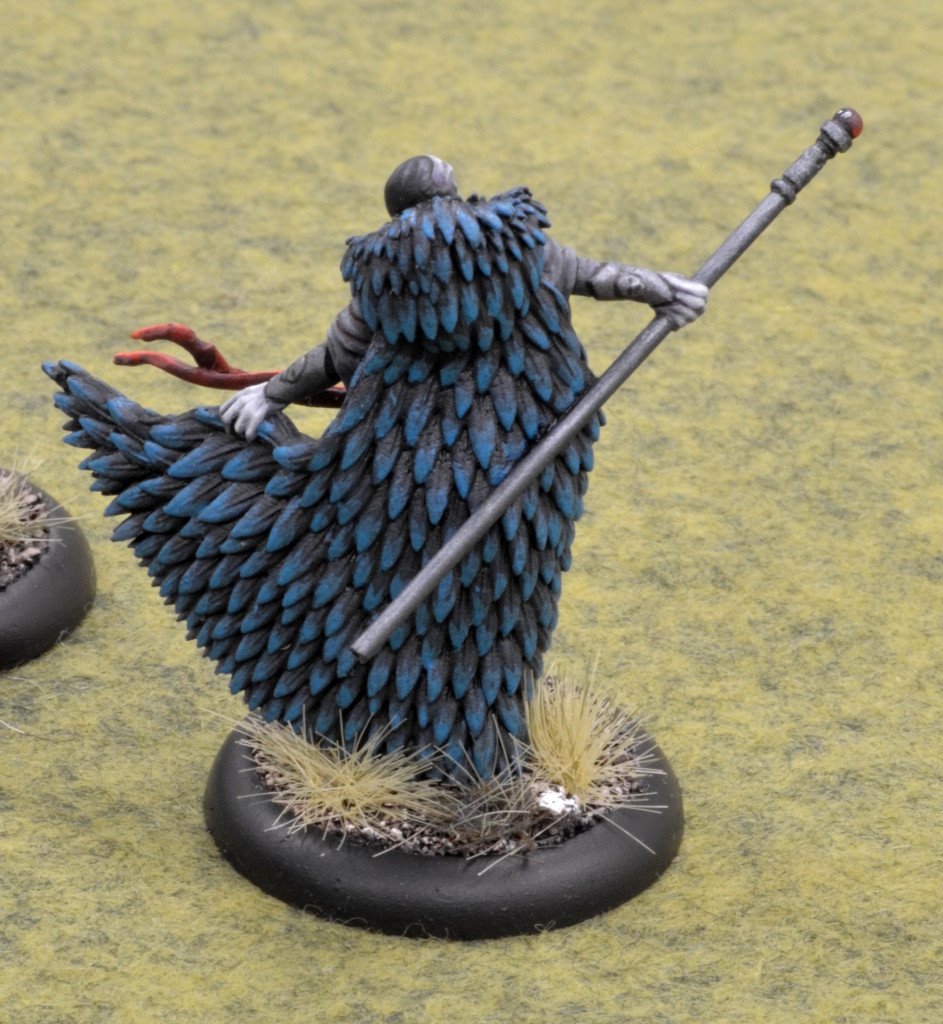
I’m lumping these two in together since Dirge is basically an extension of Obulus’ feathered cloak. So, everything that applies to Obulus’ cloak gets done to Dirge.
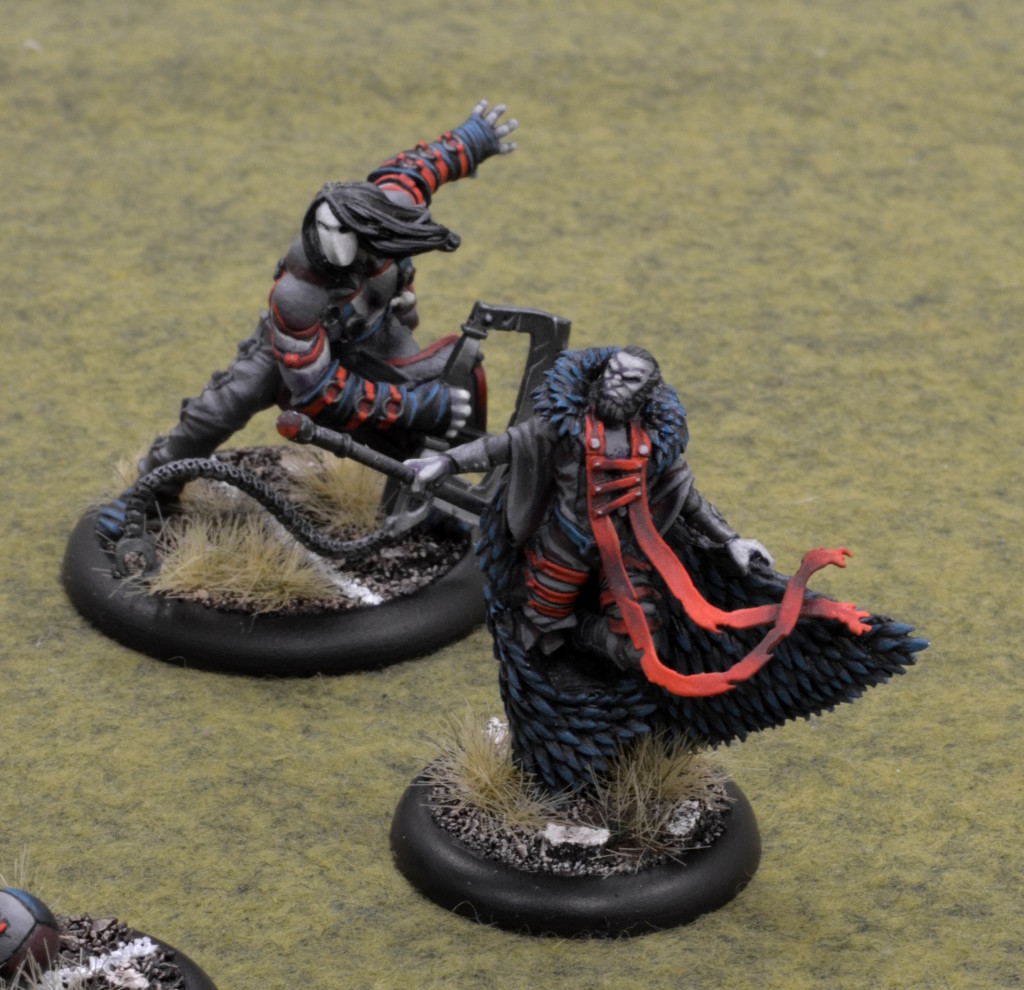
Obulus’ face is the most purple of them all because he has such strong features. It really makes him look old and grizzled, which is befitting of a team captain. The cloak, though, was by far the most tedious part of the entire project. I picked out each feather individually.
Skin Recipe: Basecoat with Vallejo London Grey then wash with GW Leviathon Purple (discontinued – any purple wash or shade will work). Then clean up most of the area with the basecoat leaving the purple in the eye sockets and recesses. Then, continually add in more and more P3 Menoth White Highlight as you build up the highlights, ending on pure P3 Menoth White Highlight. Check out my Faces Tutorial for thoughts on where shadows and highlights should go for faces.
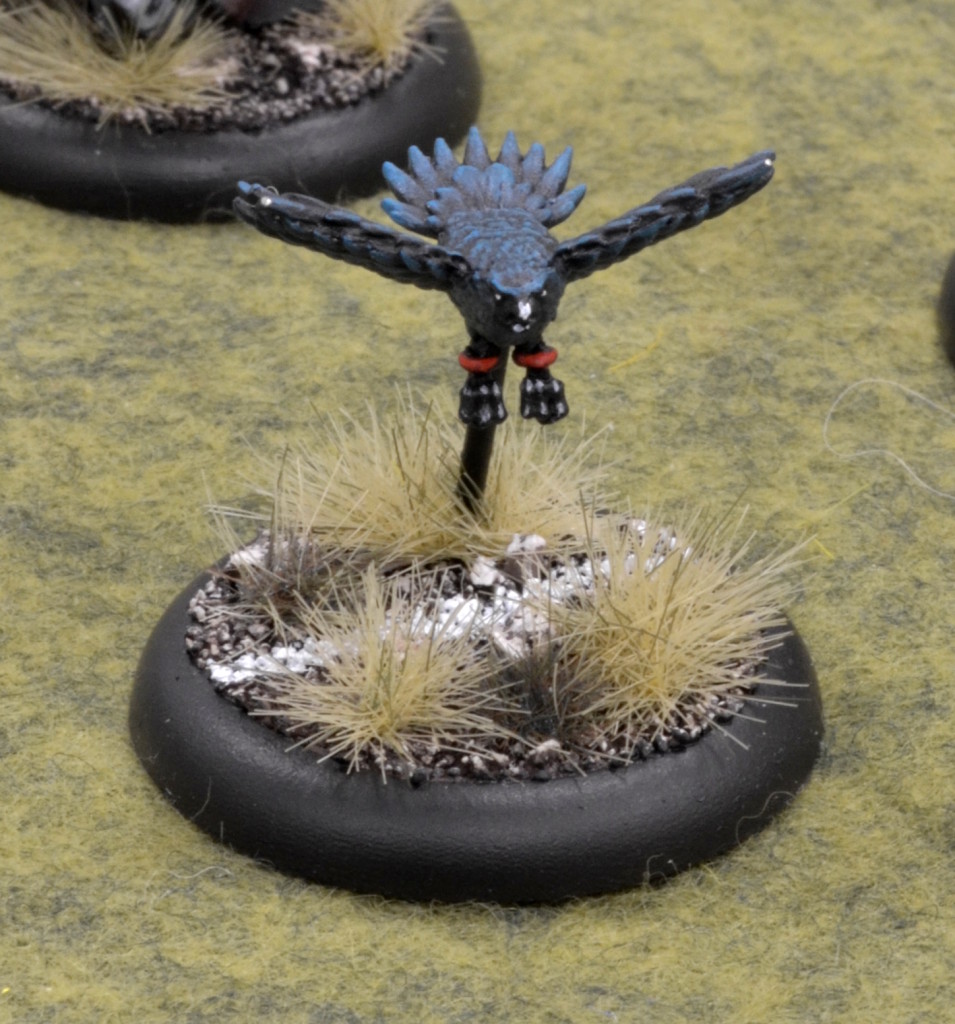
Feather Recipe: prime black, basecoat with P3 Coal Black. Wash with GW Nuln Oil. Pick out the feathers with P3 Coal Black again, leaving the inner 30% alone. Pick out about 50% with 50/50 P3 Coal Black and P3 Meredius Blue, then pick out just the tip with pure P3 Meredius Blue.
I really wanted to fit some red onto Dirge, and I found he has some bracelets or something around his ankles, so I painted those red as if he had a tether or something there. I also mounted him on a post rather than the miniature gallows he comes with because I’ve always hated the idea of characters hauling terrain around with them. It’s just so stupid.
You may also notice that Obulus’ staff is a little weird. The little ribbon broke off, and the staff was very wibbly wobbly, so I cut it off and replaced it with brass tube. I made it a little longer and then drilled out his hand and fit it in. Having done weapon shaft replacements before, this was nothing new.
Ghast
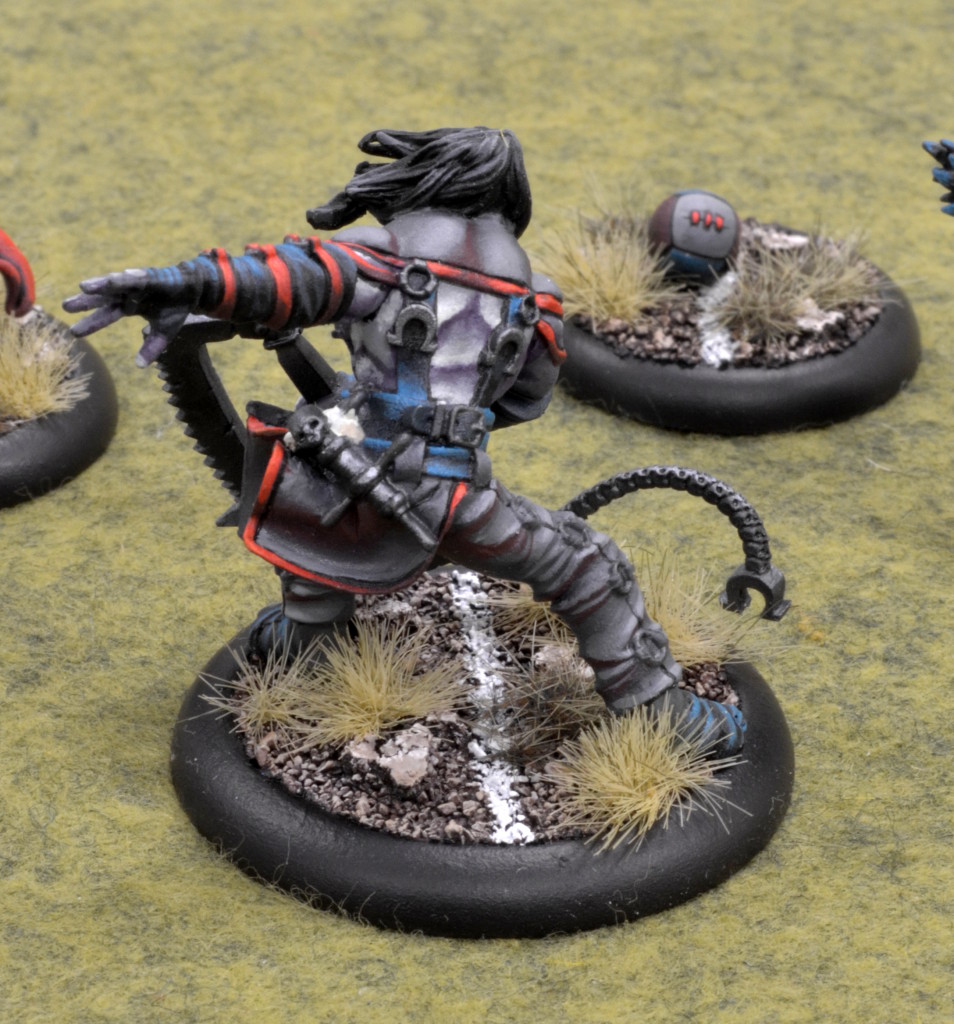
Ghast was one of the models I was most looking forward to painting. He’s got this amazing presence, and I love the fact he’s got this long hair and mask with the huge bonesaw weapon. He’s also the most dynamically posed model in this first set, so that really gives him some additional character.

Teal Cloth Recipe: Black prime, basecoat with P3 Coal Black. Shade with P3 Thamar Black, and highlight up with P3 Meredius Blue. That’s it. Simple and subtle but effective.
Basing
I sealed off the tab slots in the bases with masking tape and then slathered them in superglue. I added in a few pieces of crumbled up cork for large stones, and used flock for everything else.
For paint, I started with a black primer, then airbrushed in a dark brown – I don’t remember which one. I then dry brushed in a medium brown and light khaki color. TO add some variety, I used a brown wash to make some spots a little darker. I stippled in the white field lines using P3 Morrow White. I used Army Painter grass tufts for the greenery.
Overall, I tried to keep the bases dry and colorless to further represent the closeness to death that these characters have. Thus, I used dull, dry grass tufts, and there are no flowers or color on the bases. Because there’s nothing like driving the point home and then through the front door and parking it haphazardly in the living room.

Wow! These guys look great. Thanks for leaving the formulas you use as I will be coping your ideas for me own.
Great painting ! I just bought a Morticians starter and I may steal your idea since it seems that even with my painting skills I might be able to do it 😀
Do you think it would look good with a white basecoat ?
I think that with this scheme being so dark, using a white primer would just create a bunch of extra work.
I’ve got pictures for a full step-by-step how-to, I just need to get the full army together for an on-the-field photoshoot and then write it up.
I would be glad to read such an article !
Btw, do you use an airbrush for all the step ? Or only for the grey basecoat ?
I use an airbrush for most of the grey cloth. Everything else is brushwork.