[How-to Tuesday] Extreme Behemoth Build
The Extreme Behemoth. It’s a mark of status among the Khador players, and it’s a project that has many variations.
The Behemoth is a character Warjack that is … well, it’s huge and armored and bristling with weapons:
Hailed as the ultimate Khadoran warjack, the Behemoth exemplifies the best qualities of Khadoran design: extremely heavy armor, a devastating array of weaponry, and immense strength. This peerless warjack is as much a symbol to the Khadoran people of their power as it is a force of destruction to any who would stand against it.
However, for a ‘jack that’s name means “bigger than big”, the model’s a little scrawny and is doing the funky chicken instead of being big and menacing like it’s name implies:
.jpg)
So, way back in the day, PG_Cloud-Gatherer came up with the Extremoth, a Behemoth based off the Extreme Juggernaut model:

Not only does this more accurately convey the idea of BIG, it also looks more in-line with the rest of the Khador ‘jack line.
Today, I’m going to show you how I made my interpretation of this conversion:
The Parts List:
All of the metal bits can be ordered from Privateer Press via their online store. It’s an expensive model, but a very fun one to build.
- 1x Extreme Juggernaut
- 4x Behemoth Fist Back
- 1x Behemoth Head
- 1x Behemoth Left Rail
- 1x Behemoth Right Rail
- 1x Gun Carriage Left Gun
- 1x Gun Carriage Right Gun
- 1x Behemoth Spike Sprue (cannot find in store)
Optional parts:
- 2x Behemoth Gun – if you prefer these guns
- 1x Large Metal Base
The Build:
The legs, torso and arms of the model are stock. I shaved the hatch handle off the top of the torso like I do on all my kits, but that’s just personal preference.
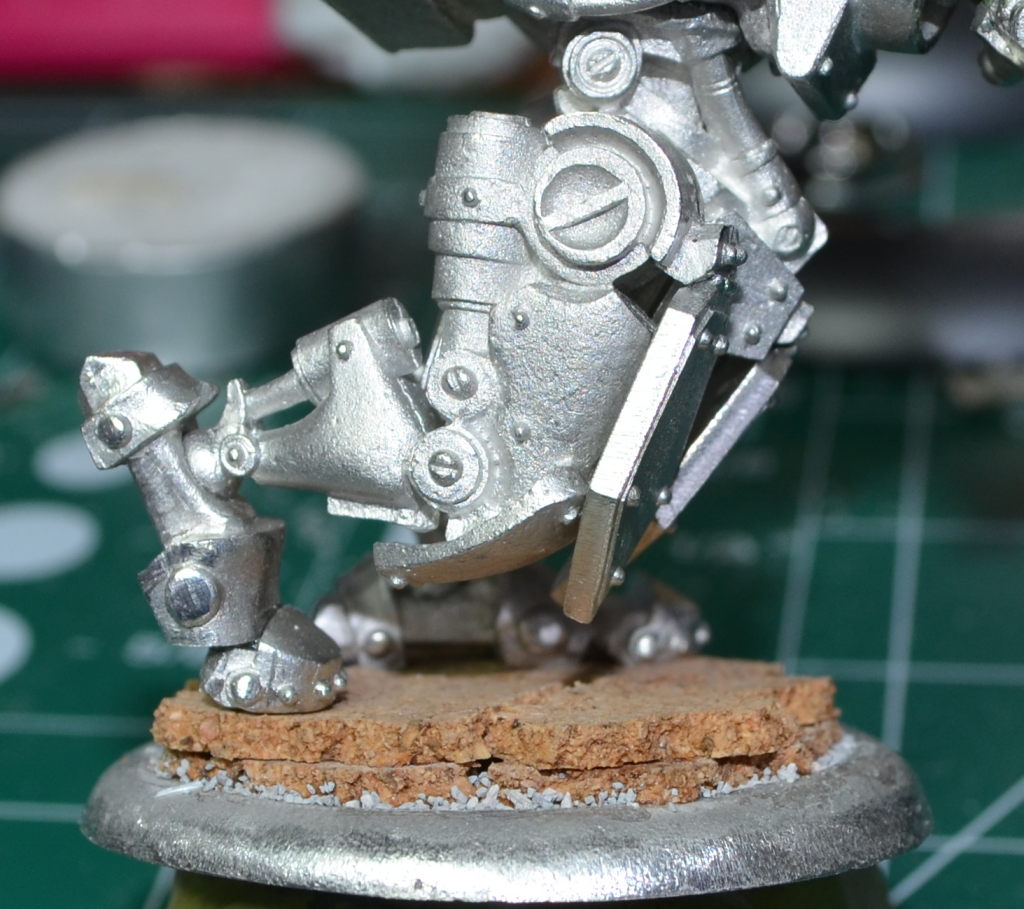
I also laughed at trying to fit both of the ‘jack’s massive feet onto the large base, so I did the same mod to the right foot that I’ve done in the past: cut the toes, rotate up and then rotate the leg backwards so it looks to be pushing off with the toes.
The ankles and hips are all ball and socket joints, so lots of pins were used to lock joints in place. Just like on other all metal models with teeny ankles, they’re a weak point in this model, due to how much weight is being held up.
The real work starts with the hands.
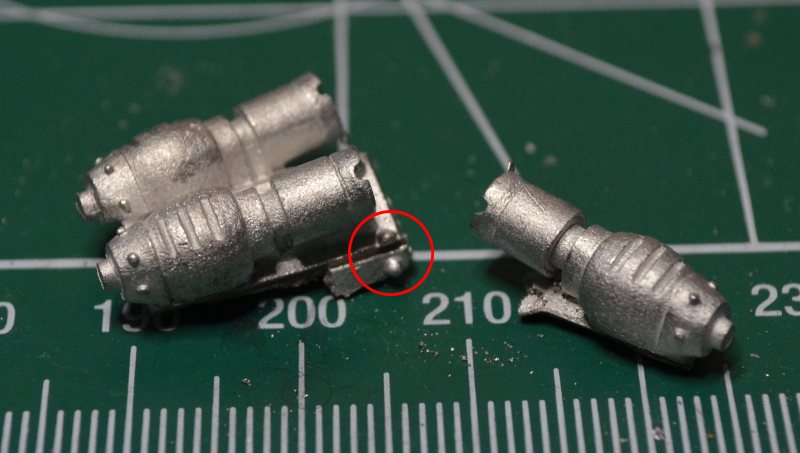
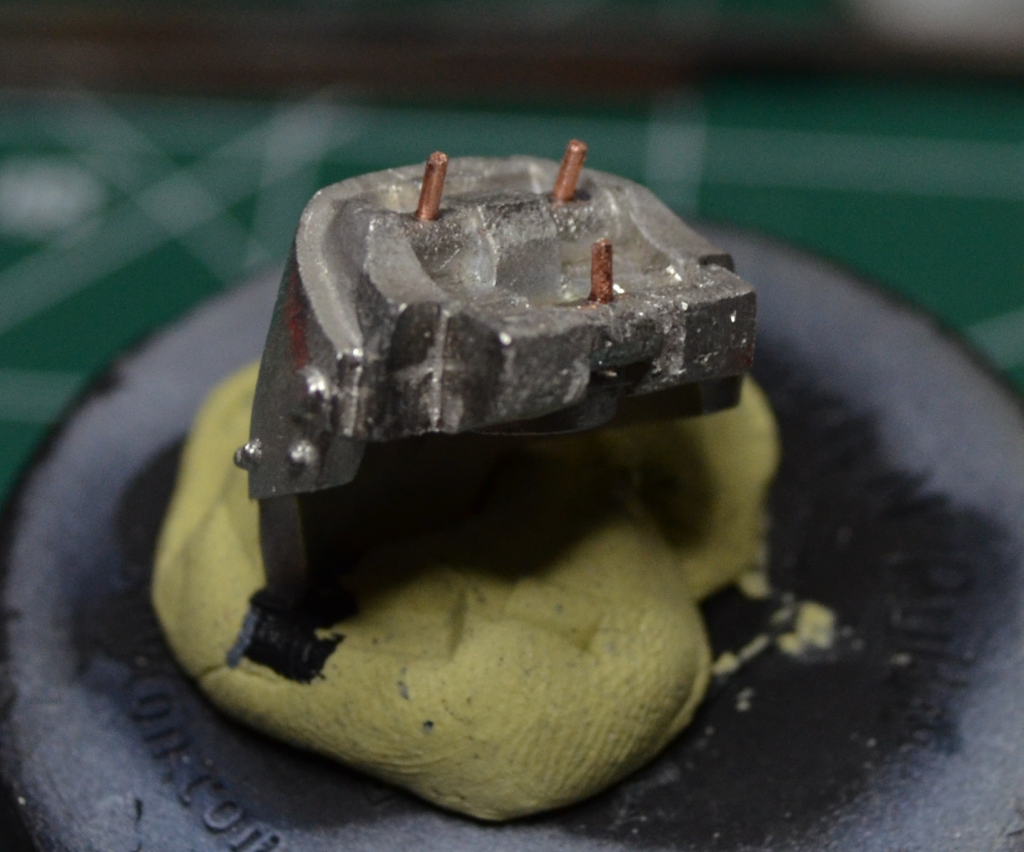
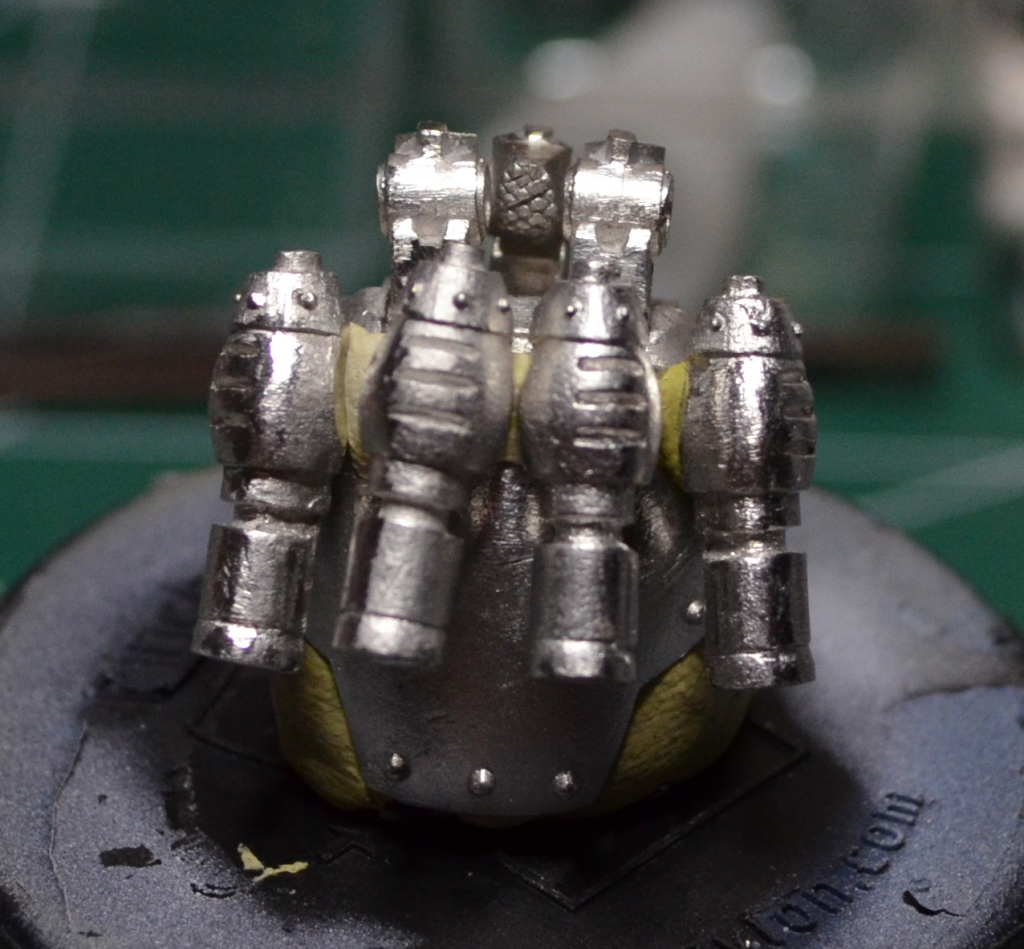
First, cut off the two outside pistons from the center one. The center one has an extra brace under the back of the piston which makes using it a big pain, so I just sacrificed the center piston to cleanly get the two outside ones clear. Thus why I purchased four sets, rather than just three.
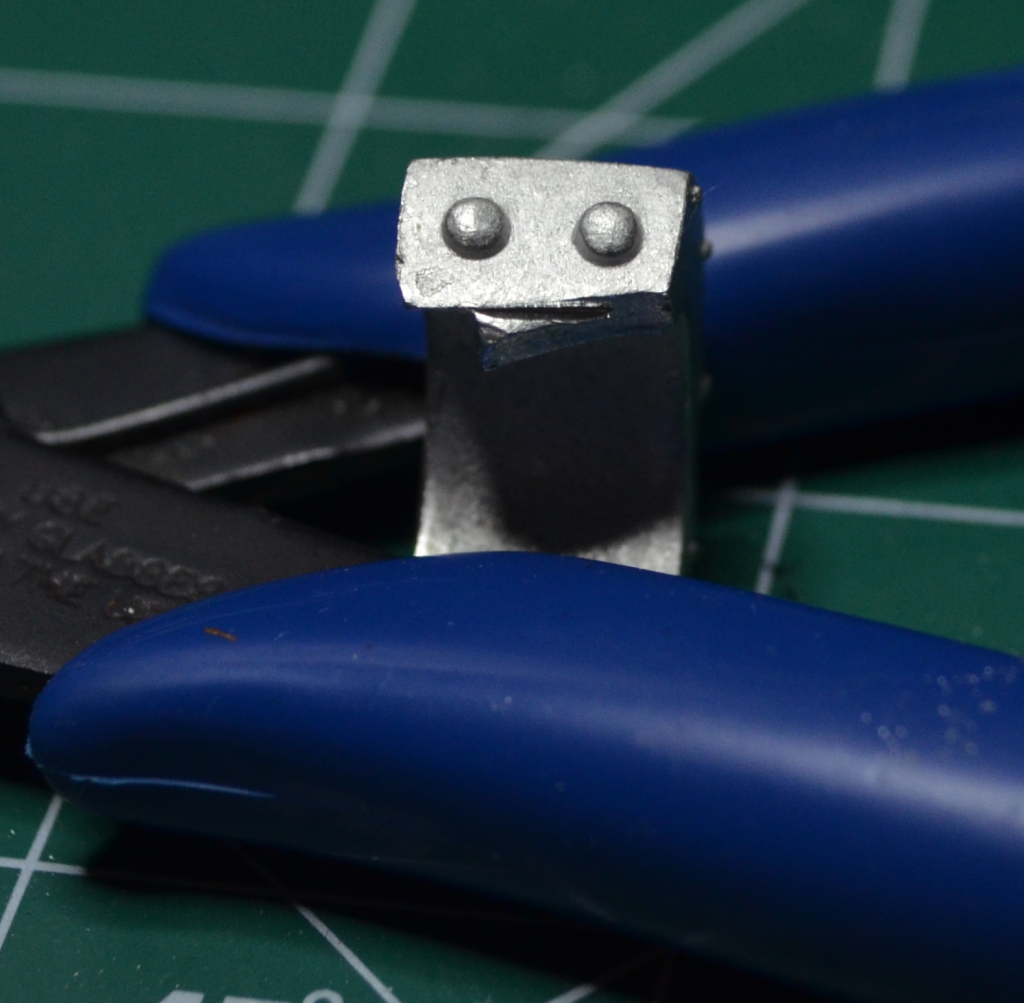
I positioned the blade between the pistons and also between the two rivets on the back of the plate (circled). This kept the cut straight, and consistent from one piece to the next.
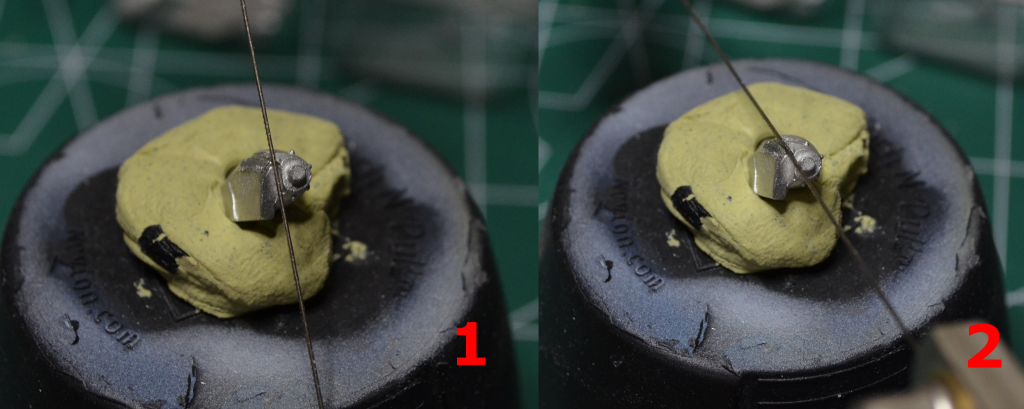
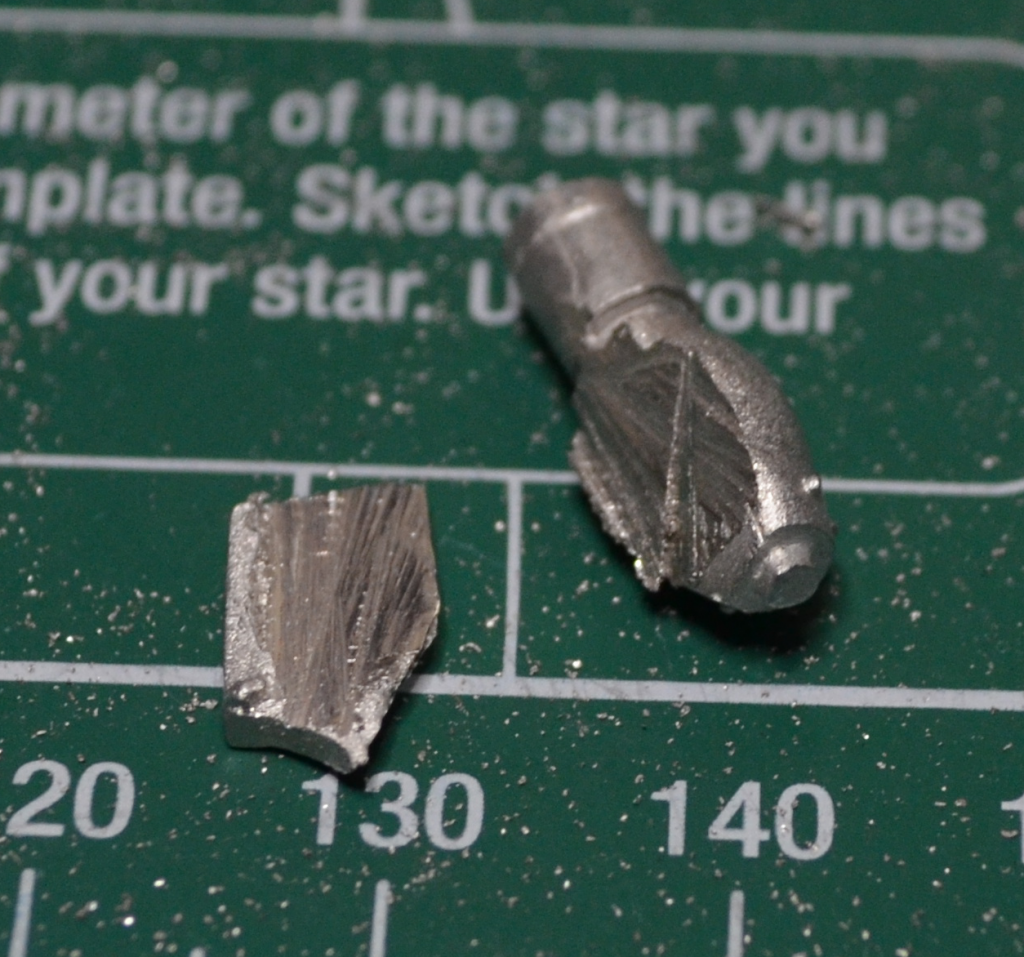
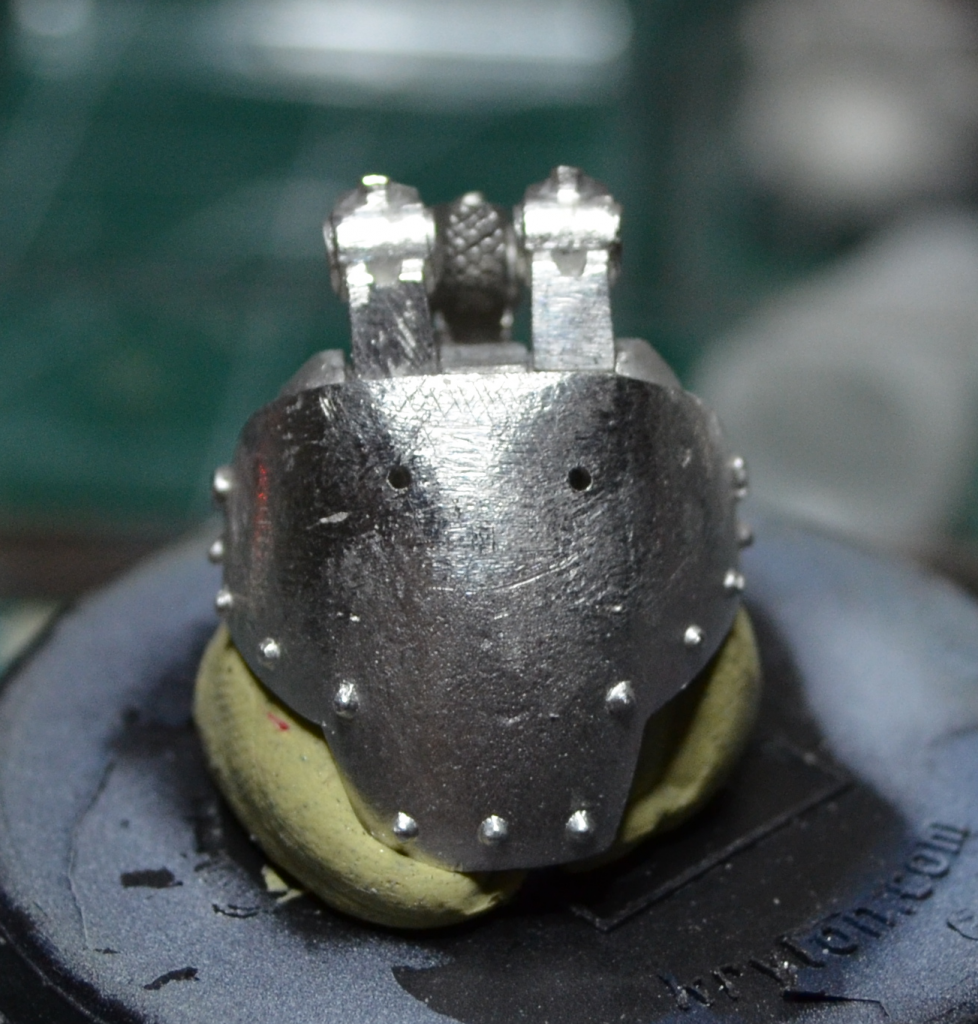
Next, I wanted the plate off the back of the piston. Mine were going to sit flush on the fist, so that had to go. I started with the blade up against the bottom of the piston (1), and cut a small channel into the plate. Then, I could start angling the blade more and more (2) until it was going mostly lengthwise along the piston, and not across the short side.
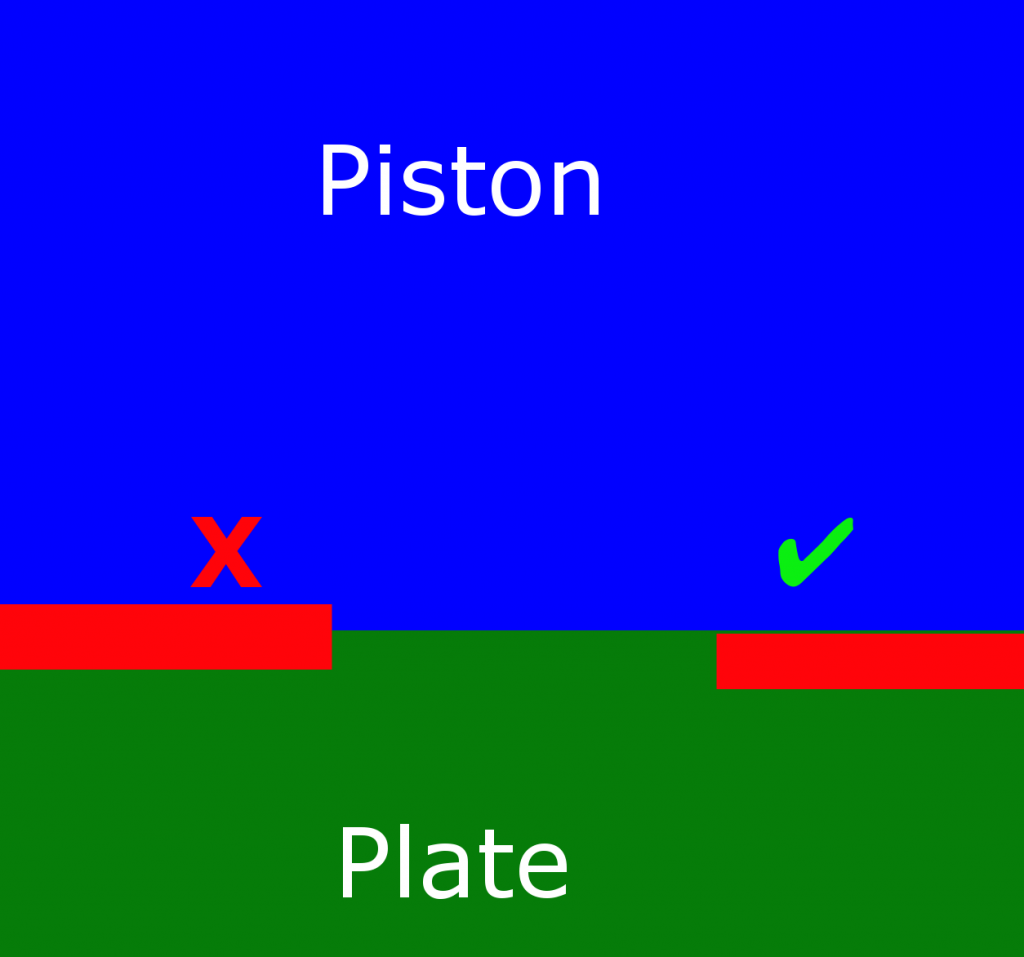
It’s important when using the Jeweler’s saw to recognize the fact that the cut isn’t infinitely thin. You’re going to lose material on one side of the cut or the other, so you want to chose where the blade goes so it takes out material you don’t want, and leaves material you do. By this, I mean it’s impossible to cut between the plate and the piston, if you try, you’ll end up cutting into both. Hopefully the amazing graphic below will show you what I mean.
Anyway, here’s the piston with the plate separated.
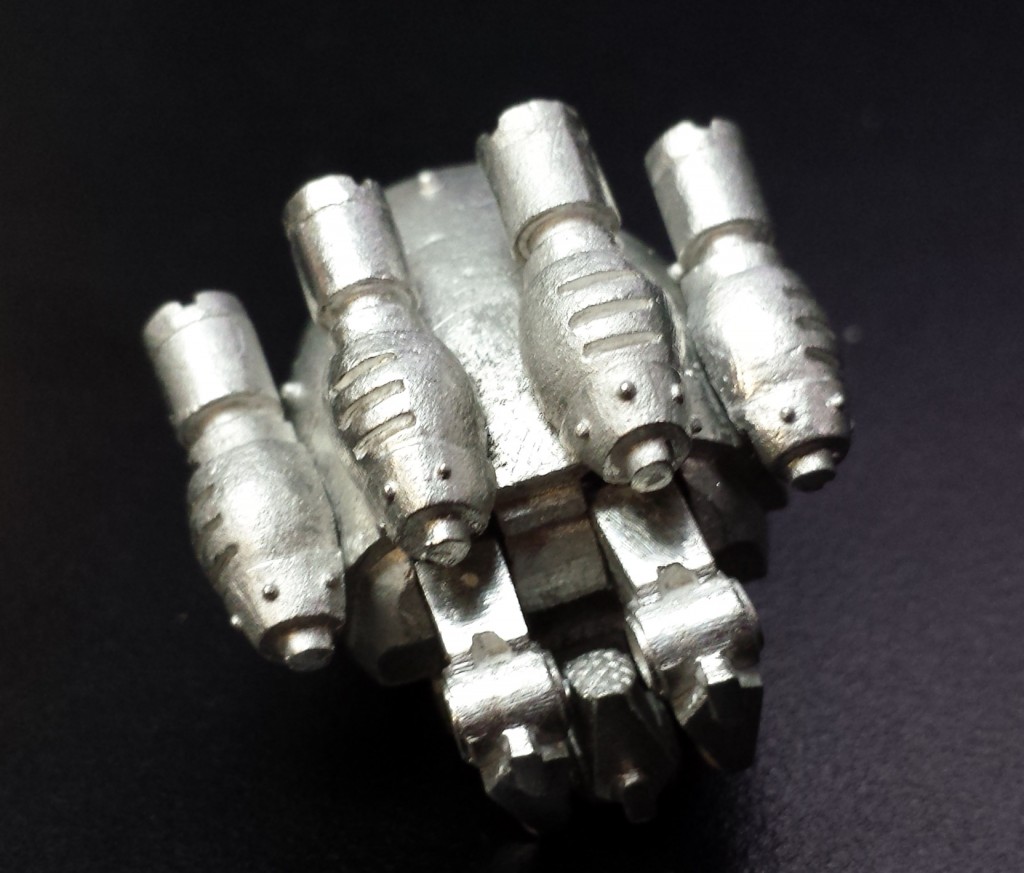
I cleaned up the mold lines, used my big file to clean up the bottom, and repeated the process three more times to get my four pistons for one of the hands.
I test fit the pistons between the spikes, but no dice. Off they go! I used my flush cutters to clip them off, and then the big file to get rid of all traces that they existed.
I knew I wanted at least one fist to actually be a closed fist (the hands are non-specific, and could go on either arm), so I went ahead and pinned on the fingers. This let me see where the fist sat and then I could figure out how to position the pistons.
Once I had the fingers mounted, I used some sticky-tac to play with where I wanted the pistons to go.
I drilled holes into the middle of the bottom of each piston, and used the sticky-tac trick to find out where those holes matched up on the fist.
And viola, mounted pistons.
Rinse, repeat for the other fist, which I ended up doing identically (and not open, which would have required modifying the individual fingers).
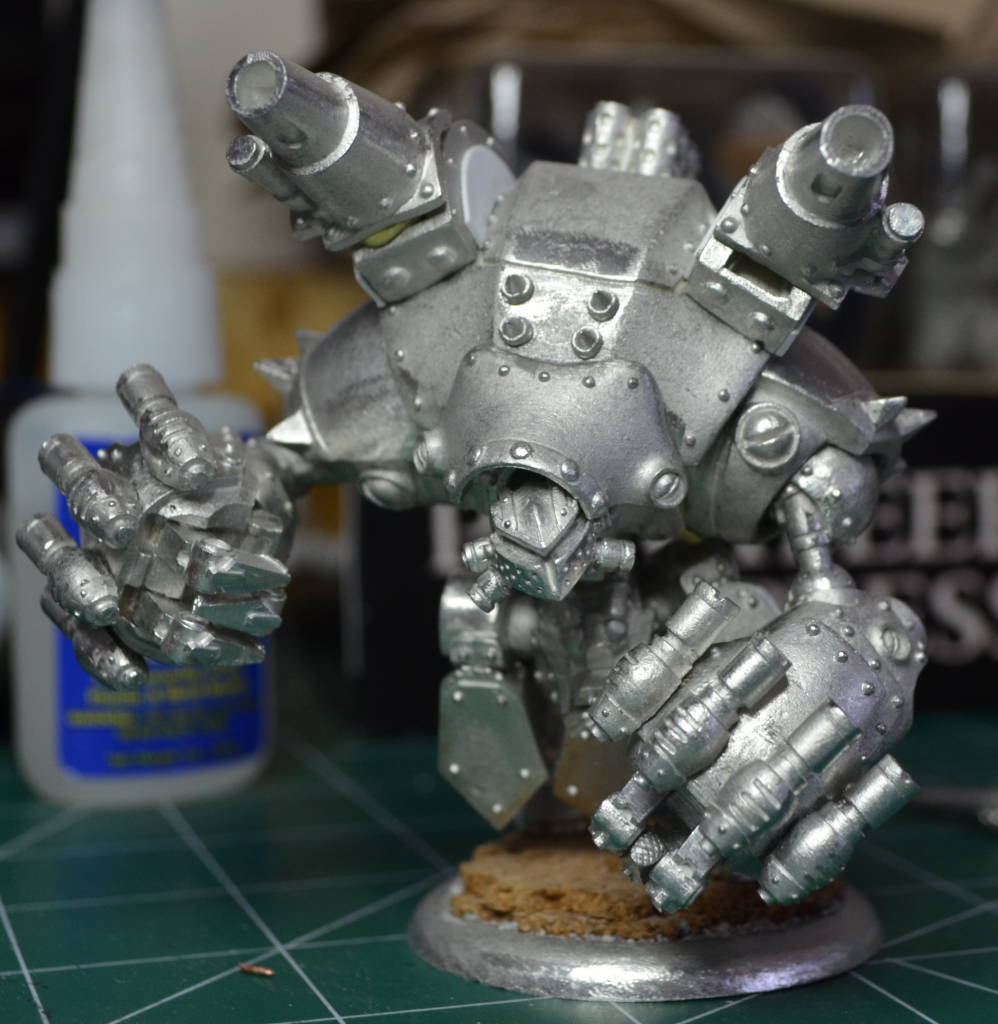
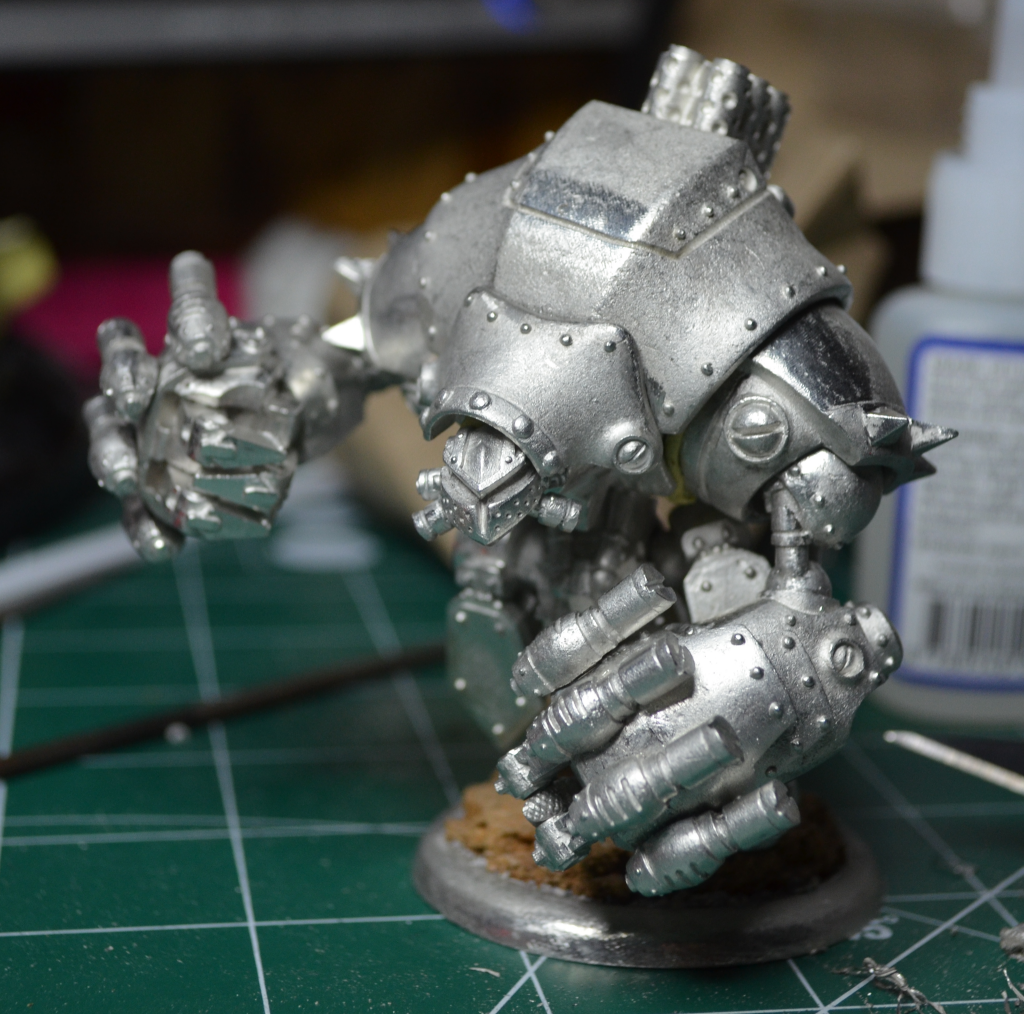
By this time, I really wanted to get the pose figured out. I wanted something that kept the motion set by the legs, and brought the fists front and center. I went with a standard pose I’ve used before, with a lowered shoulder and arm across the belt line, and a raised fist ready to slam home. Here’s a headless, gunless, fist-less mock-up using a bucketload of sticky-tac.
On go the fists and head, and we start to see something that looks mean and angry. Perfect!
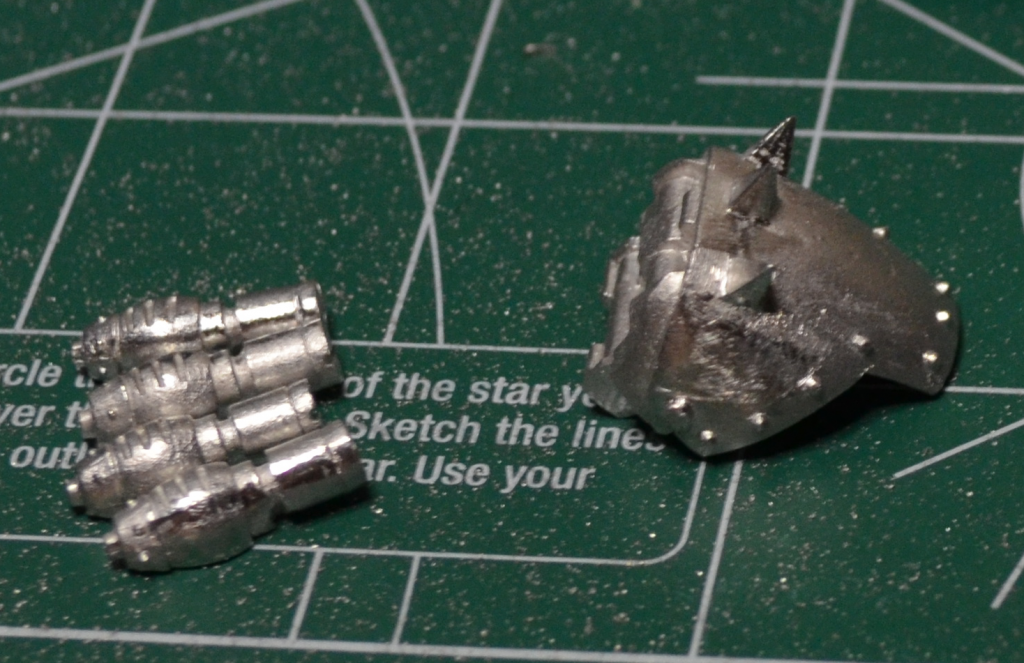
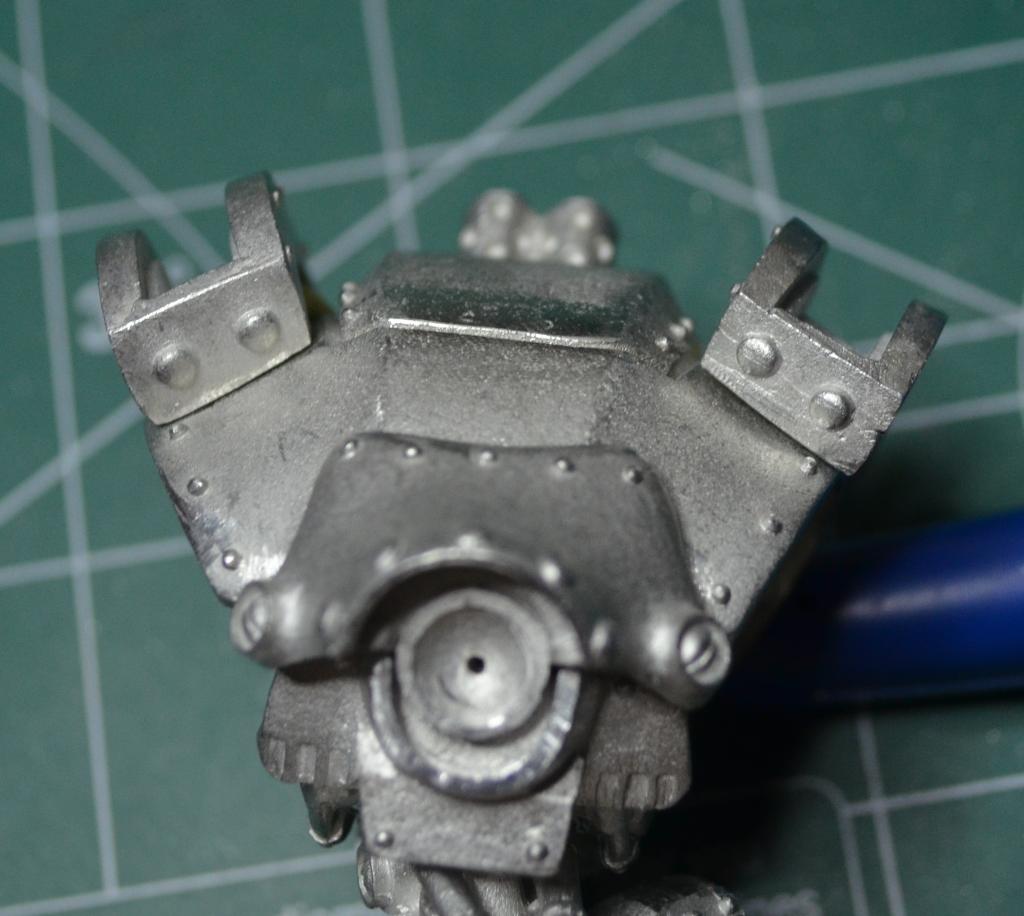
The last major aspect to the Behemoth are the guns. There are two, mounted on racks. I had originally planned to build custom racks from scratch, but that turned out to be more trouble that it was worth, so I modified the existing racks with some plasticard.
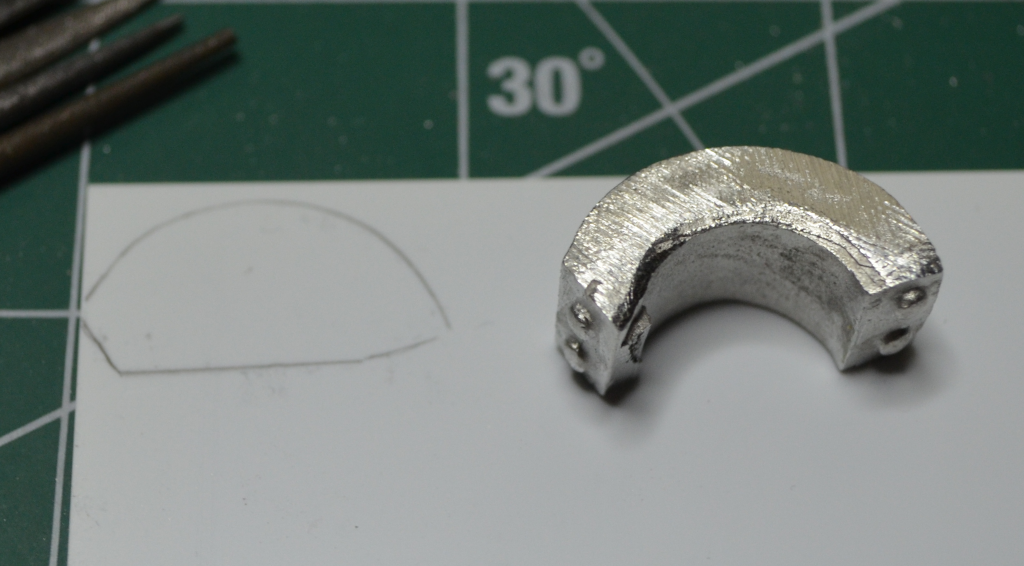
First, I cut off this little contoured piece, and cleaned up mold lines.
I test fit the two pieces to the torso, and noticed that one was much wider than the other. Not a whole lot I can do about it, so I forged on ahead.
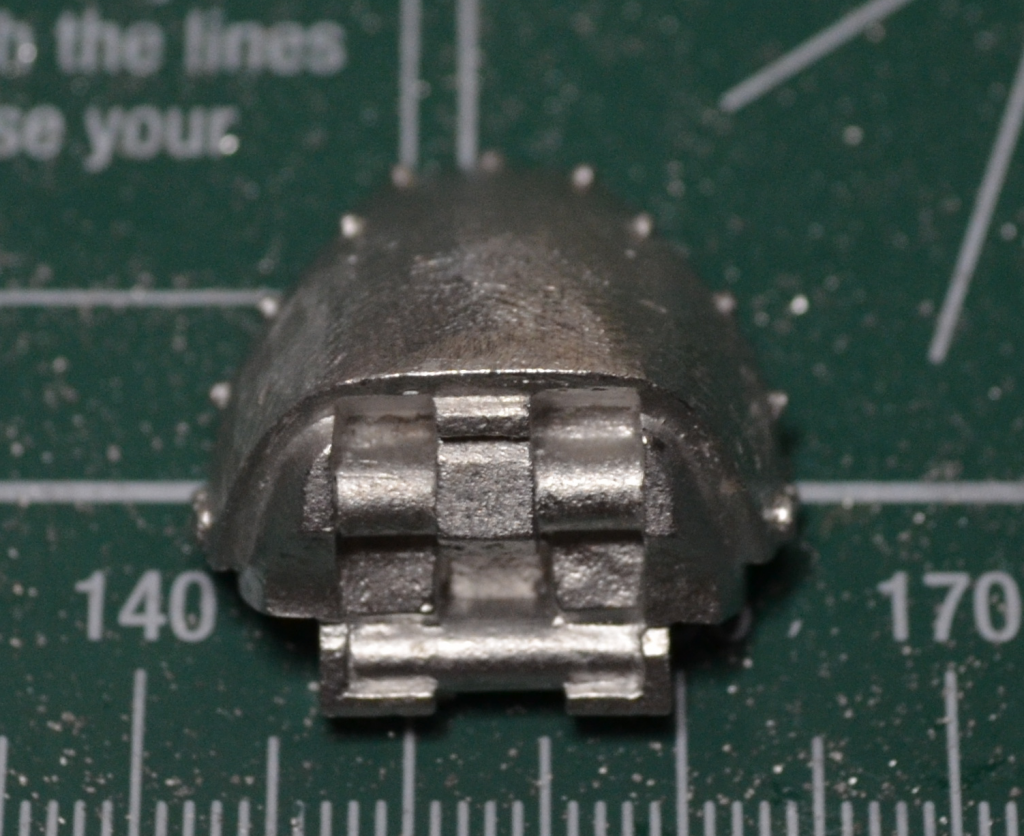
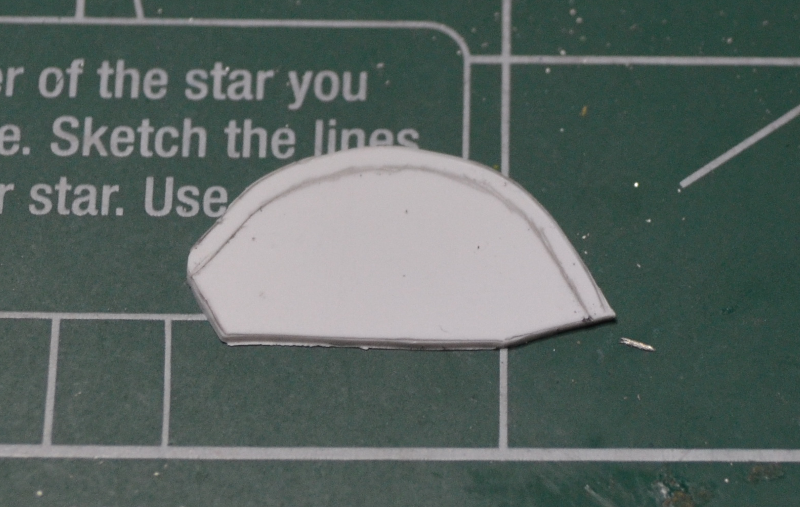
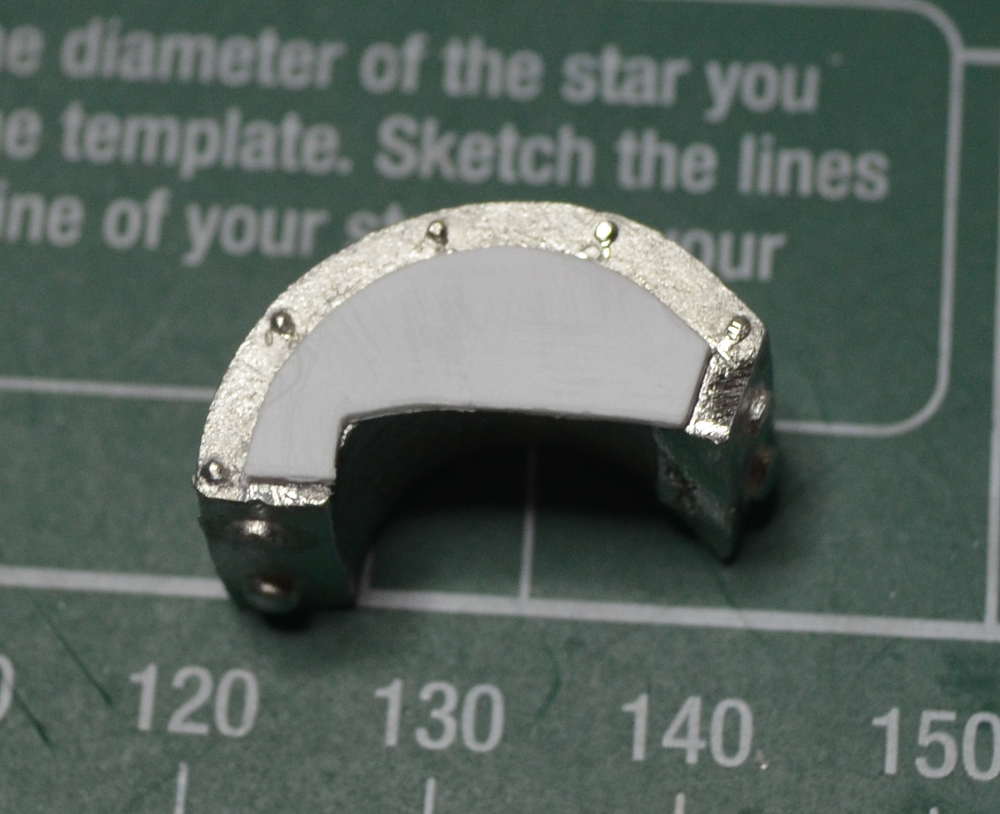
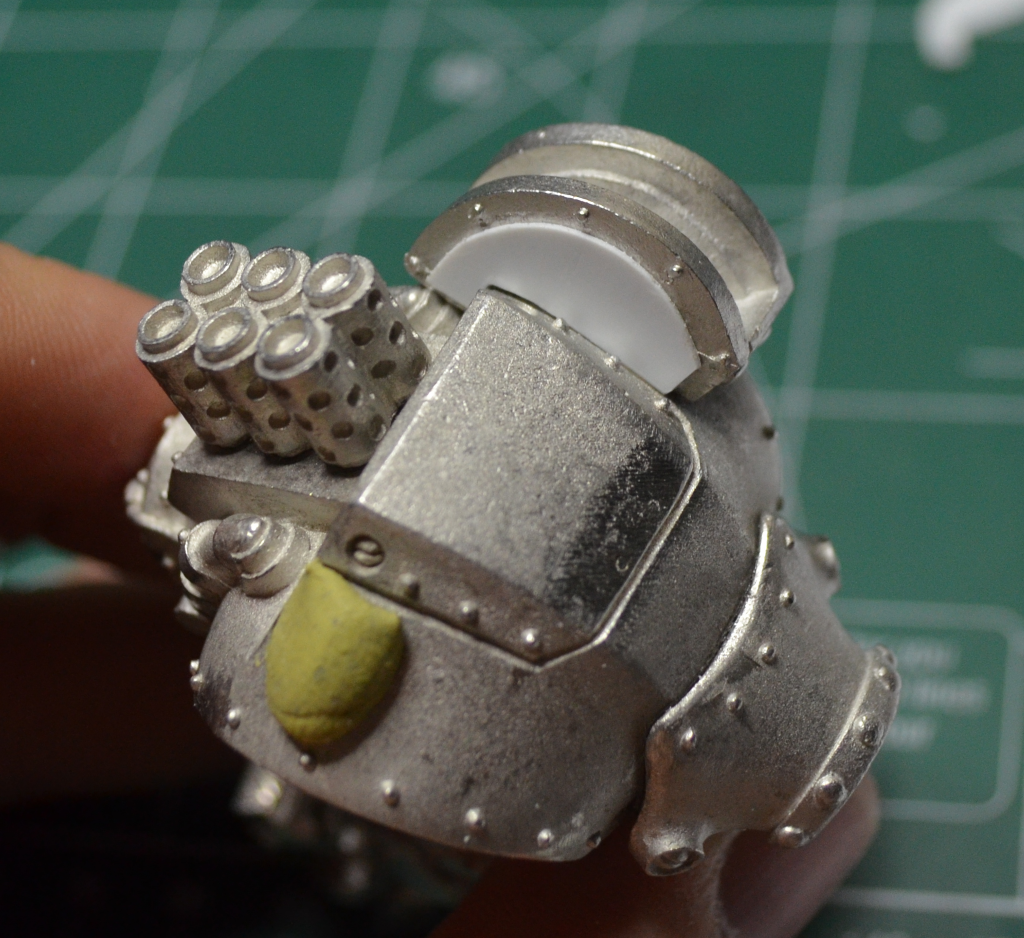
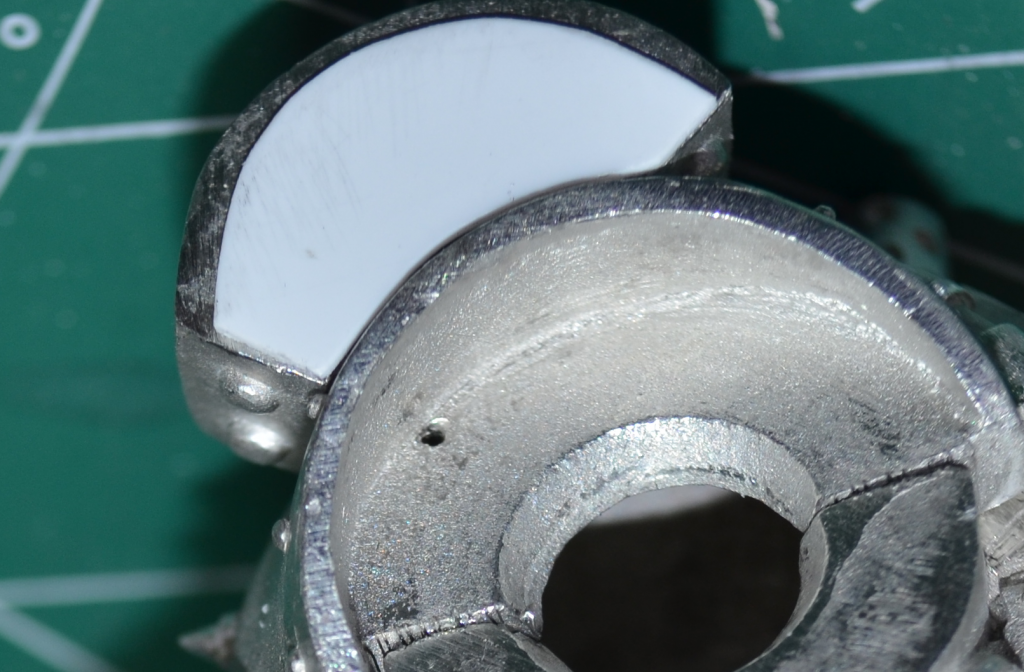
The racks don’t sit nicely on the shoulders, there’s a huge gap. I’ve seen people use green stuff to fill it in, but it always ends up looking bumpy, so I figured I could use plasticard to just wall them off. To start, I traced the outline of the side of one of the racks on thin plasticard (0.5mm thick).
I cut it out, then guessed how much I wanted to trim off the top (for the rivets).
And it’s exactly the same size as the piece…
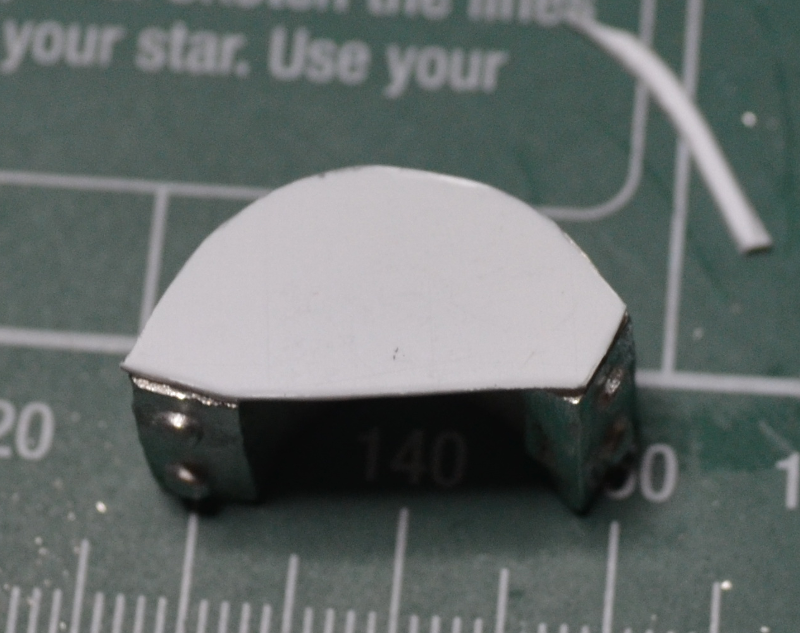
This is because the trace was larger than the part, so when I trimmed it down, I was actually trimming the excess off. Doh! Another round of trimming, and I get something usable. I used my file to round out the curve and clean up the knife marks. I glue it down by scoring the metal and plastic, and running a thin line of superglue around.
I then start trimming triangles out of the bottom and dry fitting it to the ‘jack, shaving bit by bit slowly finding the right cut out.
Don’t expect this to work the first time around. I messed up the first one and had to try again three more times until I got one to work. Just cut off the bad piece of plasticard off with a hobby knife, clean off the super glue and repeat.
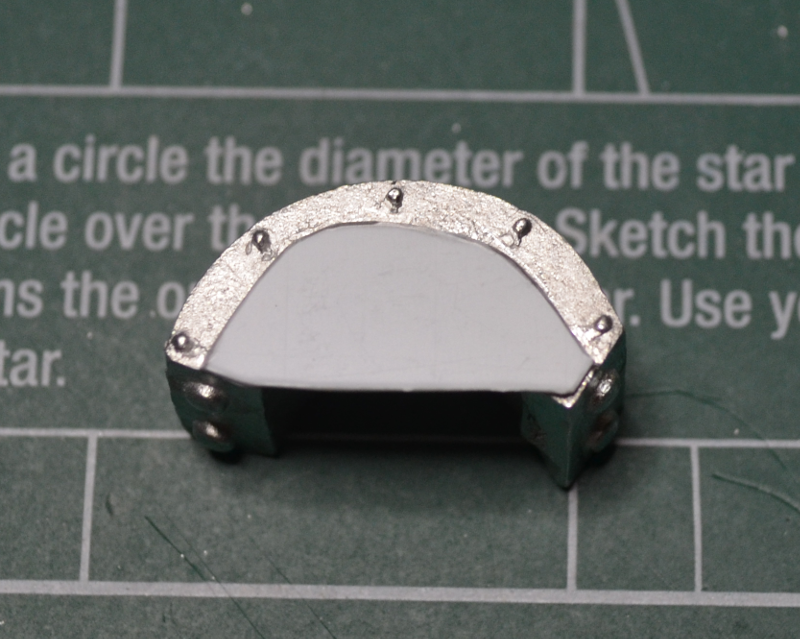
As you can see, it fits pretty nicely.
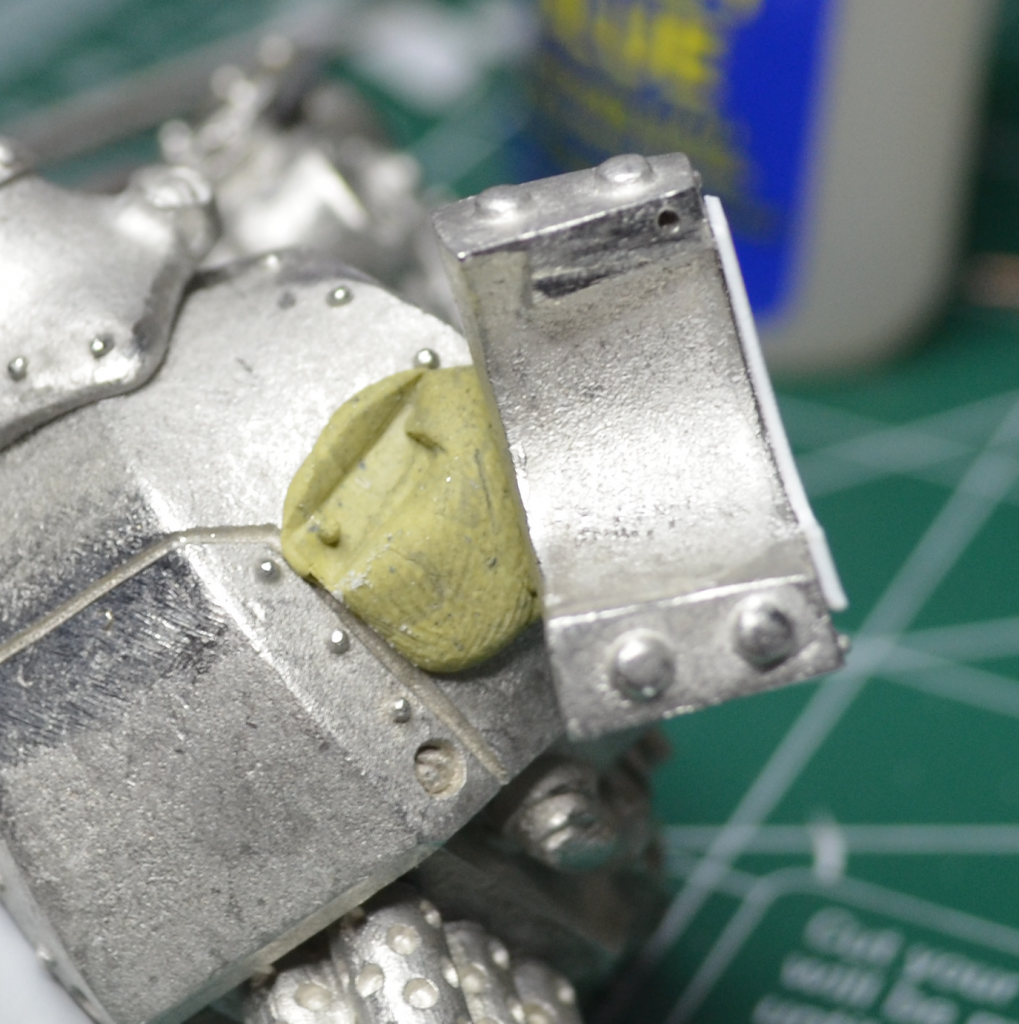
Rinse, repeat for the other side. One trick on the outside pieces: Glue them down, and then stuff the inside with sticky-tac. Then, squish the rack into place with the side riding the outside edge of the shoulder. The sticky-tac will move around, and leave the right contour inside. Just trim away, and you’re done. This doesn’t work on the inside, because of how it intersects that ledge.
I used a pin to mount the racks to the torso, using the sticky-tac trick to find the right spot on the torso for the pin hole.
I also found that removing one of the rivets from the torso helped, the third one from the back.
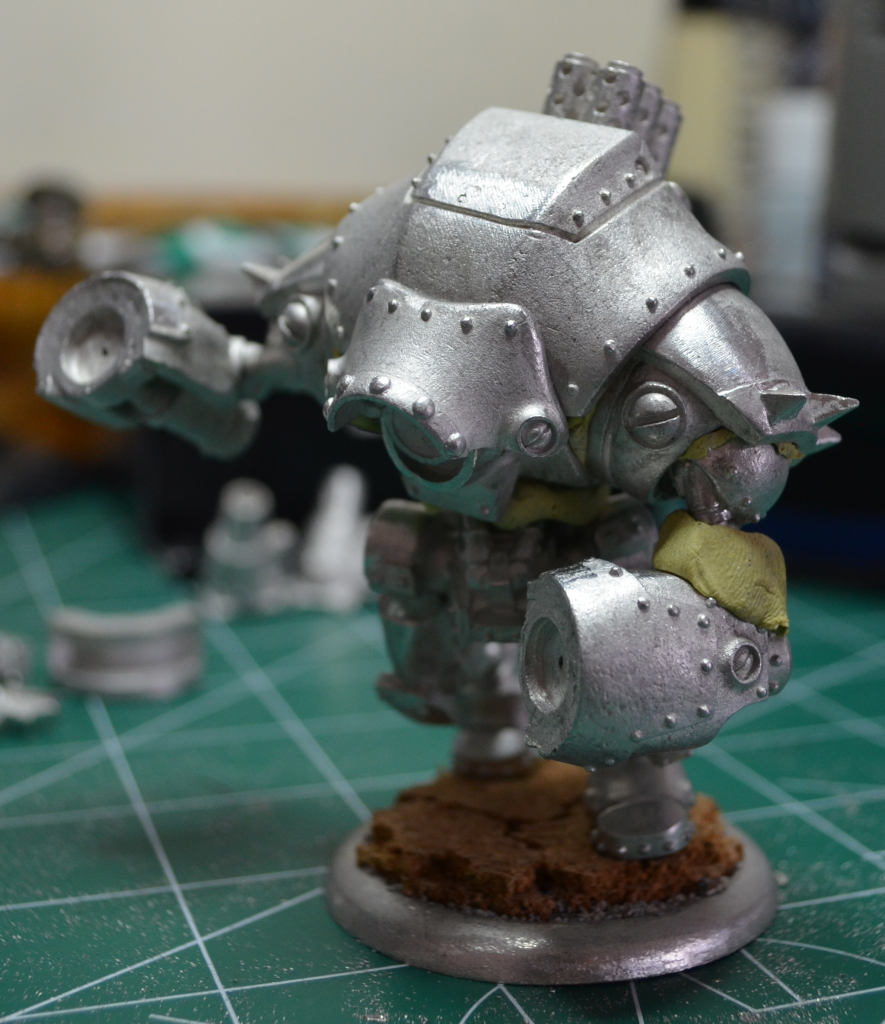
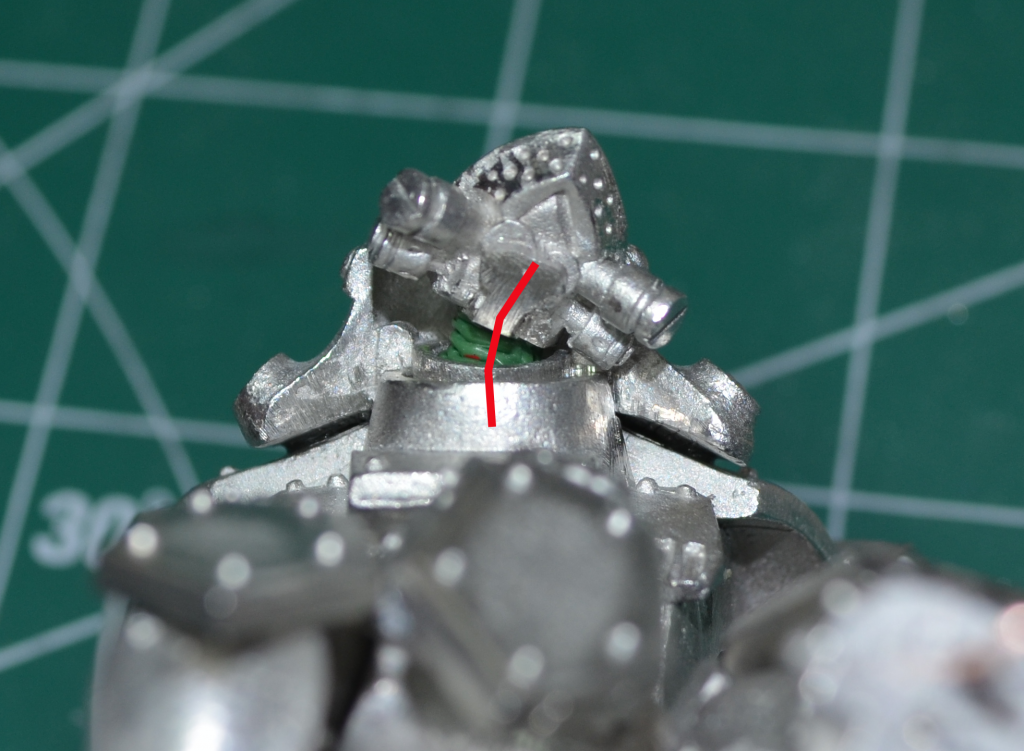
The last bit was the head & neck. I trimmed the block off the back of the head, and removed the throat hoses. I used a long pin to hold it onto the body, giving me enough room to get it away from the small cowl on the torso, and so I could turn it to the side. Here’s roughly what the pin looked like:
Once all glued down, I encased this in green stuff, then used a hobby knife to cut ridges in it, so it looked like a giant protective hose around whatever moves the head around.
And I stuck the guns on with sticky tac because I’m not 100% sure where I want them, but that’s it! Done!

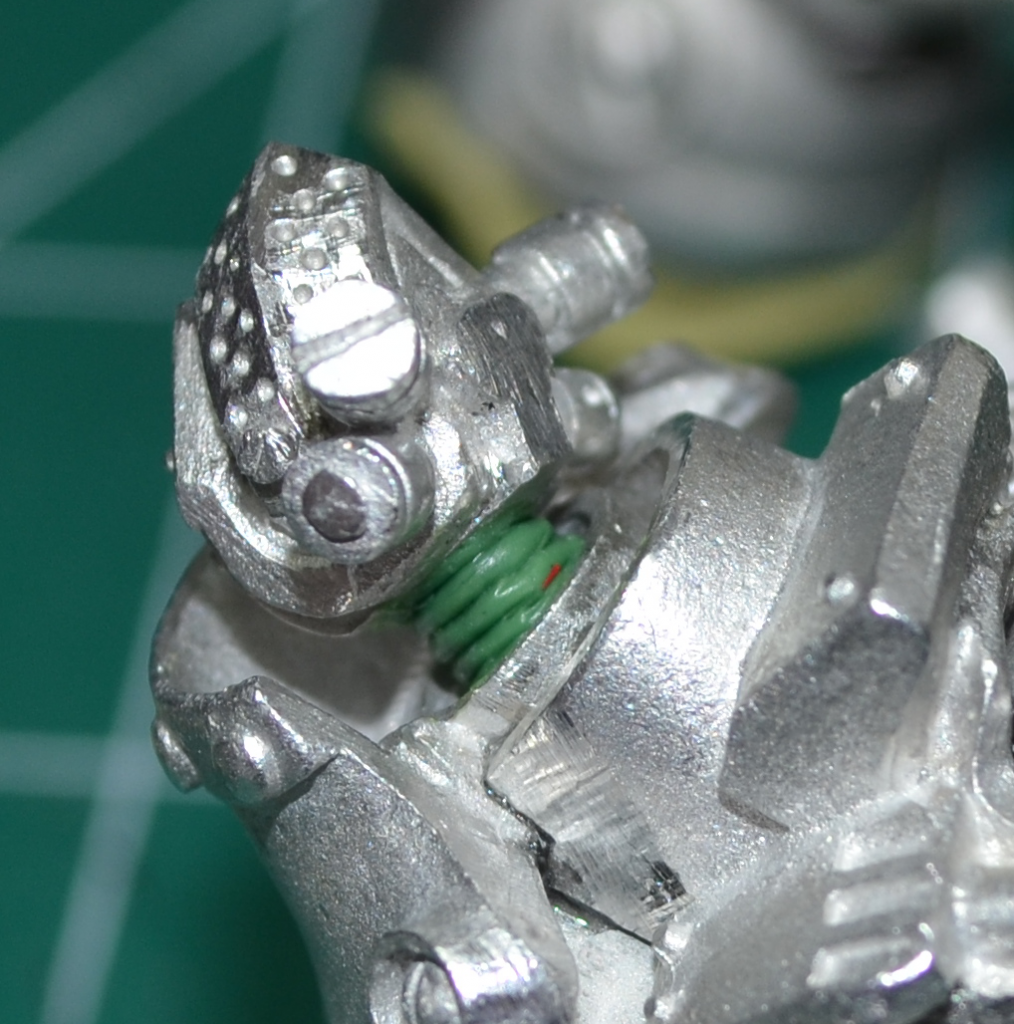
That looks awesome. Love the tubing on the head, it’s always the little details like that that make a model great.
Thanks! Attention to detail is definitely something that can make or break a model. In this case, it was as much adding details as it was solidifying the head so it doesn’t fall off!
Really informative post.Thanks Again. Really Great.