How-to Tuesday: Extreme Ghetorix (Part 1)
If you’ve been following me on Twitter, you may have already seen some pictures of this project, and even if you aren’t a Twitterer (Tweeter?). This is for local player Danny, who plays all things broken (Cryx, Haley2 double Stormwall), and currently has his sights set on Circle Orboros. Like many of my local players, Danny knows that if he entices me with a challenge, I’ll usually take the bait.
An Extreme Ghetorix is nothing new, and has been done before. The threads I looked at for inspiration were this one and this one. The first has some WIP pictures halfway down that helped with my placement of the horns on his head. The second one really make me think about whether or not to do the headdress at all. I’d also found some examples where the arms had been bent around some to make the conversion easier, but in my opinion the model is too complex to re-work the lines of motion formed by the twisting body and limbs – I didn’t want that complex of a project.
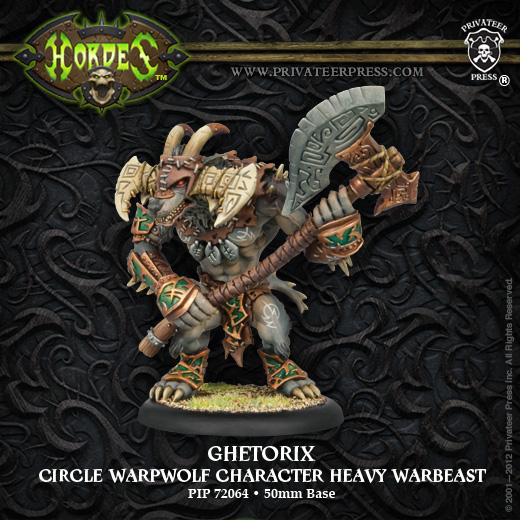
In the end, I went with the engineering motto of KISS: Keep It Simple, Stupid. Often, the simpler and subtler the conversion, the better. Also, small, simple conversions are less work, and I’m all about lazy. Lastly, fewer variables and less deviation from stock means fewer places for things to go wrong.
I know most of the time my tutorials are one shots, but this model is so complex, and there’s going to be a fair bit of stuff going on, so I’m breaking it into chunks. Since the model twists and turns on itself and the joints are sub-par, there’s quite a bit of structural integrity we have to build into the joints. There’s lots of levers in a model like this, which means that every time the model is picked up and set down (rarely by it’s base, I’d imagine), those joints get stressed. Every major joint has to be rock solid, which means at least two pins.
Ok, enough exposition, onto the pictures!
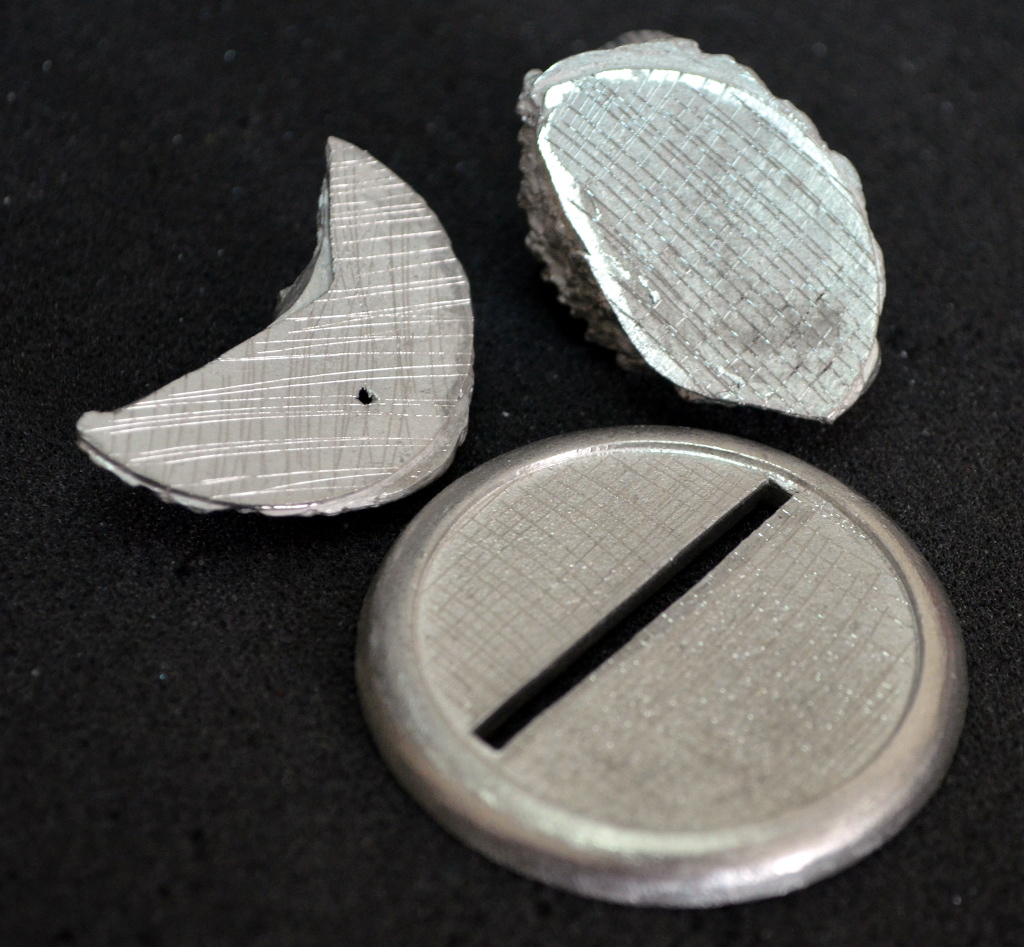
I started with the base. I dry fit the two pieces together, and kept messing with the base’s rim and the ledge on the inserts until they fit well together. This is critical, especially with the metal base, because the model is already a balancing act of weight and center-of-gravity, you don’t want the angles all messed up with shoddy base construction. Cross hatching the contact surfaces ensures that the glue has lots of grip.
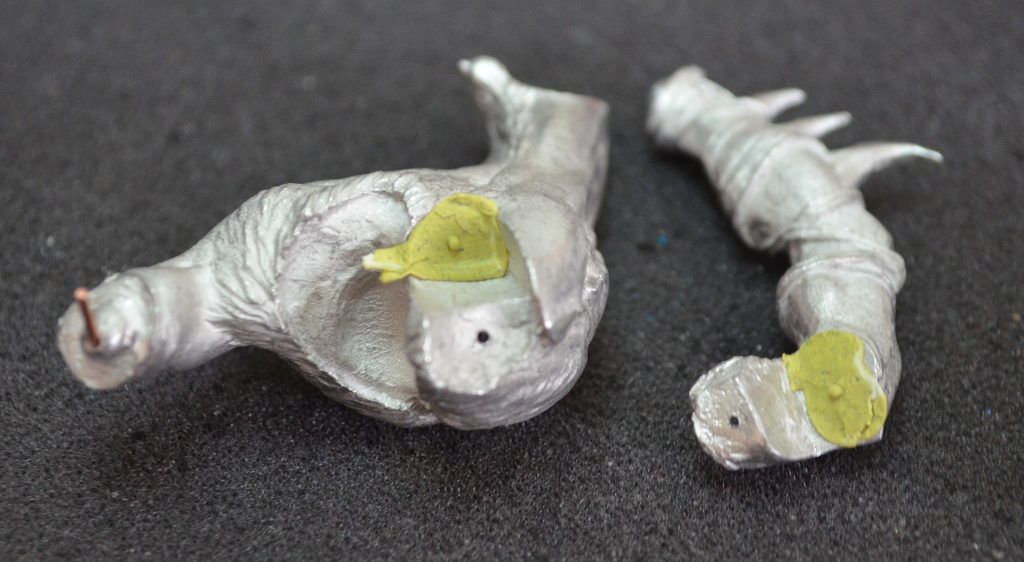
Next, I worked on the left arm, while the torso was free and unattached to the rest of the model. I drilled a hole in each level of the joint first. A thin layer of sticky-tac goes on the opposite surface, and then you moisten the surface with the pin hole (or the sticky-tac). Position, press, and remove. You’ll end up with little protrusions where the pin holes were. Mark them with a pick, sharp poiint of a hobby knife, or a few twists of your drill bit.
I use this moisture + sticky tack trick for the rest of the pinning process.
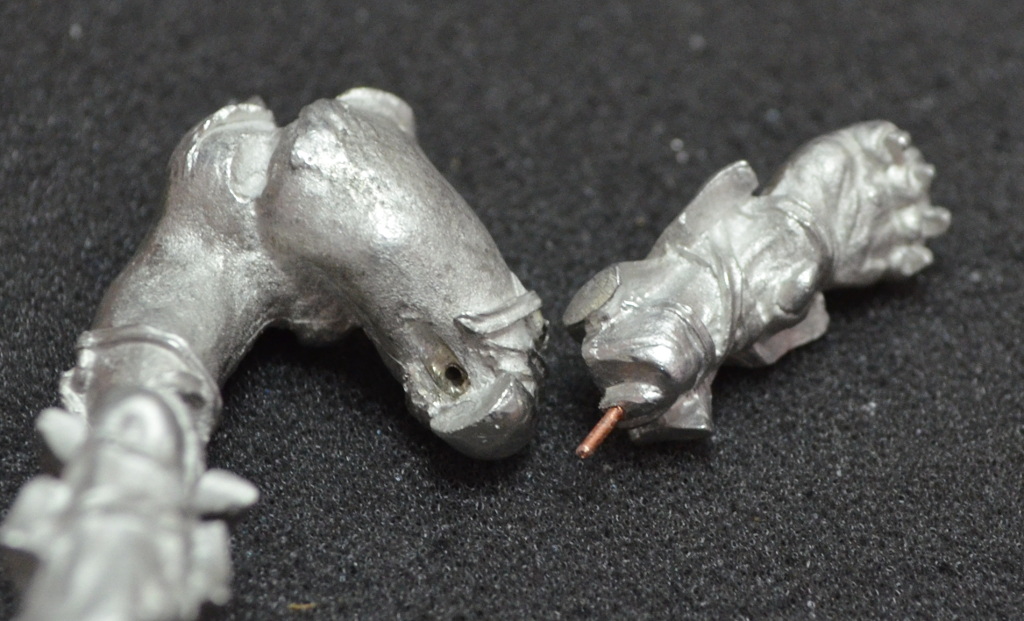
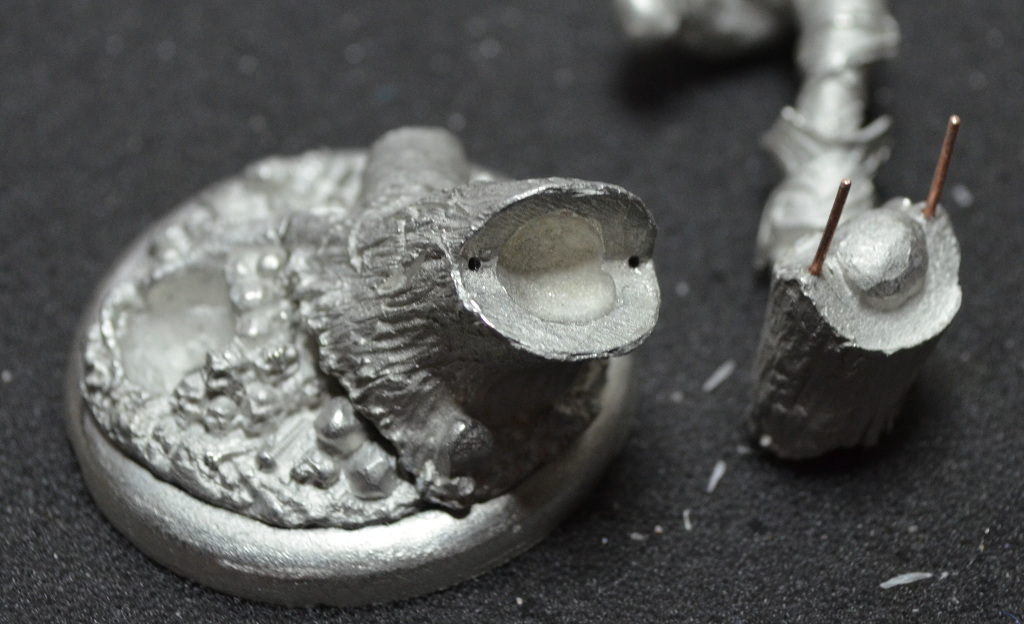
The tree trunk connection is, in my opinion, the most important one. It is the furthest from the center-of-gravity of the model, and thus has the largest lever arm working on it. In other words, I think it’s going to see the most stress during the lifetime of the model.
I used two pins here, as I suggested above. The important part is that the pins are in line with the plane of stress. In this case, that means they are on top of each other. If they are side by side, they’ll act like a fulcrum, and will just flex and bend until they break. By placing them on top of each other, the top one will have to stretch, and the bottom one will have to compress, which wire is far more resilient to.
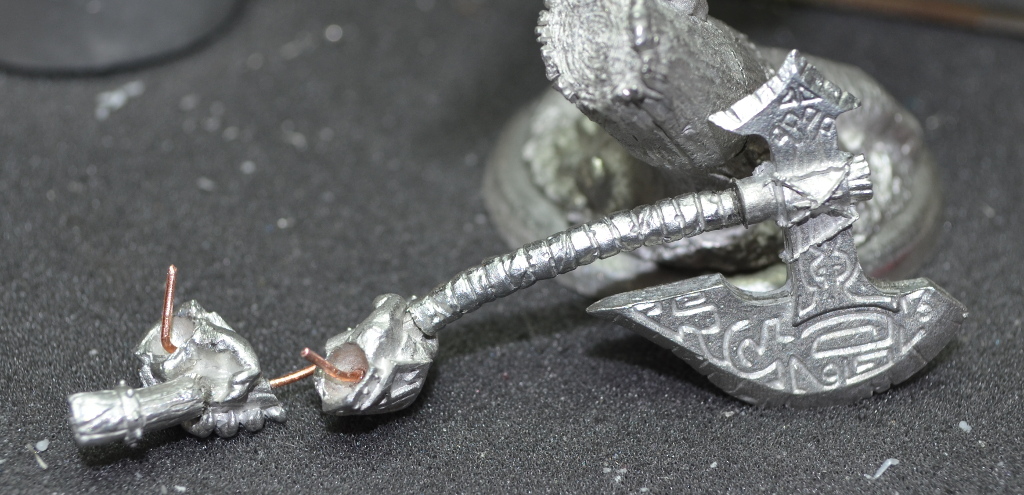
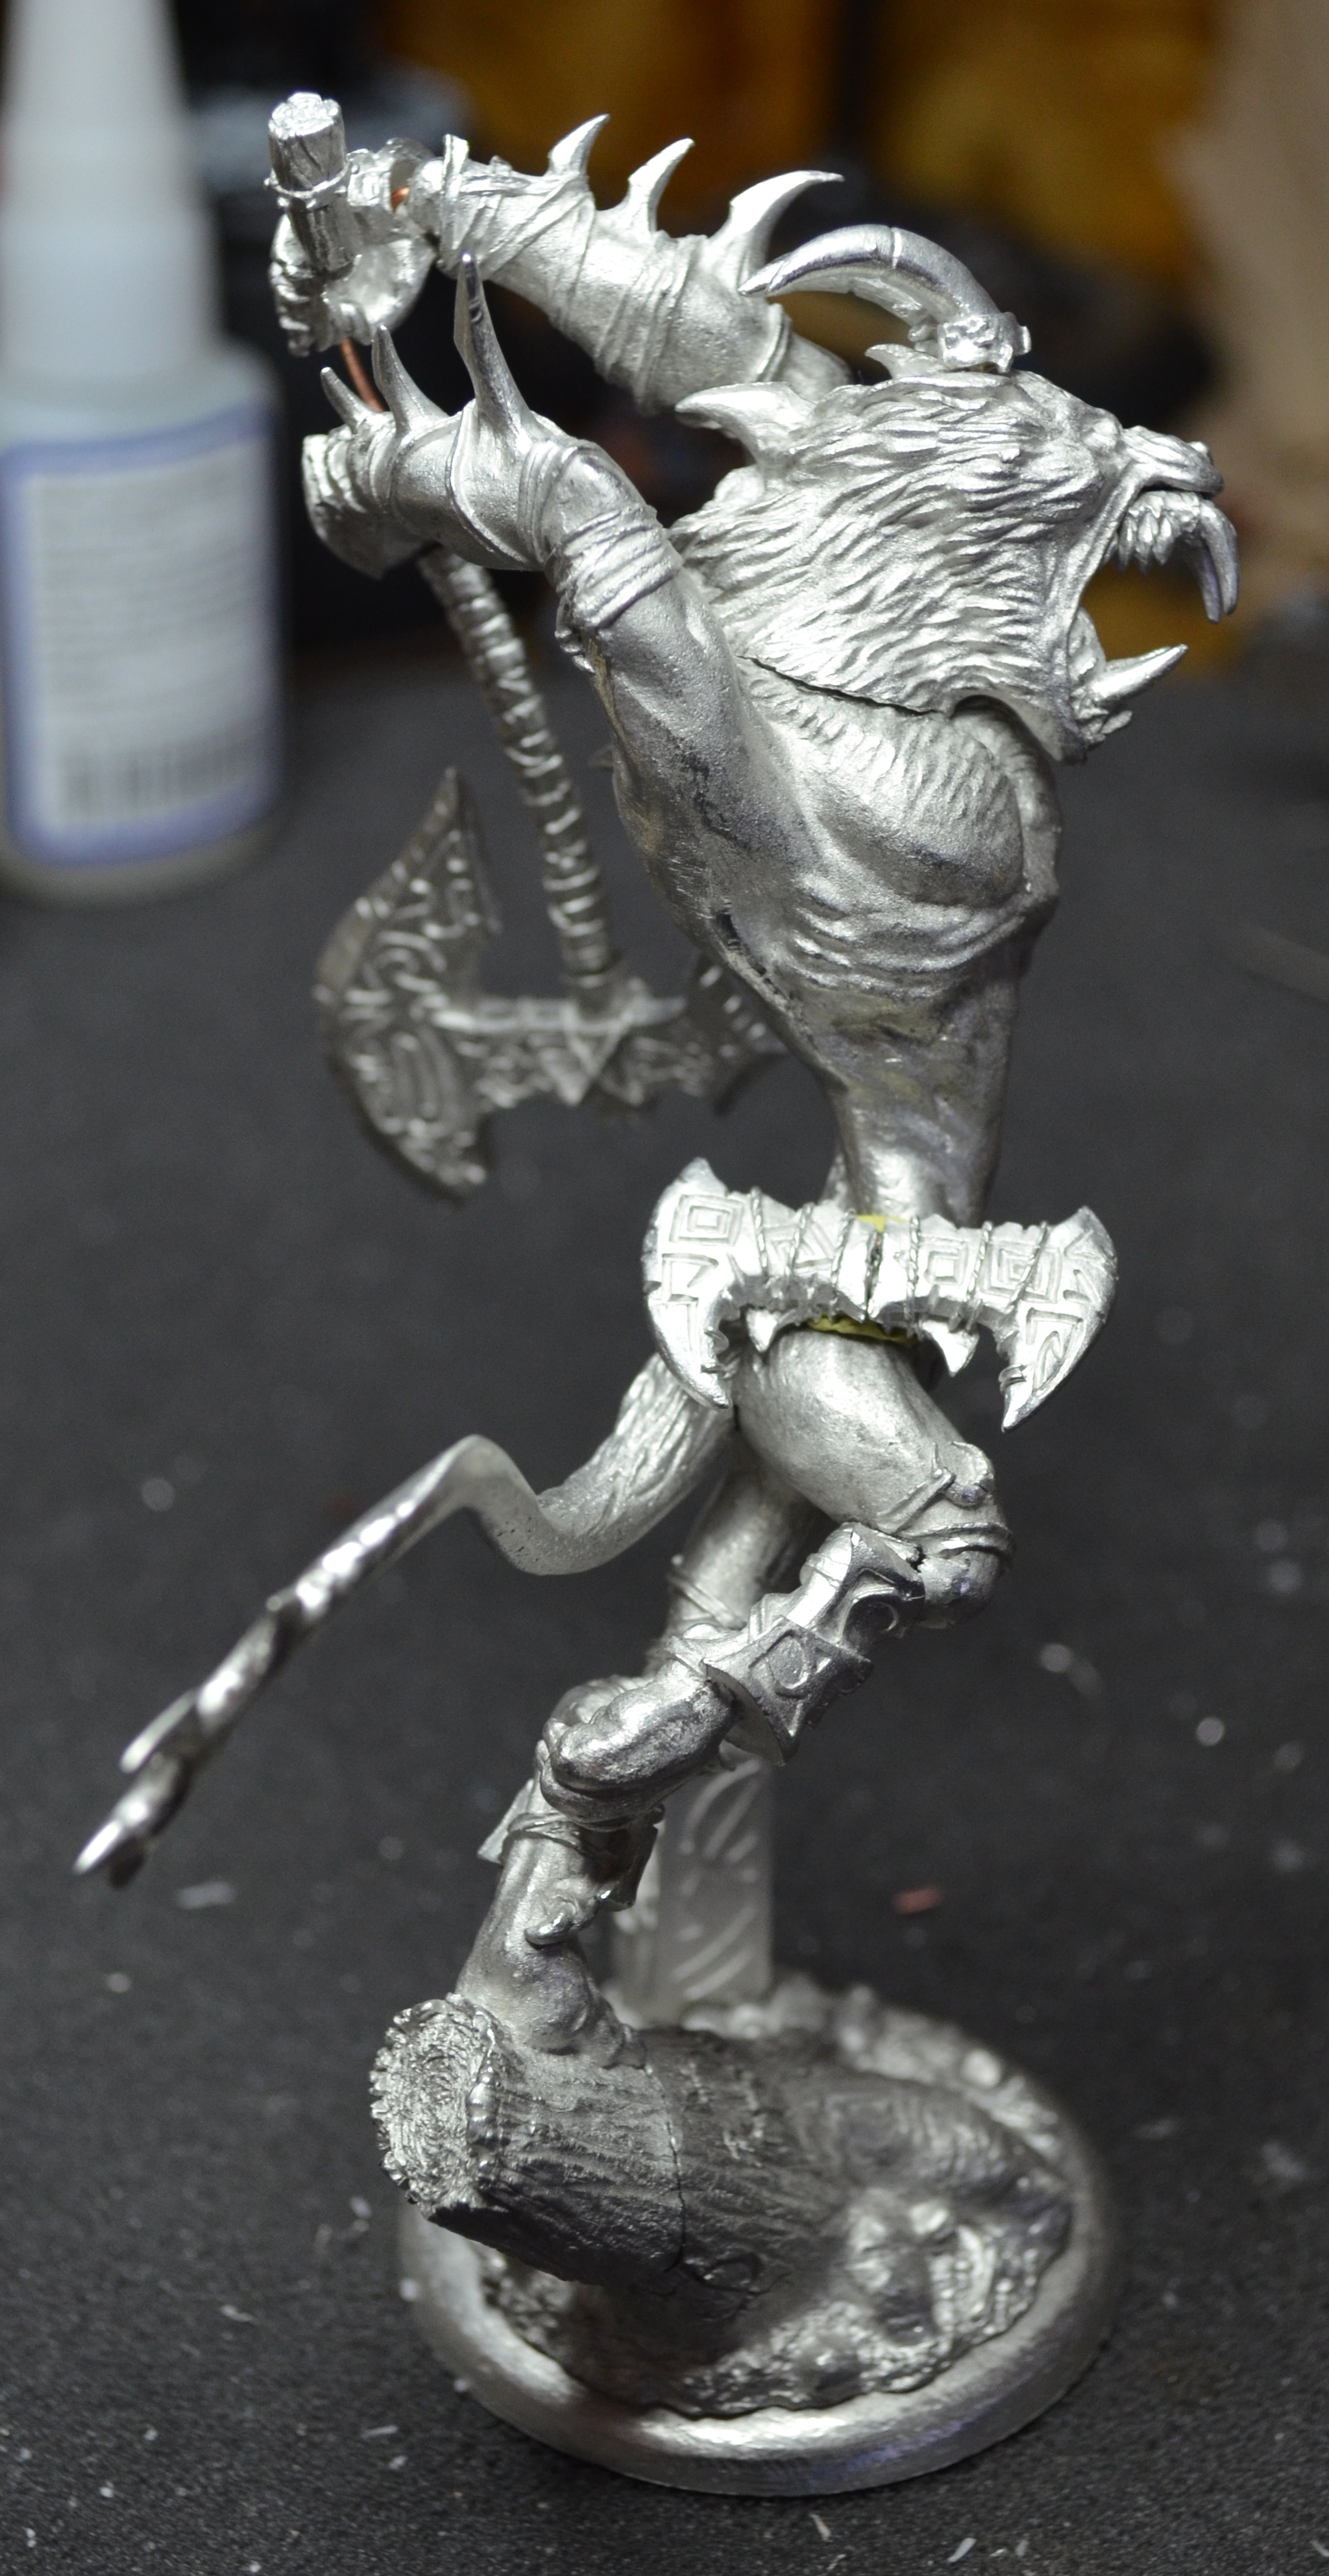
Here’s where I cut apart the axe. I trimmed down the bits of shaft on the hand closest to the axe head, so that the pieces could flow together better at the end. You’ll see what I mean in a picture or two.
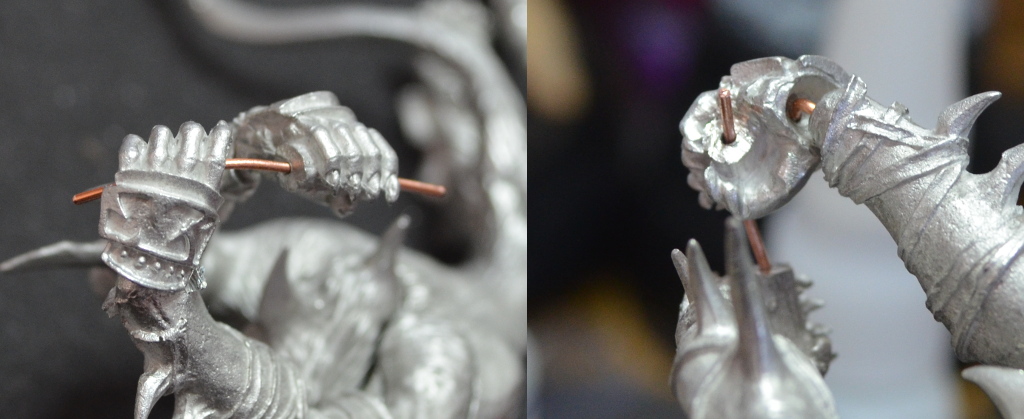
Since I wanted to keep the lines and flow of the base model, I decided that I had to absorb any odd angles in the wrists. Luckily, since the weapon shaft is made of wood and already has some bends to it, we can excuse miss-alignment via a wiggle in the stick.
I used some pins in the wrists to play with the fit of the Ghetorix hands to the wrists. Some very minor trimming of the wraps around the left wrist was necessary. I dropped a pin through the center of the bits of the shafts in the hands also, so that I could see all the joints together. I used a long pin, extending outside the the two hands, so the other bits can get glued on.
Once I was happy with everything, I glued the long shaft and axe head to the proper end, and the butt to the other end. This locked the hands’ position and angle to that central pin which holds the entire axe together.
When looking at my reference photos, one thing I noticed was how much the headdress side parts would interfere with the downward swing of the axe. Well, that seems silly to me. So, I left them off.
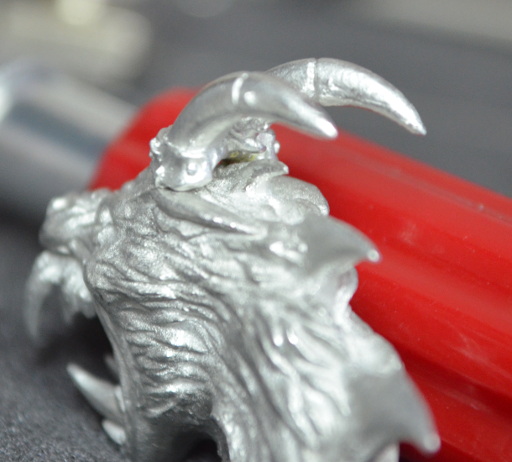
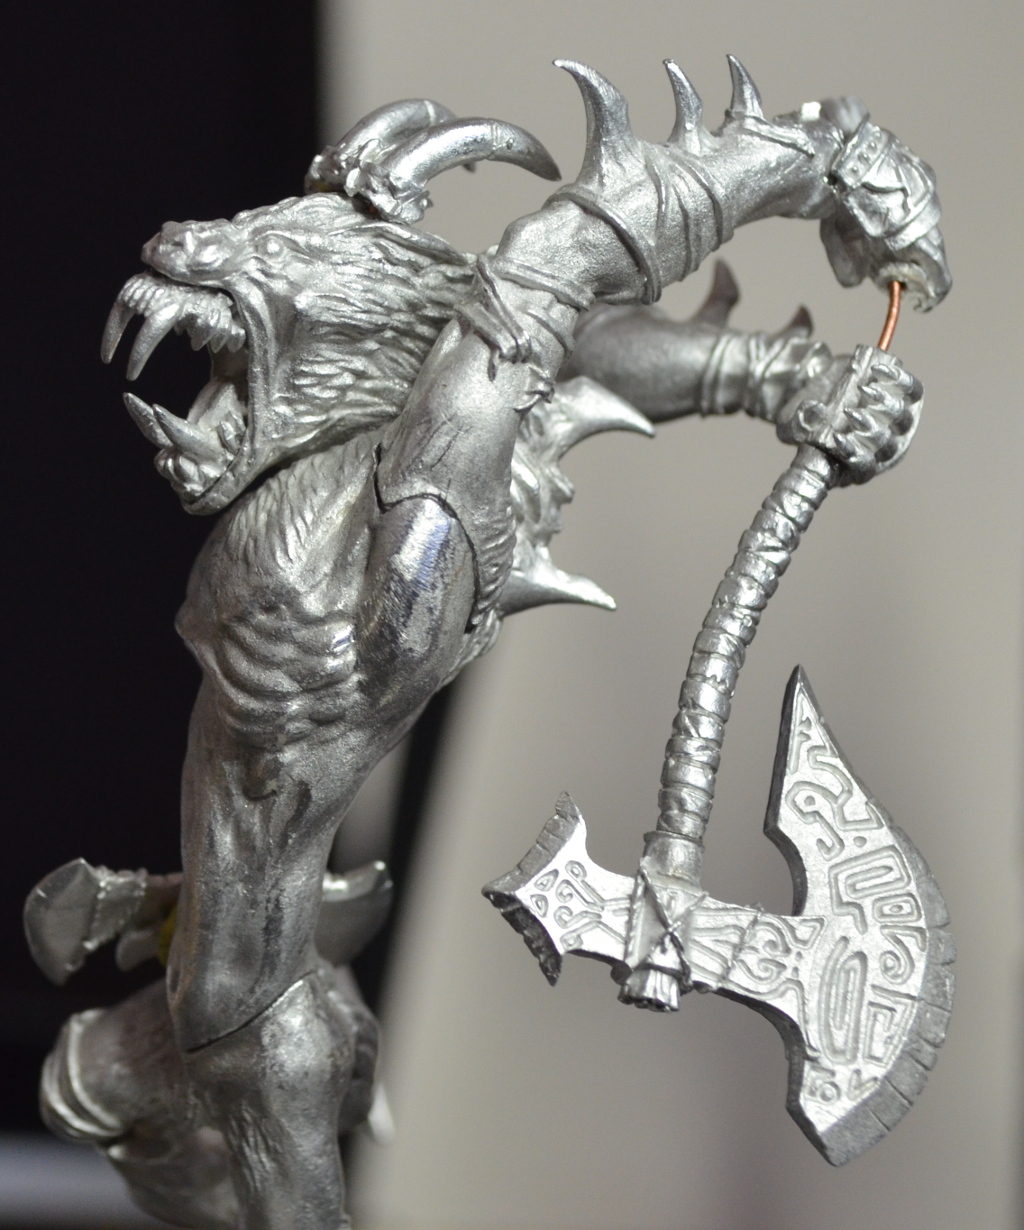
The horns, however, will do just fine. I noticed that there’s a little tuft of hair between the horns, on the back. I used that to help line up the horns with a tuft of hair on the head, and used the sticky tack trick to pin it down.
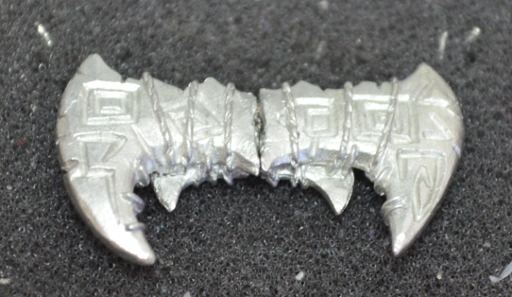
So, what to do with the leftover headdress horn things? I cut off the nubs that the original model uses, dropped a pair of pins in those locations, and glued them together. Now I have a theme appropriate trinket that I like to think of as a secondary hand weapon, or maybe a boomerang. It’ll hang nicely off his hip.
So, here’s the fully assembled model. What you see here are four pieces. The axe, hands included. The head and attached horns. The boomerang trinket.
I hope you enjoyed this! Next up is gap filling and sculpting. My plan is to use a loincloth to cover the abdominal joint, sculpt a leather headdress to join the horns to the head, and cleanly blend the hair on the head to the hair on the torso.
Be advised, this may take more than just a week, so if next week’s article isn’t Ghetorix related, rest assured that the rest is coming soon.

