Speedpainting, the Conclusion
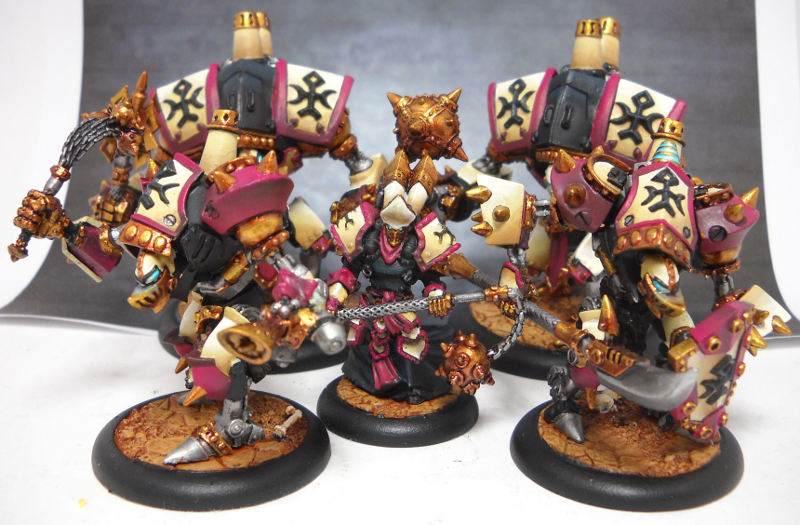
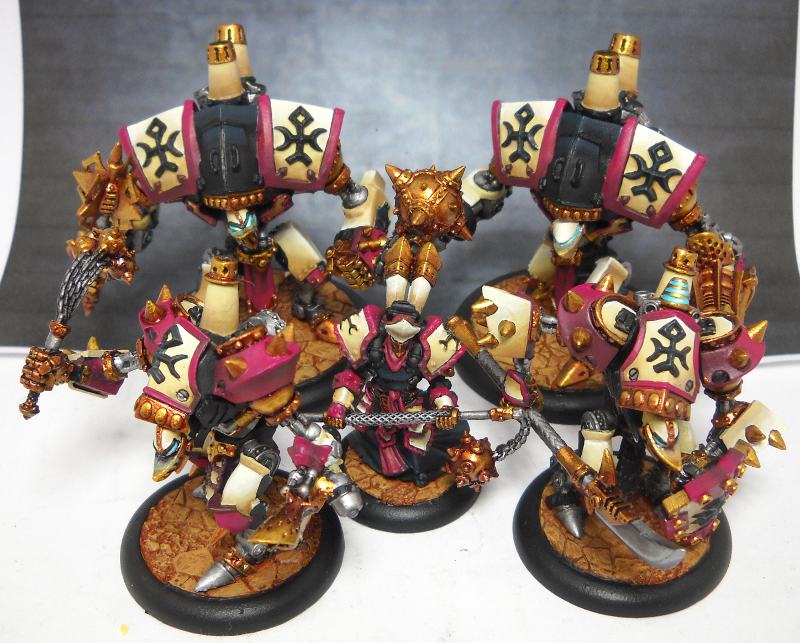
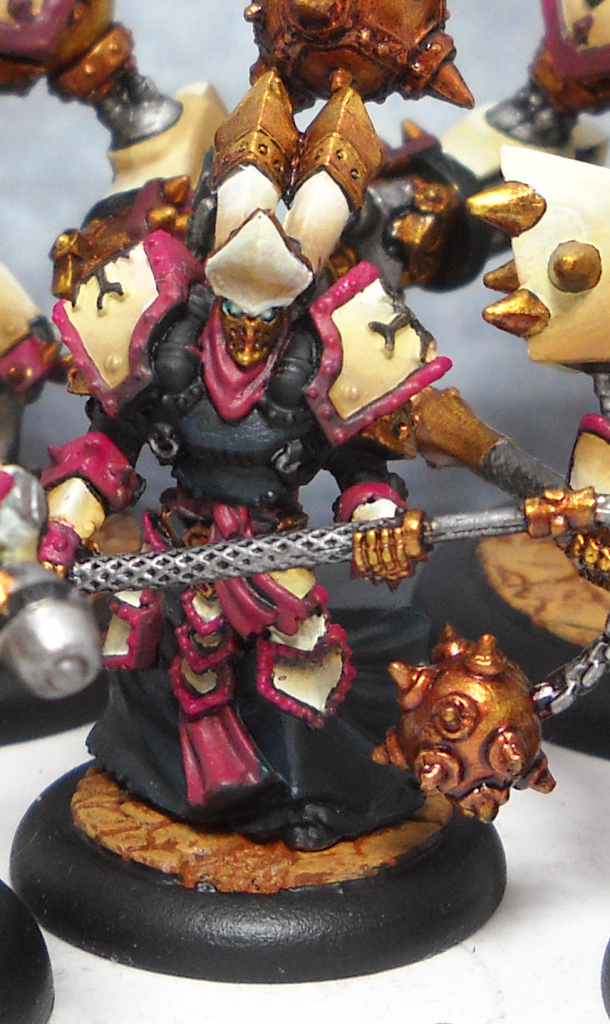
Well, I think my experiment with speedpainting has been successful. I’ve finished the models I set out to do, and I did them in the time I wanted to. I successfully pushed myself to be as efficient as possible, despite my wants to fix errors as soon as they happened.

I definitely think I had to sacrifice a bit on quality – given the choice I may go fix a few panels I’m not happy with, but I will say that I’m rather proud to have finished a battlebox + a heavy in two weeks.
So, now that it’s all over, what else have I learned?
Paint dark colors first.
Even if they’re “outside” lighter colors. This goes against the whole “work from the inside out” idea, but if the panels aren’t too far apart in depth, do the darker panels first. I started with the whites, and I had a horrible time cleaning up when I got black or red on them. I would have been far better off painting the black highlights, then the red bits, and then following up with the whites. or at least waiting to blend the whites until after I had worked on the rest of the model.
It would have been easy to fix the mistakes on the whites if they were only a basecoat. As it was, they were already blended, and repairing a mistake in the middle of a blend… is painful.

Pick out your scheme ahead of time.
I had done a test model before I got started, so I knew roughly where I wanted the colors to go, but I hadn’t really thought about the color distribution before I translated that scheme from a Temple Flameguardsman to one of the ‘jacks.
As is, there isn’t enough black on the light ‘jacks – to me they have a bit too much color on them compared to the other three models. I think it turned out OK, but I think I could have struck a better balance by making the shoulders black, or perhaps the inner part of the upper shoulder – transposed the white panel and little black box on the shoulder.
Don’t bite off more than you can chew.

I’ll admit that by the end I wasn’t painting fast on principle, I was painting fast just so I’d be done. I think 5 models this size was a bit much. Two heavies, three lights, or a 6-man unit would be good sizes. This small army (nearly 20 points) was just too much. There was too much time between stages, and I didn’t see results fast enough. It was also far too long before the metallics went on, and for my Khador that’s fine since there isn’t much to them, but this scheme called for lots of bronze, it’s a major component of the scheme.
I tackled too big of a project, and I think that’s what caused me the most discomfort during this experiment. It wasn’t really the “you can’t fix it until the end” rule, nor was it the fact I hadn’t thought about how I wanted to do the bases at all. It was that I didn’t see results fast enough to stay motivated.
Conclusion:
The rules of speedpainting certainly help. had I stopped and fixed mistakes, or worked on these models serially, I would have gotten caught up in every little detail, and I’d have maybe one of these models done by now.
- Pick a small group of models, something you can work on easily and in a timely fashion. 2 heavies, 3 lights, or a min unit are ideal.
- Make a vow to not fix any mistakes when they happen. Fix them only when you are completely done.
- Start with your darkest color and your biggest brush.
- Paint as close to the edges and details as you are comfortable with your current brush. Paint all the same bits on all your group of models.
- Swap to a smaller brush, and edge the panels you painted in the previous step, cleanly defining the edges.
- Switch to your shading color(s) and repeat steps 2A and 2B, then go to 4.
- Switch to your highlight color(s) and repeat steps 2A and 2B, then go to 5.
- Switch to your next lightest color in your scheme, and go to 2A.
Good Luck!

Wow. I love this scheme. Bravo!
How did you do the gold again? Wash it with brown ink? I know you told me but it keeps slipping my mind.
Base with P3 Molten Bronze over black primer. Watered down P3 Brown ink into the recesses, two layers. Go back with Molten Brass and help blend the ink into the basecoat. Then, P3 Solid Gold for the highlights, 2-brush blended or glazed onto the spots that catch the light.
The flamethrower cowl came out very well, I’ll show you Thursday.
Awesome thanks so much! You may have unlocked the key to my Menoth scheme! Gold is a real problem for me and of course it figures heavily…
Unfortunately, I don’t think I can make it out this Thursday 🙁 But next time!
Cool write up. I am going to undertake a similar project later in the summer by attempting to paint 35pt in a month. I like to see what others find to be helpful when pushing thier speed. Your scheme looks sweet…. now paint that Harbinger conversion 🙂
Good luck on your 35pts in one month – that’s very speedy painting! I’ll get around to the Harbinger. I need to get some ribbons onto the flag pole, but she’ll be painted before the year’s over, I promise.