Fixing Drago’s Biceps
by Plarzoid
July 27, 2011
 |
| Studio Drago Model |
One of the biggest complaints about the awesome model that is Drago, the character Beserker, is that his upper arms are incredibly short and wimpy. They have to support the massive weight of his arms and axes, and since they stick out from his body, they take lots of wear and tear.
The used Drago model that I got in a trade was no different. One arm was already broken, and the other was starting to break apart.
So, when I got the itch to convert last week, I knew I wanted to get some Khador rolling, and so I worked on Drago. Here’s what I did:
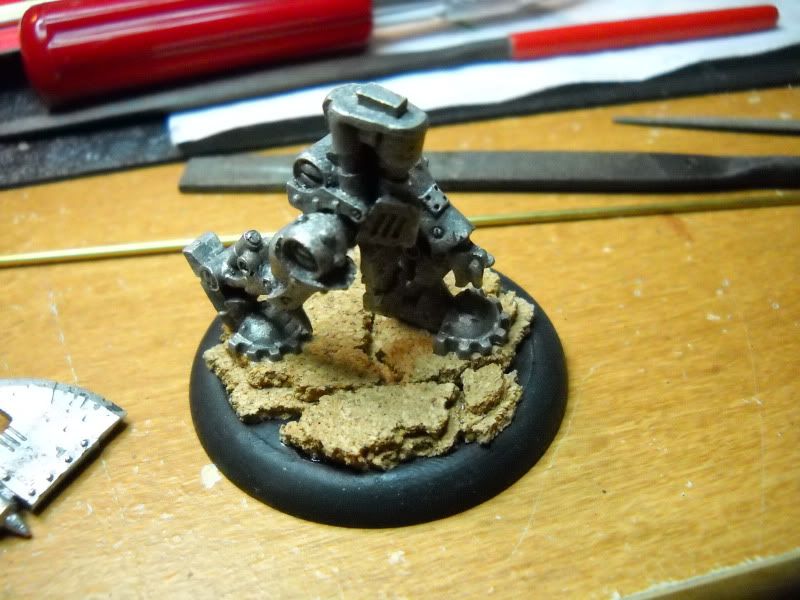 First, I based the model with cork to match my other northern armies, and assembled the legs. One pin in the back foot, and two in the other.
Since Drago’s leaning so far forward, I got the legs as far back as possible.
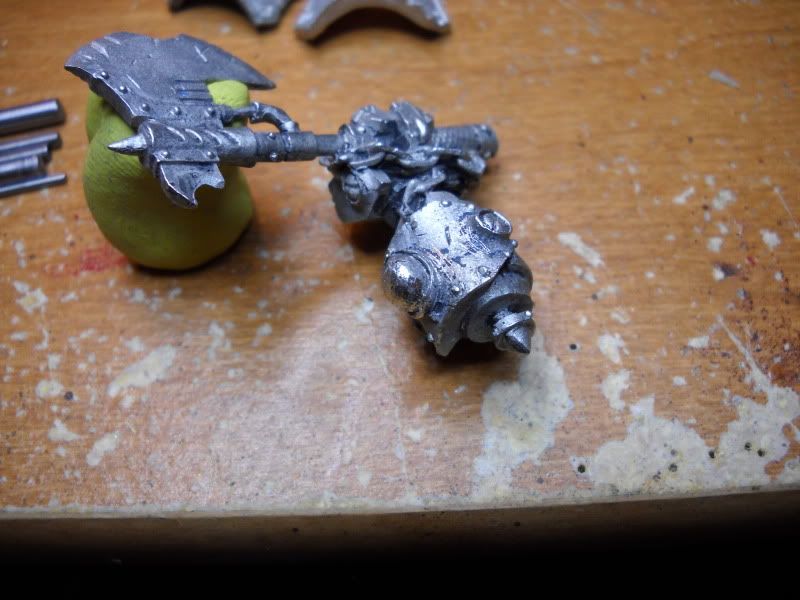
After that, I assembled the torso – center and shoulders. I then clipped off the tops of the two arms and glued them into the shoulders. I also cleaned up the cuts.
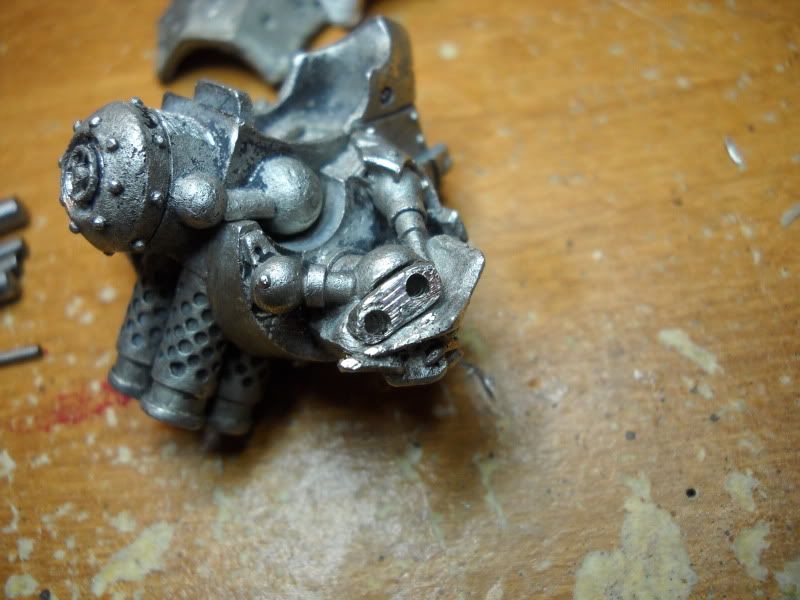
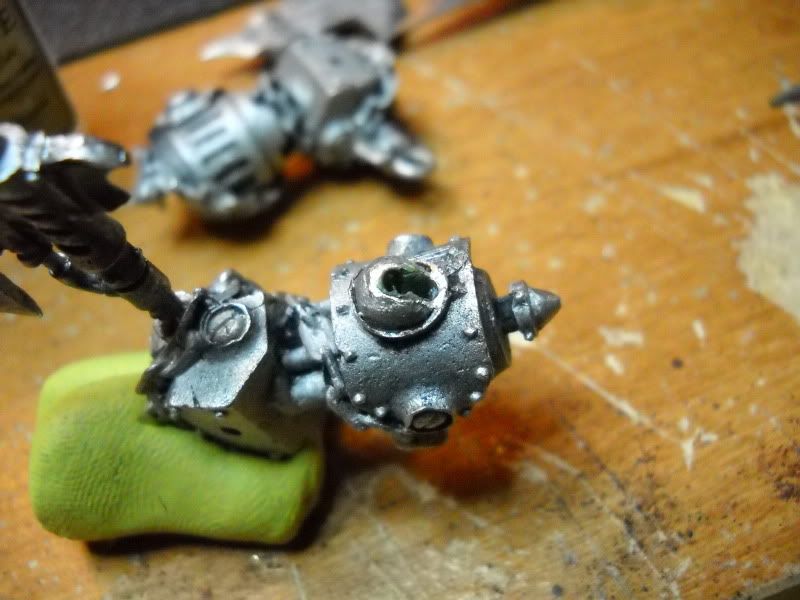
Next, I pressed two points into the shoulder bit with my pick, and drilled two holes. Unfortunately, the holes were a bit big, and I had to cut off and file more. I was drilling for 1/16″ brass tube, and apparantly, that’s the size PP used for the outer parts of the pistons. I’m adding bulk, so this is good – my tube will be bigger and stronger, which is the entire reason for doing all this!
The holes weren’t perfect, but no one will be looking at the model from this angle, so I really don’t care. I’ve drilled these holes deep. They go about halfway through the shoulder.
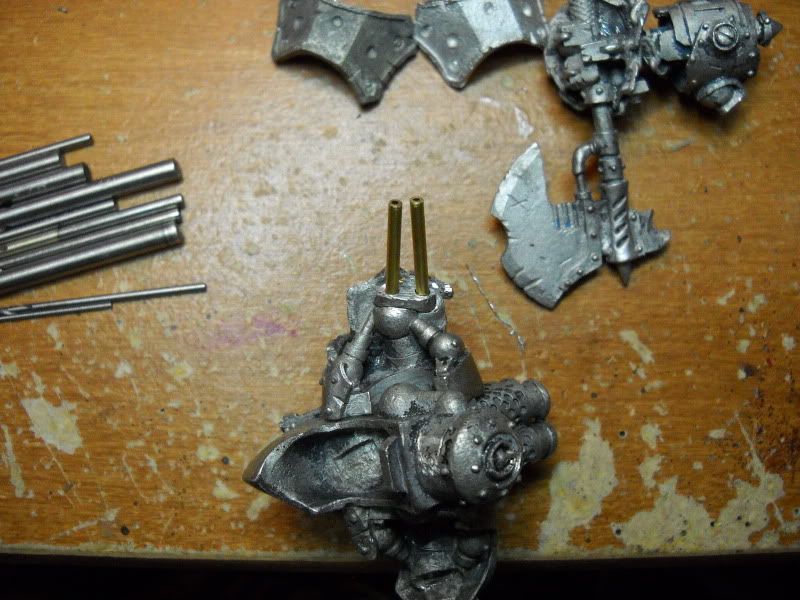
The next step was to test fit some brass tube. I’ve cut two sections the same length and dry-fitted them into the holes.
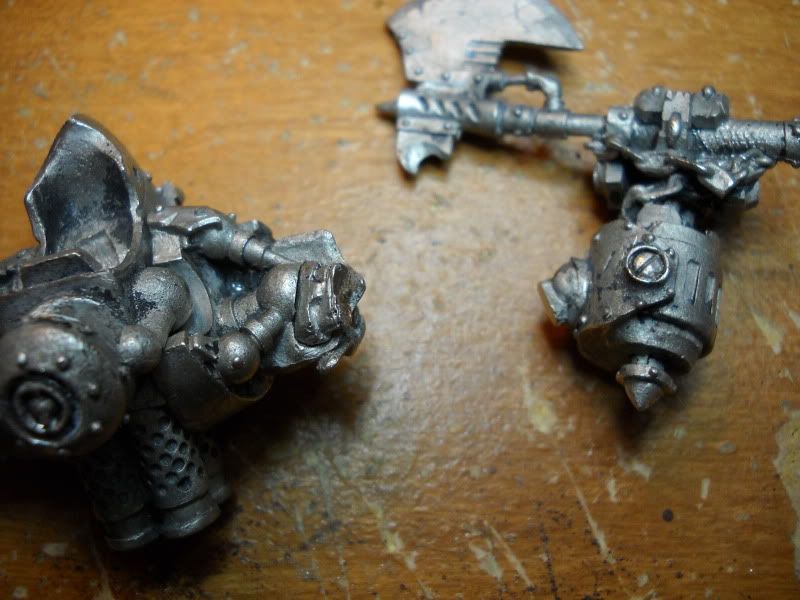
I then cut off the block bit on the arm, leaving just the ball. I cleaned that up with a file and drilled a pair of holes into the arm.
I then had to use a ball shaped milling bit in my Dremel to deepen and widen the hole inside the arm. When drilling the second hole into the arm, the bit tends to slip into the previous hole. When that happens, there isn’t enough room in the bottom of the hole for two brass tubes, since the holes converge. You have to widen the bottom of it so that both tubes can slide all the way down. During this process, it all became one, giant oblong hole, which is fine.
While I was recharging my Dremel for a bit, I cut some tube of the next larger size, which conveniently slides right over the stuff I’m already using. These short bits became the outer tube of the pistons I was trying to create.
I also decided that my original tubes were a bit too long (or drilling deeper was too much work) so I shortened them by a hair. I filled the hole in the arm about halfway with greenstuff, dunked the now glued in place tubes into water and smushed them into the arm. I held it there for a 10-count and then carefully pulled the tubes free.
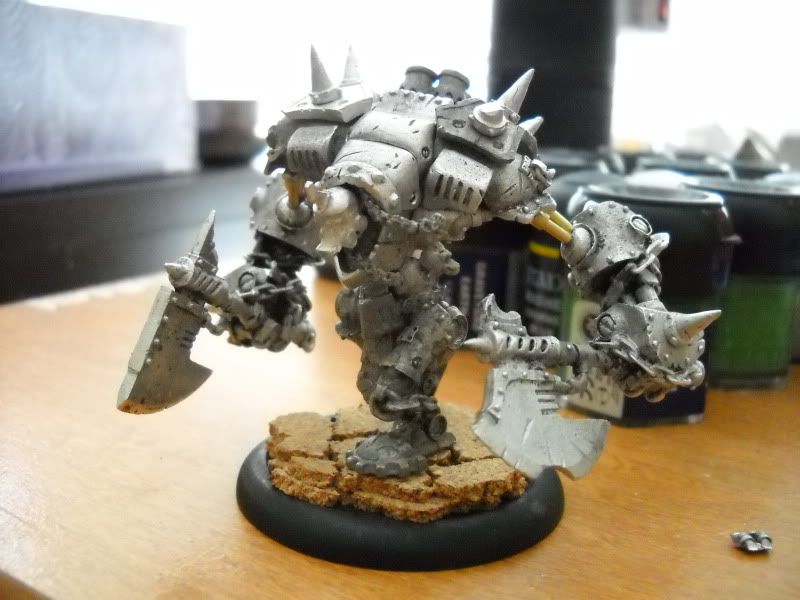
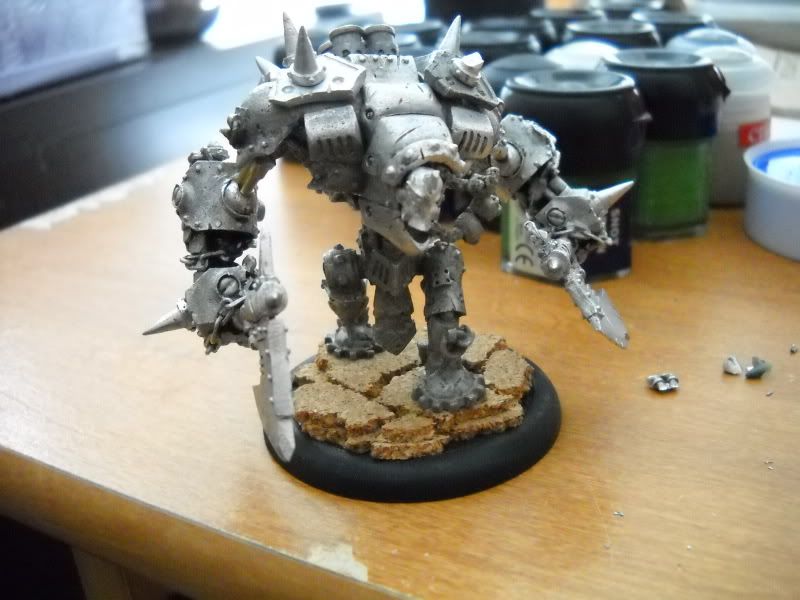
Setting the arm aside, I repeated the process on the other side. Once the greenstuff was dry, I finished the assembly.
The arms are now rock solid, and if they do break, it’ll be far simpler to replace a tube or re-glue than to try and pin those itty-bitty arms he used to have.
Cheers!
Tags


Impressive conversion work and I have a feeling that base is going to rock when its all painted up. Quality work as always.
I love the "I'm coming for you next" pose. I did a similar conversion with a destroyer early last year as birthday present for a friend (here: http://s48.photobucket.com/albums/f215/Mugu2112/Khador/?action=view¤t=Destroyer04.jpg). The majority of jacks are so static in pose that any kind of repose generally makes them look better.