Skorne Cyclops Savage Tutorial
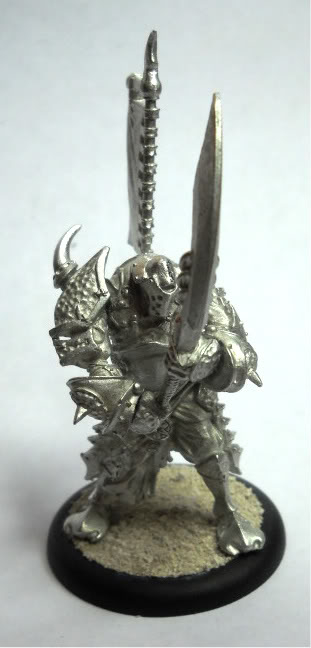
Hopefully this will be informative and have a tidbit or two that helps you put together what is regarded as the hardest to put together Battle Box of them all: Skorne.
WARNING: Read this in its entirety before following the tutorial. Mistakes were made, and you should be aware of them before assembling your own model!
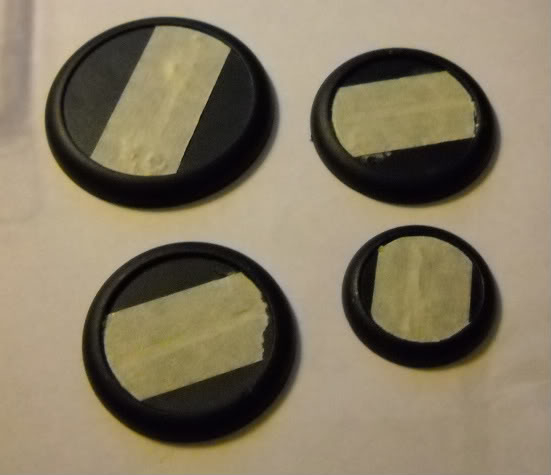
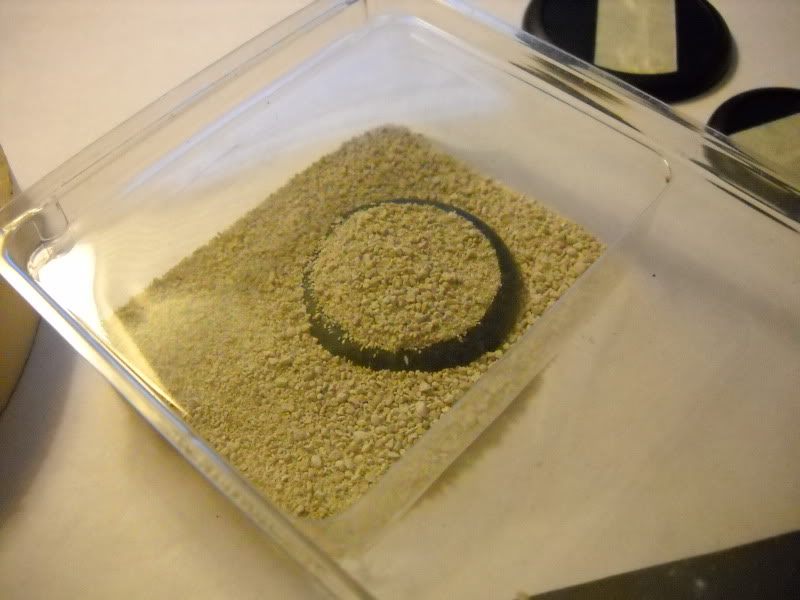
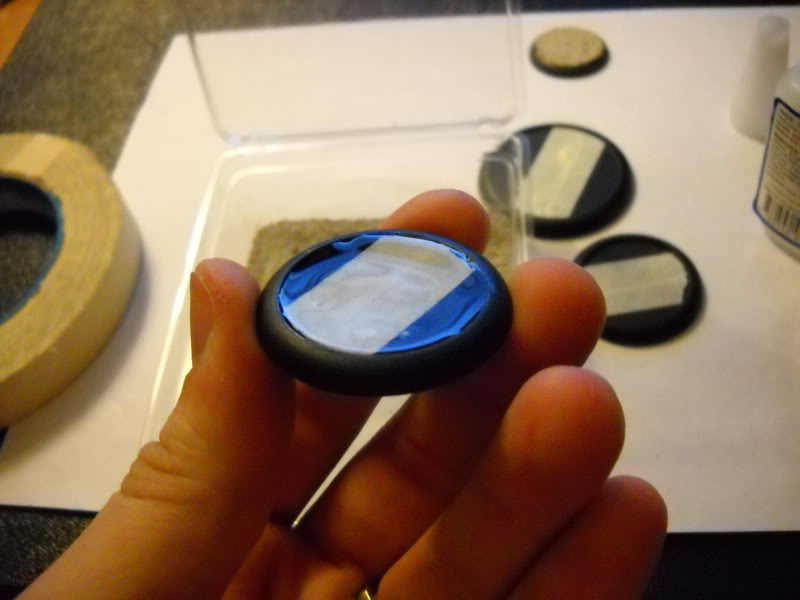
To start, I’ve covered the slots in my bases with masking tape. I’m then laying down a very, very thick payer of superglue, and finally tossing it around in my sand mixture (a blend of Woodland Scenics Coarse, medium and fine
ballast).
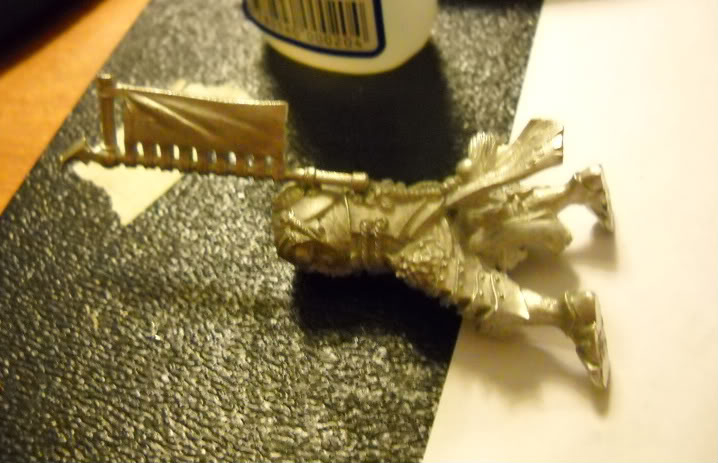
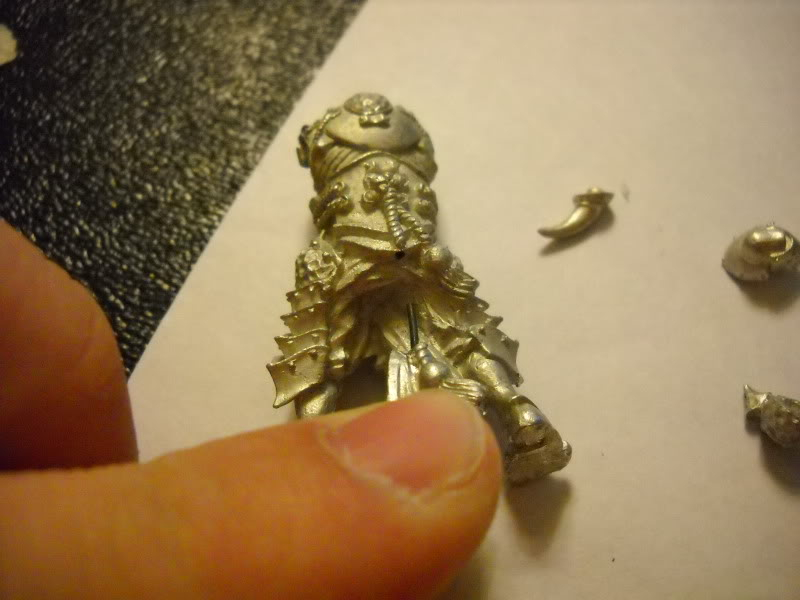
The first thing I did (and should have saved for last) was pin the tabard to the cyclop’s rear. A single pin works just fine. I also roughed up the contact surfaces, since there’s just not much for the glue to grab onto.
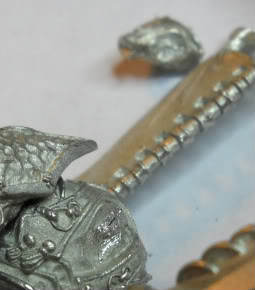
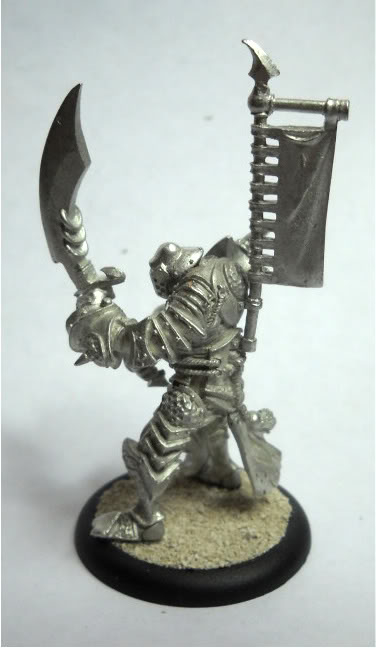
Next, I worked on the banner. It has two little cradles, and the banner itself has little round brackets that match up. Perfect pin locators! Two holes into his back, two carefully drilled holes into the banner and…
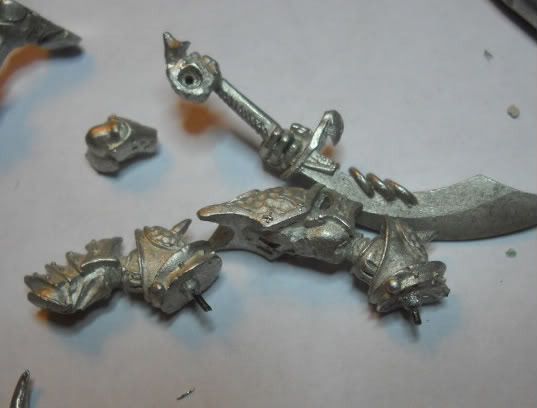
Now, I moved onto the arms. This is the hardest part in my opinion since there are four joints that have to mesh all at once. I started with the wrists. Holes into the existing posts on the arms, and a matching set into the center of the holes on the hands. I test fit my pins and glued them into the arms.
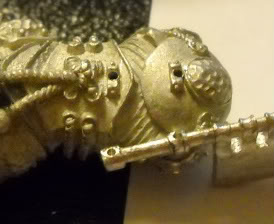
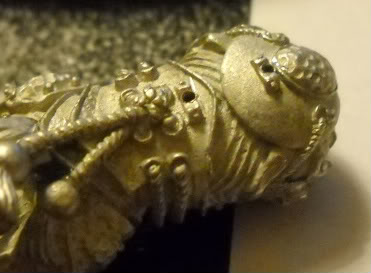
Then, I moved to the shoulder joints. Following the same procedure, I drilled my holes, centering on the existing post and holes in order to get them to line up. This time, after test fitting my pins, I glued them into the torso.
For the assembly, I picked the left arm to start with since it has the deepest pins. Shallow pins are easier to maneuver into position when things get awkward later on… I glued the arm to the shoulder, then the weapon to the arm.
Before any of the glue has had a chance to set, I put a drop onto the right shoulder pin and a drop onto the wrist pin. I then squished the arm onto the shoulder and then maneuvered the wrist pin into place. After that, I looked at where I had gaps and adjusted things until everything looked snug.
That final adjustment was 50% finesse, 40% brute force and 10% sticking my tongue out while I concentrated.
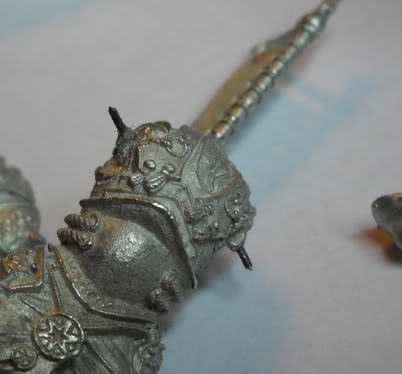
The only problem now, was that I’d completely blocked my ability to pin the head on. Doh! Alas, his head is rather protected by the banner, weapon and shoulders. I simply scored / roughed up the contact areas and glued it on.
The last bit was the spike on his shoulder. A nice deep hole into his shoulder and a well angled shallow one into the spike and it’s attached.
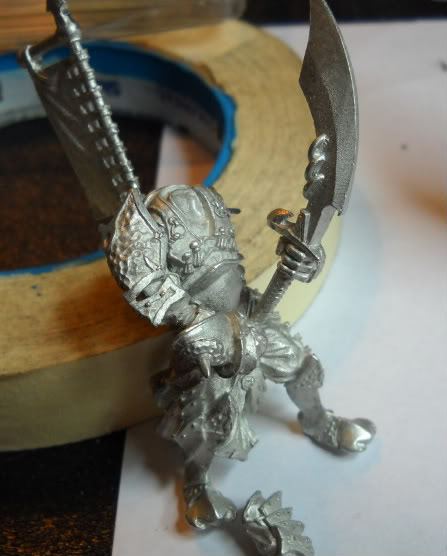
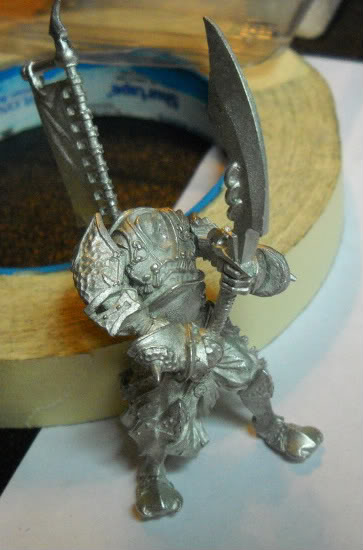
Lastly, I put long pins into his feet and pinned him to the sandy base.
Overall about an hour of work including taking photos. Things to do next time:
- Pin the rear tabard on last – I bumped it several times
- Pin the head but don’t glue it. Glue on the arms, then glue on the head.
- Pin his feet to the base earlier so my fat fingers aren’t disrupting everything I’ve already glued
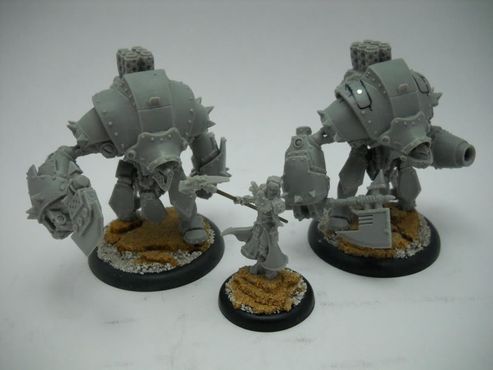
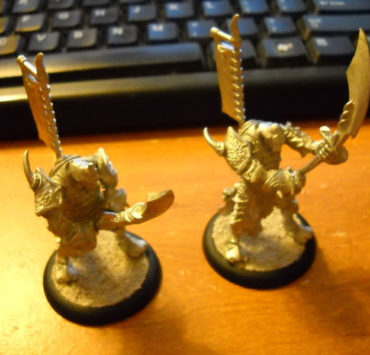
Hope this has been informative! I’ll be doing a similar writeup for the second cyclops and the titan. Stay tuned!

How do you pin the base?
I insert a really long pin into each foot. I then drill a hole for each pin through the base. I glue the feet down, and bend the pin over to 'latch' the model to the base. I'll take pictures on the next model to explain a bit better.